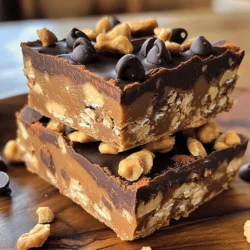
No-Bake Chocolate Peanut Butter Energy Bars
Looking for a quick and delicious snack? Try these No-Bake Chocolate Peanut Butter Energy Bars! Made with wholesome ingredients like oats, peanut butter, and dark chocolate, these bars are perfect for an energy boost anytime. In just 10 minutes of prep, you can create a yummy treat that’s easy to make and even easier to enjoy. Click through for the full recipe and tips to elevate your energy bar game!