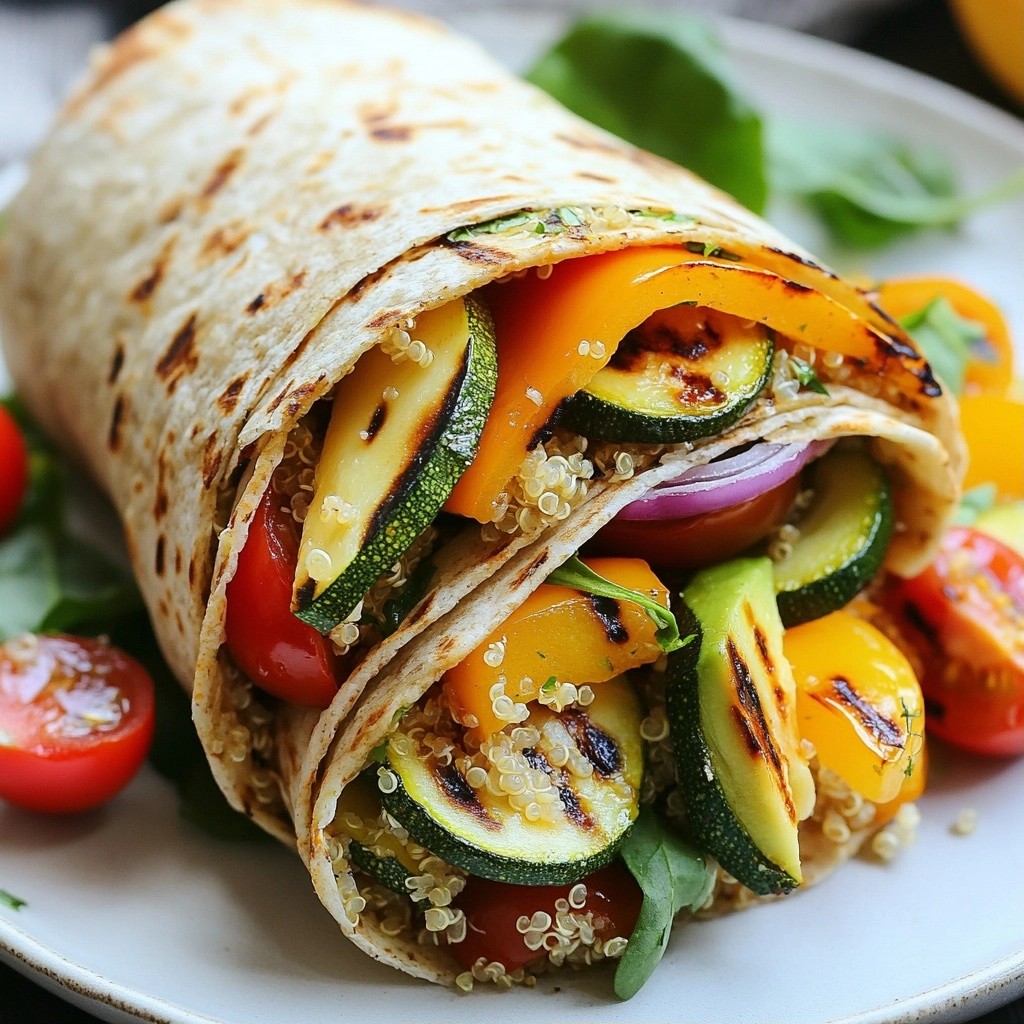
Looking for a quick and healthy dinner idea? Try my Grilled Veggie and Quinoa Wraps! Packed with nutritious veggies, protein-rich quinoa, and endless flavor, these wraps are perfect for busy nights or meal prep. I’ll walk you through the simple steps to create a delicious and satisfying meal that you’ll want to make again. Let’s dive into the tasty details!
Why I Love This Recipe
- Healthy and Nutritious: This wrap is packed with protein from quinoa and a variety of vegetables, making it a wholesome meal option.
- Quick and Easy: With a total prep time of just 30 minutes, this recipe is perfect for busy weeknights or a quick lunch.
- Customizable: You can easily swap in your favorite veggies or add different spreads to suit your taste preferences.
- Deliciously Flavorful: The combination of grilled veggies and seasonings creates a mouthwatering and satisfying wrap.
Ingredients
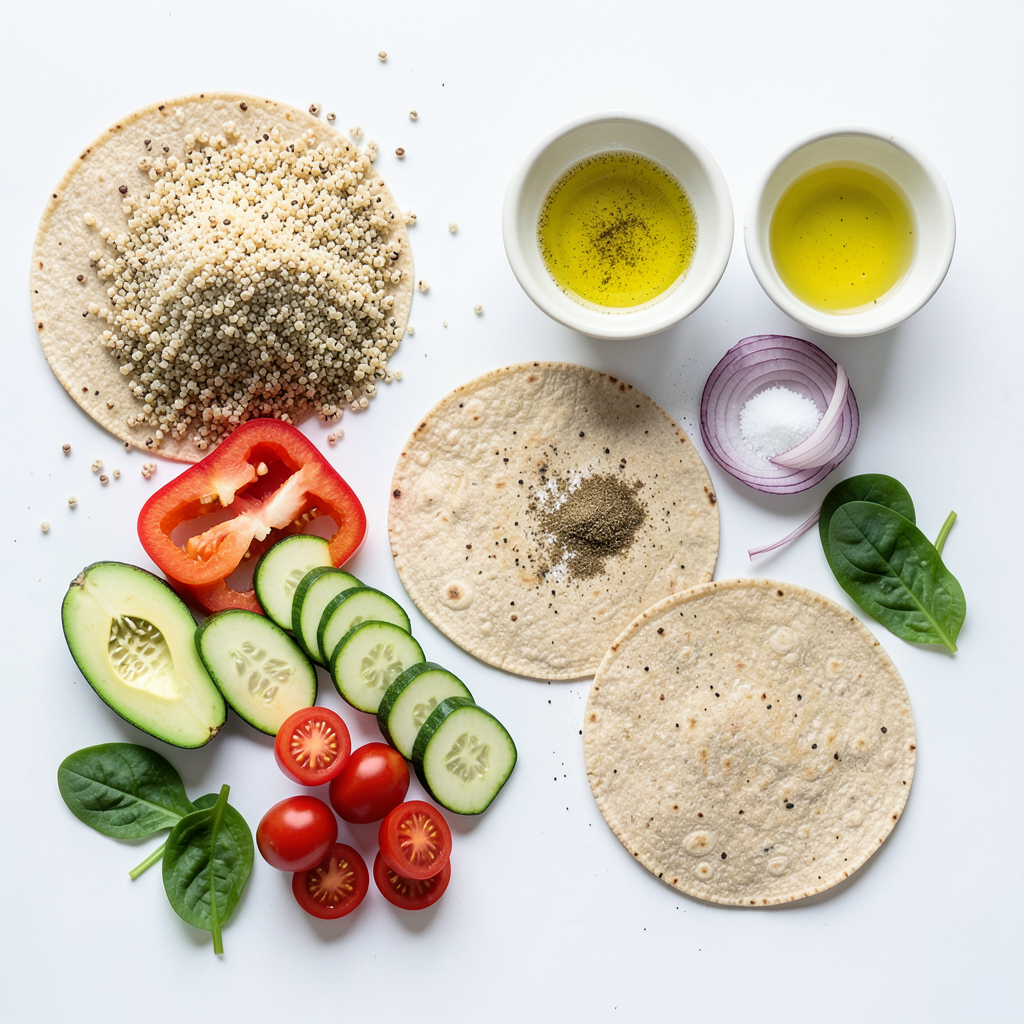
Detailed Ingredient List
- 1 cup cooked quinoa
- 2 whole wheat tortillas
- 1 bell pepper (red or yellow), sliced
- 1 zucchini, sliced
- 1 small red onion, sliced
- 1 cup cherry tomatoes, halved
- 1 avocado, sliced
- 2 tablespoons olive oil
- 1 teaspoon garlic powder
- 1 teaspoon Italian seasoning
- Salt and pepper to taste
- Handful of fresh spinach or arugula
- Optional: Hummus or tzatziki for spreading
These ingredients create a colorful and healthy wrap. The quinoa adds protein and fiber, while the veggies provide vitamins and minerals. Whole wheat tortillas give you whole grains.
Nutritional Information
Each serving contains about:
- Calories: 450
- Protein: 15g
- Carbs: 60g
- Fat: 18g
- Fiber: 10g
This dish is a balanced meal. It has healthy fats from avocado and olive oil. The quinoa and veggies boost fiber and nutrients.
Substitutions and Alternatives
You can change ingredients to match your taste. Try different veggies like eggplant or carrots. For gluten-free wraps, use corn tortillas or lettuce leaves. Swap quinoa with brown rice or couscous. If you want protein, add grilled chicken or chickpeas. Adding different spreads like pesto or salsa can change the flavor too.
Step-by-Step Instructions
Prepping the Vegetables
Start by washing all your veggies. Slice the bell pepper, zucchini, and red onion into thin strips. Halve the cherry tomatoes. Place these vegetable slices in a large bowl. Drizzle them with olive oil. Add garlic powder, Italian seasoning, salt, and pepper. Toss everything well until the veggies are covered.
Grilling the Veggies
Now, preheat your grill or grill pan to medium-high heat. Once hot, place the veggies on the grill. Cook them for about 8-10 minutes. Keep an eye on them and turn occasionally. You want them tender with nice grill marks. Once done, take them off the grill and set aside.
Assembling the Wraps
Warm your whole wheat tortillas on the grill for about 1 minute on each side. This makes them easy to roll. If you like, spread a thin layer of hummus or tzatziki on each tortilla. Next, add a scoop of cooked quinoa in the center. Top with the grilled veggies, fresh spinach or arugula, and avocado slices.
Optional Grilling for Crispiness
To make your wraps crispy, roll them tightly from the bottom to the top. Fold in the sides. Then, grill the wraps for 2-3 minutes. This step adds a nice crunch. Slice the wraps in half diagonally. Enjoy your healthy dinner!
Tips & Tricks
Best Practices for Grilling Veggies
Use fresh vegetables for the best taste. Cut them into even pieces. This helps them cook evenly. I like to marinate my veggies before grilling. A mix of olive oil, garlic powder, and Italian seasoning works great. Heat your grill to medium-high. Grill each side for about 4-5 minutes. Look for nice grill marks; that’s when they are ready!
How to Keep Wraps Fresh
To keep your wraps fresh, avoid filling them too early. Assemble them just before eating. If you must prep ahead, wrap them tightly in foil or parchment paper. Place them in an airtight container in the fridge. Use a damp paper towel to keep them moist. This prevents the tortillas from drying out.
Enhancing Flavor with Seasoning
Seasoning can make a big difference. I use garlic powder and Italian seasoning for a classic taste. You can also try cumin or smoked paprika for a twist. A squeeze of lemon juice can brighten the flavors. Don’t forget salt and pepper; they are essential for balance. Lastly, add fresh herbs like basil or cilantro for a fresh kick!
Pro Tips
- Choose Seasonal Vegetables: Select vegetables that are in season for the best flavor and nutrition. Fresh, local produce can elevate your wraps significantly.
- Perfectly Cooked Quinoa: Ensure your quinoa is cooked properly by rinsing it beforehand to remove bitterness. Use a 2:1 water-to-quinoa ratio and let it simmer until all water is absorbed.
- Customize Your Wraps: Feel free to add or substitute with your favorite veggies, proteins, or spreads to make the wraps your own. This recipe is versatile!
- Grill for Extra Flavor: Grilling the wraps briefly after assembling gives them a delightful crunch and adds a smoky flavor, enhancing the overall taste.
Variations
Vegan Alternatives
You can easily make this wrap vegan. Just skip the optional hummus or tzatziki. Use fresh veggies to add flavor and creaminess. Try a spread made with blended nuts or seeds. It gives a rich taste without dairy. You can also add more avocado for creaminess.
Protein Add-ins (Chicken, Tofu)
Want more protein? You can add grilled chicken or tofu. Chicken adds lean protein and flavor. Tofu is a great plant-based option. Just marinate it before grilling. It soaks up the taste and brings a nice texture. Add about half a cup of either to your wrap.
Different Wrap Ideas (Lettuce, Pita)
You don’t have to stick with tortillas. Lettuce wraps are fresh and low-carb. Use large leaves like romaine or butter lettuce. Pita bread is another fun option. It adds a different texture and can hold more filling. Try different wraps to find your favorite!
Storage Info
How to Store Leftovers
To keep your grilled veggie and quinoa wraps fresh, wrap them tightly in foil or plastic wrap. Store them in the fridge for up to three days. This will help them stay moist and tasty. If you have any extra grilled veggies or quinoa, store them in separate containers.
Reheating Tips
When you're ready to enjoy your leftover wraps, unwrap them and place them on a plate. You can microwave them for about 30 seconds or until warm. For a crispy texture, heat a pan over medium heat and grill the wraps for about 2-3 minutes on each side. This gives them a nice crunch.
Freezing Instructions
If you want to save your wraps for later, you can freeze them. Wrap each one in plastic wrap, then place them in a freezer bag. They can last up to three months in the freezer. When you're ready to eat, thaw them in the fridge overnight. Reheat as mentioned before to bring back that delicious flavor and texture.
FAQs
Can I use other vegetables for this wrap?
Yes, you can use many other veggies. Try mushrooms, spinach, or eggplant. Just slice them thinly. These veggies will add great taste and nutrition. Feel free to mix and match based on your favorite flavors.
How do I make these wraps gluten-free?
To make these wraps gluten-free, use gluten-free tortillas. Many brands offer tasty options. Be sure to check the label for any hidden gluten. You can also use lettuce leaves instead of tortillas. This makes a fresh, low-carb wrap.
What is the best way to serve these wraps?
Serve these wraps warm, cut in half. You can add a side of fresh salsa or a light salad. These wraps are great for lunch or dinner. If you want, drizzle some extra olive oil or lemon juice on top for added flavor.
How long do grilled veggie wraps last in the fridge?
Grilled veggie wraps can last about three days in the fridge. Store them in an airtight container. Make sure they cool down before sealing. For best taste, eat them fresh. Reheat in a skillet or microwave before serving.
In this article, we explored the key ingredients for grilled veggie wraps, the prep steps, and helpful tips. We looked at tasty variations and how to store leftovers properly. These wraps are easy to make and can fit many diets. Whether you are grilling veggies or adding proteins, there's a lot of room to be creative. Enjoy your cooking, and remember—keeping it simple can lead to delicious results!