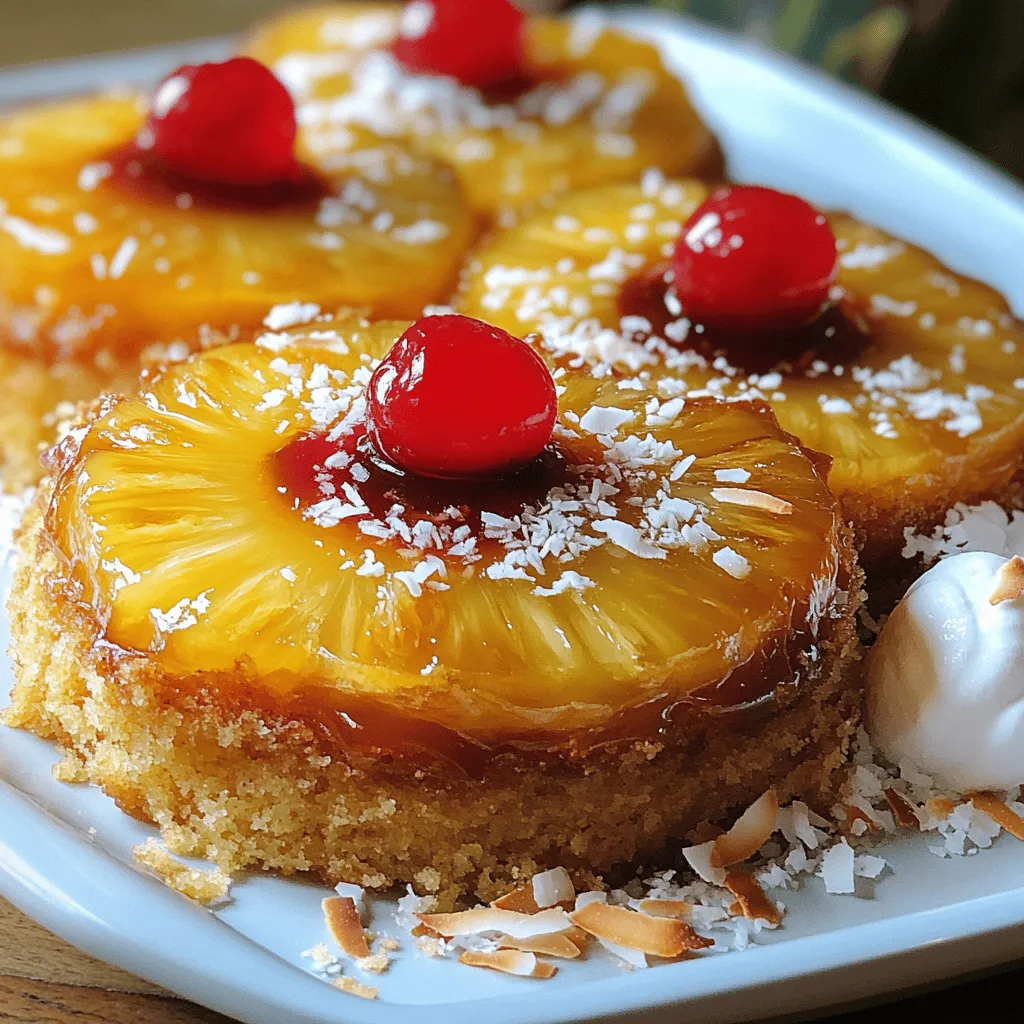
If you’re craving a delightful dessert, the Classic Pineapple Upside Down Cake is a perfect choice. This cake offers a sweet and tangy flavor that will impress your friends and family. It’s surprisingly easy to make, and I’ll guide you through each step. From choosing the right ingredients to perfecting your technique, you’ll discover how to create a moist, delicious cake that turns heads. Let’s get started on this tasty adventure!
Ingredients
List of Ingredients
– 1 can (20 oz) sliced pineapple in juice, drained and juice reserved
– 1/2 cup unsalted butter, melted
– 1/2 cup packed brown sugar
– 1 maraschino cherry for each pineapple slice
– 1 cup all-purpose flour
– 1 cup granulated sugar
– 1/2 cup milk
– 2 large eggs
– 1 teaspoon vanilla extract
– 1 1/2 teaspoons baking powder
– 1/4 teaspoon salt
Ingredient Substitutions
You can switch the pineapple for other fruits. Peaches work well and add a nice flavor. You might also use berries like strawberries or blueberries for a fresh twist.
If you want to avoid granulated sugar, try using coconut sugar or honey. Just remember that honey will add more moisture, so adjust your liquids!
For a dairy-free version, use almond milk or oat milk instead of regular milk. You can replace the eggs with a mix of flaxseed and water for a vegan option. Use 1 tablespoon of ground flaxseed mixed with 2.5 tablespoons of water per egg.
These swaps keep the spirit of the classic pineapple upside down cake while making it fit your needs.
Step-by-Step Instructions
Preparation Steps
1. Preheat your oven to 350°F (175°C). This helps the cake bake evenly.
2. Grab a round 9-inch cake pan. Pour 1/2 cup of melted butter into it. Make sure to cover the bottom well.
3. Sprinkle 1/2 cup of brown sugar evenly over the butter. This creates a sweet caramel layer.
4. Take your drained pineapple slices and lay them in the pan. Place a maraschino cherry in the center of each slice. This adds a fun touch.
Mixing the Batter
1. In a large mixing bowl, whisk together these dry ingredients:
– 1 cup all-purpose flour
– 1 cup granulated sugar
– 1 1/2 teaspoons baking powder
– 1/4 teaspoon salt
This mix gives the cake its structure and sweetness.
2. In another bowl, mix the wet ingredients:
– 1/2 cup milk
– 2 large eggs
– 1 teaspoon vanilla extract
– 1/4 cup of reserved pineapple juice
This blend adds moisture and flavor.
3. Slowly pour the wet mix into the dry mix. Stir gently until just combined. Avoid overmixing; it keeps the cake tender.
Baking the Cake
1. Carefully pour the batter over the arranged pineapples in the pan. Smooth the top with a spatula.
2. Place the pan in the preheated oven. Bake for 35-40 minutes. Check for doneness by inserting a toothpick in the center. If it comes out clean, the cake is ready.
3. Once done, let the cake cool in the pan for 10 minutes. This helps the juices soak in before inverting onto a plate.
Follow these steps for a deliciously moist pineapple upside-down cake that impresses every time.
Tips & Tricks
Baking Tips
To ensure the perfect texture and moisture, use room temperature eggs and milk. This helps the batter mix well. Also, do not overmix the batter; stir until just combined. This keeps the cake light and fluffy.
To prevent sticking when inverting the cake, grease the pan well with butter. I suggest using parchment paper for added safety. This way, the cake slides out smoothly.
Flavor Enhancements
For extra flavor, consider adding spices like cinnamon or nutmeg. A splash of almond extract can also elevate the taste. These small changes make a big impact on the cake’s flavor.
To create a richer caramel layer, use more brown sugar. You can also try adding a tablespoon of honey or maple syrup. This will give the cake a deeper, more complex taste.
Presentation Tips
Serve the cake warm for the best experience. You can garnish it with whipped cream or a scoop of vanilla ice cream. This adds a nice touch and makes the cake look inviting.
For added appeal, sprinkle toasted coconut flakes on top. Fresh mint leaves can also brighten the plate. These simple garnishes make your cake stand out and look professional.

Variations
Fruit Variations
You can change the fruit on top of the cake for a new treat. Instead of pineapple, try using peaches or mixed berries. These fruits add a different flavor and color. Seasonal fruits can also be fun. In summer, use fresh strawberries or blueberries. In fall, go for apples or pears. Each fruit brings its own unique taste, making the cake special every time.
Dietary Variations
If you have dietary needs, you can adapt this cake. For a gluten-free option, use almond flour or a gluten-free baking mix. This keeps the cake moist and tasty. If you prefer a vegan cake, swap eggs with flax eggs and use plant milk instead of regular milk. You can also choose a dairy-free butter for the topping. These changes let everyone enjoy this classic treat.
Serving Variations
Serving ideas can make your cake even more fun. Try pairing it with a scoop of vanilla ice cream for a warm and cold delight. You could also add whipped cream or a drizzle of caramel sauce. For a twist, cut the cake into small squares and serve them as individual portions. This makes it easy for guests to grab and enjoy. Each bite can be a new way to enjoy your delicious pineapple upside-down cake.
Storage Info
Storing Leftovers
To keep your pineapple upside down cake fresh, store it in an airtight container. I recommend slicing it first. This way, you can grab a piece whenever you want. Wrap each slice with plastic wrap if you prefer. Place the wrapped slices in the container. Store the cake in the fridge for the best taste.
Freezing Tips
If you want to save some cake for later, freezing works great. First, let the cake cool completely. Then, slice it and wrap each piece tightly in plastic wrap. After that, place the wrapped slices in a freezer bag. Remove any extra air from the bag before sealing it. When you’re ready to eat, thaw a slice in the fridge overnight. To reheat, pop it in the microwave for a few seconds.
Shelf Life
When stored properly, your cake will last about 4 to 5 days in the fridge. If frozen, it can stay good for up to 3 months. Check for signs of spoilage like a sour smell or mold. If you see these, it’s best to throw it away. Enjoy your deliciously moist cake while it’s fresh!
FAQs
Common Questions
What is the best way to cut pineapple slices?
To cut pineapple slices, use a sharp knife. First, remove the skin. Then, cut the fruit into round slices. Aim for about half an inch thick. This size helps the slices hold their shape while baking.
Can I make this cake ahead of time?
Yes, you can make this cake ahead of time. Bake it and let it cool completely. Then, cover it well and store it in the fridge. This cake stays fresh for up to three days.
What should I do if my cake sticks to the pan?
If your cake sticks, gently run a knife around the edges. Then, try to flip it again. If it still sticks, warm the pan slightly. Use a heat source or hot water to loosen the cake.
Troubleshooting
What if the cake doesn’t rise?
If the cake doesn’t rise, check your baking powder. It may be old or expired. Make sure you mix the wet and dry ingredients well. Lastly, avoid opening the oven door early.
How to fix a burnt caramel layer?
If your caramel layer burns, you can scrape it off. Then, prepare a new layer using fresh butter and brown sugar. Pour it over the fruit before adding the batter.
Serving and Pairing Questions
What beverages pair well with this cake?
This cake pairs well with coffee or tea. A light white wine also complements its sweetness. For a fun twist, try serving it with a fruity soda.
Can I serve it with a sauce or syrup?
Yes, serving it with a sauce adds flavor. A vanilla sauce or a sweet cream sauce works well. You can also drizzle caramel or chocolate sauce over the top for extra sweetness.
This blog post shared all you need to know for making a tasty pineapple upside-down cake. We covered the ingredients, step-by-step instructions, and great tips. You learned about ingredient swaps and how to customize the cake for any diet.
With a few simple tweaks, you can impress your family and friends. Enjoy baking and experimenting with flavors. Your perfect cake awaits!