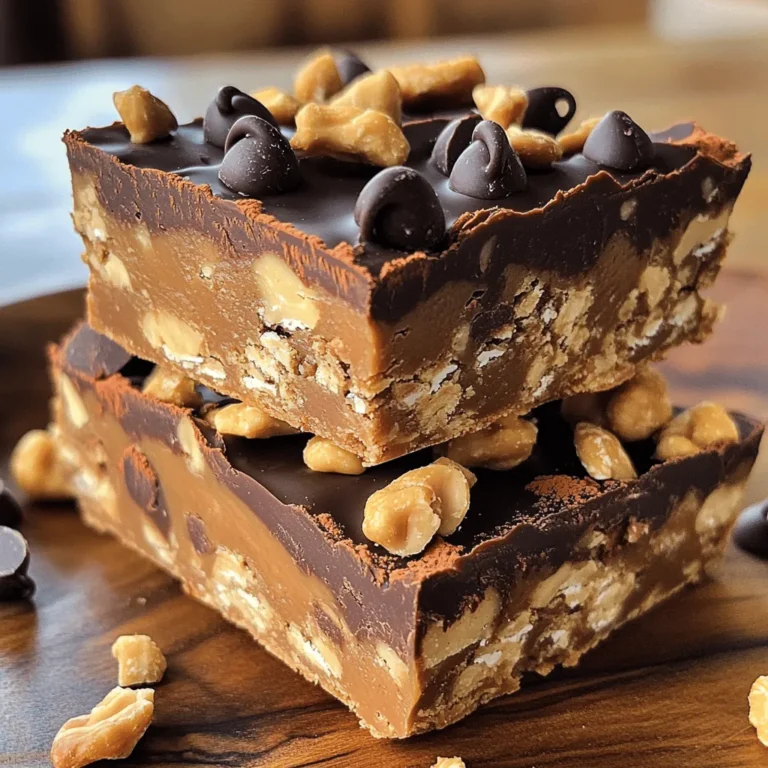
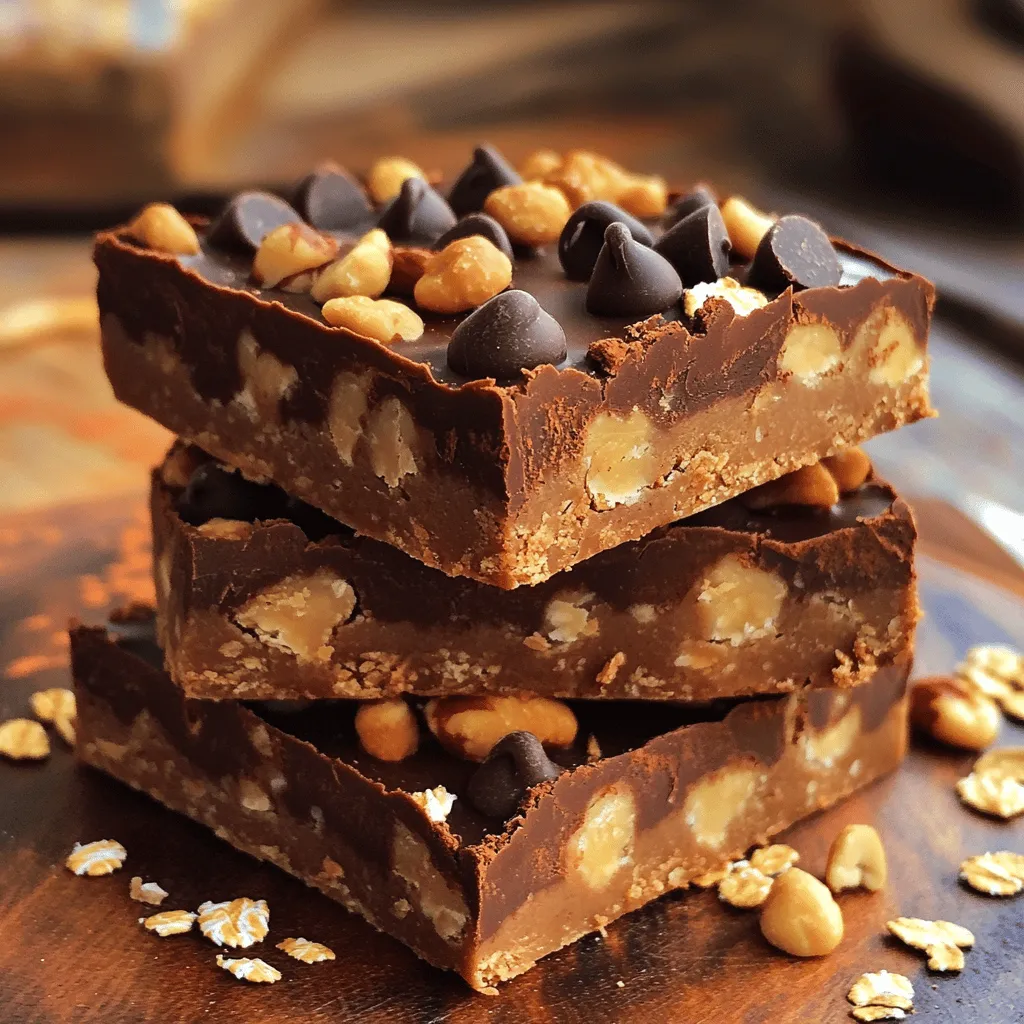
Looking for a quick, healthy snack that satisfies your sweet tooth? You’ll love these No-Bake Chocolate Peanut Butter Energy Bars! They are simple to make and packed with flavor. In this post, I’ll share easy steps, tips for customizing, and some delicious variations. Plus, I’ll help you figure out the best storage methods. Let’s dive into this tasty treat that will keep you fueled and happy!
Ingredients
List of Ingredients
– 1 cup rolled oats
– 1/2 cup natural peanut butter (smooth or chunky)
– 1/4 cup honey or maple syrup
– 1/4 cup cocoa powder
– 1/4 cup dark chocolate chips
– 1/4 cup chopped nuts (e.g., almonds, walnuts)
– 1/2 teaspoon vanilla extract
– Pinch of salt
These simple ingredients make the perfect combo for a tasty and healthy snack. The oats give a great base. Peanut butter adds creaminess and flavor. Honey or maple syrup provides natural sweetness. Cocoa powder and dark chocolate chips add rich chocolate taste. Chopped nuts give a nice crunch and extra nutrients.
Substitutions for Common Ingredients
You can switch out some ingredients if you need. Use almond butter or sunflower butter instead of peanut butter for a nut-free option. If you are vegan, swap honey for maple syrup. You can use cacao powder if you want a raw version. For a gluten-free treat, make sure your oats are certified gluten-free.
Nutritional Information per Serving
Each bar has about 150 calories. They hold 6 grams of protein and 8 grams of healthy fats. The bars also have 4 grams of fiber, which keeps you full. With all these nutrients, they make a great snack for any time of day. Enjoy them before a workout or as a sweet treat!
Step-by-Step Instructions
Preparation Process Overview
Making No-Bake Chocolate Peanut Butter Energy Bars is easy and quick. You just need a few simple steps. Start by gathering all your ingredients. This will help you stay organized. You will mix dry and wet ingredients separately before combining them. Then, you will press the mixture into a dish and chill it.
Detailed Instructions for Each Step
1. Mix the dry ingredients. In a large mixing bowl, add the rolled oats, cocoa powder, and a pinch of salt. Stir them well to blend.
2. Heat the wet ingredients. In a microwave-safe bowl, warm the peanut butter and honey for about 30 seconds. This makes it easy to mix. Stir in the vanilla extract until it is smooth.
3. Combine the mixtures. Pour the warm peanut butter mixture over the dry oat mixture. Stir until everything is fully combined.
4. Add chocolate and nuts. Toss in the dark chocolate chips and chopped nuts. Mix well so they spread evenly through the mixture.
5. Prepare the dish. Line an 8×8-inch baking dish with parchment paper. Leave some paper hanging over the edges for easy removal.
6. Transfer the mixture. Pour the combined mixture into the dish. Press it down firmly using a spatula or your hands. This step is key for the bars to hold together.
7. Chill to set. Place the dish in the fridge for at least one hour. This helps the bars firm up.
8. Cut and enjoy. Once set, lift the bars out using the parchment paper. Cut them into squares or rectangles.
Tips for Mixing and Compacting
– Make sure to mix well at each step. This ensures the bars have a good texture.
– When pressing the mixture into the dish, use even pressure. This helps the bars stay together.
– If you want a firmer bar, chill them a bit longer. Adjust to your liking.
Tips & Tricks
How to Customize Flavors and Textures
You can make these bars your own. Try different nut butters like almond or cashew. You can also swap honey with maple syrup for a new taste. Add dried fruits like cranberries or raisins for sweetness. If you like crunch, mix in seeds like pumpkin or sunflower. To change the texture, use quick oats instead of rolled oats for a softer bite.
Recommendations for Serving Sizes
These energy bars cut into 12 squares. Each square is a great snack. If you want a smaller bite, cut them into mini squares. For a larger treat, cut them into rectangles. Adjusting the size helps match your hunger. Perfect for lunchboxes or on-the-go snacks.
Tricks for Easier Cleanup
Cleanup can be quick and easy. Use parchment paper to line your baking dish. This way, you can lift out the bars without mess. Keep a bowl of warm water nearby while mixing. It helps clean utensils fast. Also, blend the peanut butter and honey in a microwave-safe bowl. It makes it easier to pour into the oat mix.
Variations
Nut-Free Alternatives
If you need a nut-free option, use sunflower seed butter instead of peanut butter. It has a creamy texture and adds a nice flavor. You can also try soy nut butter. It’s a great choice for schools and nut-free zones. Both options give you the same energy as the original recipe.
Flavor Combinations
You can add dried fruits to boost flavor and nutrition. Chopped dates or raisins work great. They add sweetness and chewiness. You could also include seeds like chia or flaxseeds. These seeds provide healthy fats and extra crunch. Mix and match to find your favorite combo!
Vegan/Gluten-Free Options
To make these bars vegan, use maple syrup instead of honey. This keeps them sweet without animal products. For gluten-free bars, make sure to use certified gluten-free oats. This way, everyone can enjoy these tasty snacks without worry.
Storage Info
Best Practices for Storing Energy Bars
To keep your no-bake chocolate peanut butter energy bars fresh, store them in a cool place. I recommend wrapping each bar in plastic wrap. This helps keep them from drying out. You can also use a clean container to keep them together. Just make sure to press them down tightly.
Recommended Storage Containers
Use an airtight container for best results. A glass or plastic container works well. If you stack the bars, place parchment paper between them. This keeps them from sticking together. You can also use resealable bags if you prefer. Just squeeze out the air before sealing.
Shelf Life and Freezing Tips
These energy bars last about a week in the fridge. If you want them to last longer, freeze them. They can stay in the freezer for up to three months. Just thaw them in the fridge overnight before eating. This way, you always have a tasty snack ready!
FAQs
What can I substitute for peanut butter?
You can use almond butter, cashew butter, or sun butter. These options work well. Each gives a unique taste and texture. Choose based on your preference or any allergies.
Can I make these energy bars ahead of time?
Yes, you can make these bars a few days ahead. They store well in the fridge. Just keep them in an airtight container. This helps keep them fresh and tasty for your busy days.
How long do no-bake energy bars last?
These energy bars last about one week in the fridge. If you freeze them, they can last up to three months. Just make sure to wrap them well. This helps prevent freezer burn.
Is this recipe suitable for kids?
Absolutely! Kids love these bars because they taste great. They are easy to chew and contain healthy ingredients. You can even get kids involved in making them for more fun.
How can I make these bars more protein-packed?
To boost protein, add protein powder, chia seeds, or hemp seeds. You can also use more nuts or nut butter. These changes will give extra nutrition without changing the taste much.
This blog post covered all you need to know about making energy bars. We looked at essential ingredients and substitutions, as well as nutritional information for healthy choices. I provided detailed steps for prep and tips for customization. You learned some fun flavor combos and how to store your bars properly to keep them fresh.
Use this guide to create tasty energy bars that fit your lifestyle and taste. Enjoy your kitchen adventures!

