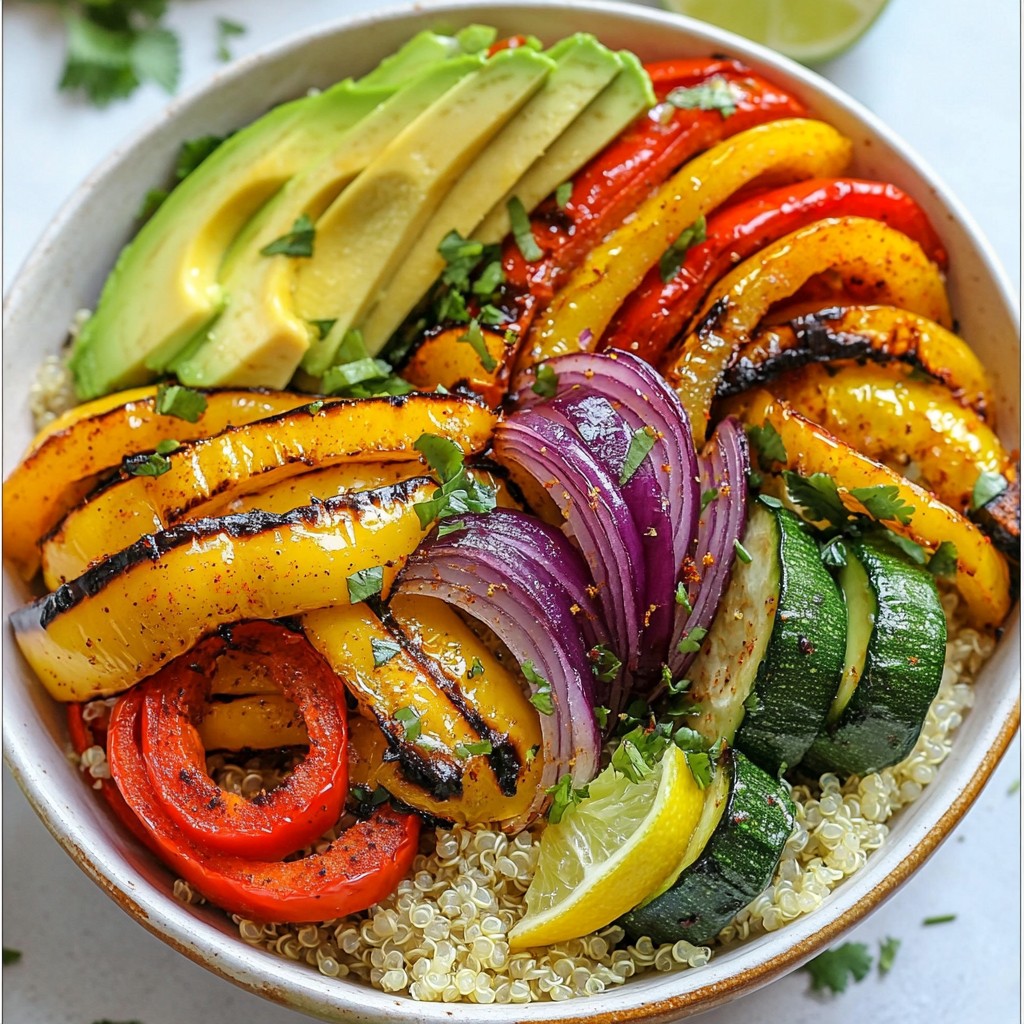
Looking for a tasty and easy meal? Roasted Veggie Fajita Bowls are the answer! Packed with vibrant colors and flavors, these bowls are perfect for everyone. You can mix and match veggies, add your favorite proteins, and create a dish that suits your taste. In this guide, I’ll show you how to make these bowls, ensuring each bite is delicious. Let’s dive in and get cooking!
Why I Love This Recipe
- Vibrant Colors: The array of colorful vegetables not only looks appealing but also signals a variety of nutrients.
- Easy to Prepare: This recipe comes together quickly, making it perfect for busy weeknights.
- Customizable: You can easily swap in your favorite vegetables or add proteins like beans or chicken.
- Healthy and Satisfying: With quinoa and fresh veggies, this bowl is both nutritious and filling.
Ingredients
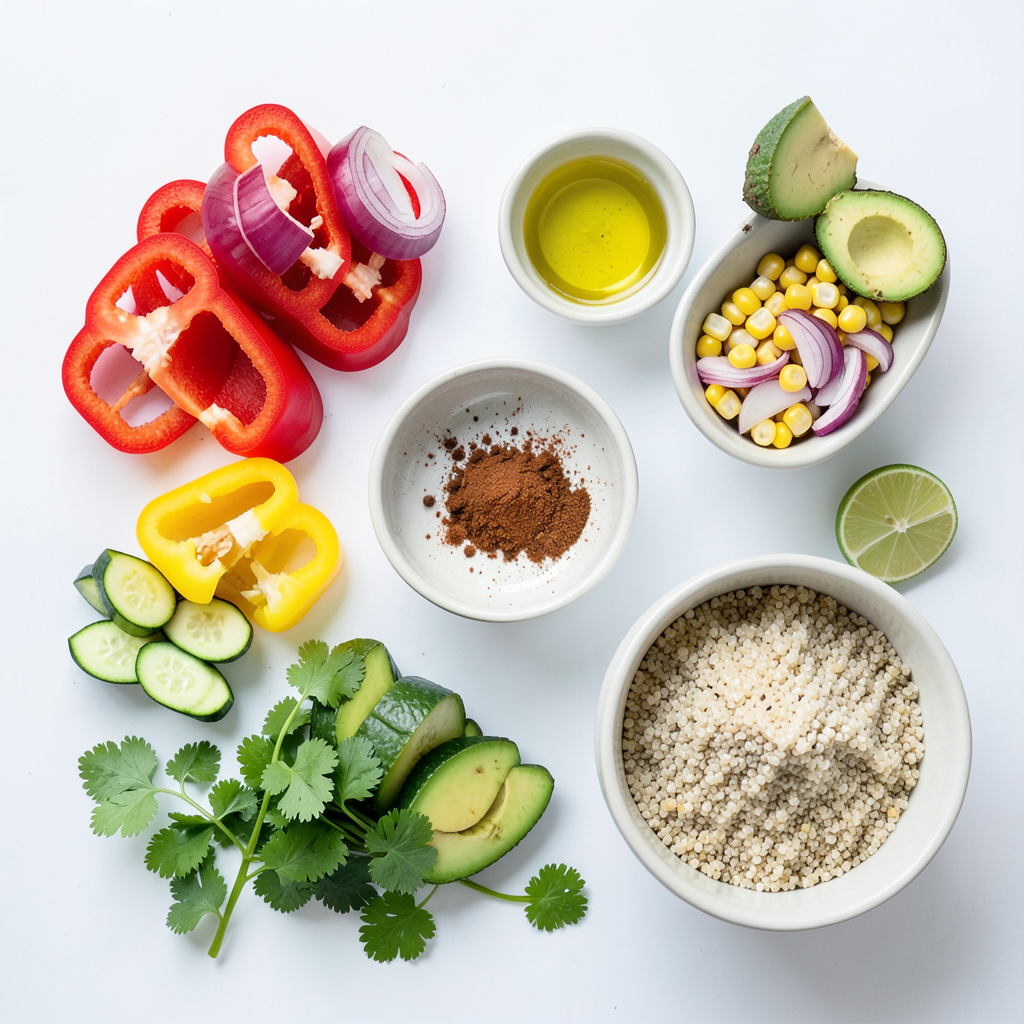
List of Ingredients
- 1 red bell pepper, sliced
- 1 yellow bell pepper, sliced
- 1 zucchini, sliced
- 1 red onion, sliced
- 1 cup corn (fresh or frozen)
- 2 tablespoons olive oil
- 1 teaspoon chili powder
- 1 teaspoon cumin
- 1 teaspoon paprika
- Salt and pepper to taste
- 1 cup cooked quinoa (or brown rice)
- 1 avocado, sliced
- Fresh cilantro for garnish
- Lime wedges for serving
Description of Each Ingredient
Each ingredient brings a unique flavor and texture to the dish.
- Red and Yellow Bell Peppers: They add a sweet crunch and bright color.
- Zucchini: This veggie adds moisture and a mild taste.
- Red Onion: It gives a sharp, sweet bite when roasted.
- Corn: Fresh or frozen, it adds sweetness and pops of flavor.
- Olive Oil: It helps the veggies roast well and adds richness.
- Chili Powder, Cumin, and Paprika: These spices give warmth and depth.
- Salt and Pepper: Essential for enhancing all the flavors.
- Quinoa (or Brown Rice): This is the hearty base that fills you up.
- Avocado: Creamy and rich, it balances the roasted veggies.
- Fresh Cilantro: It adds a fresh, herbal note to each bite.
- Lime Wedges: They bright up the dish with a zesty kick.
Tips for Choosing Fresh Ingredients
When picking your veggies, look for vibrant colors and firm textures.
- Bell Peppers: Choose ones that feel heavy for their size. Avoid soft or wrinkled skin.
- Zucchini: Pick smaller ones for better flavor and texture.
- Onions: Look for smooth skin and no soft spots.
- Corn: If using fresh, check for plump kernels. Frozen corn should be bright and free of ice.
- Avocados: Gently squeeze. They should give slightly if ripe but not mushy.
- Cilantro: Fresh leaves should be bright green and free of wilting.
Use these tips to ensure your Roasted Veggie Fajita Bowls are packed with flavor and freshness.
Step-by-Step Instructions
Preparation Instructions
Start by preheating your oven to 425°F (220°C). This temperature helps the veggies roast perfectly. Next, take a large bowl and combine the sliced red and yellow bell peppers, zucchini, red onion, and corn. Pour in the olive oil, then add the chili powder, cumin, paprika, salt, and pepper. Mix it all well. This step ensures each veggie gets tasty seasoning.
Cooking Method
Spread the veggie mix in a single layer on a baking sheet lined with parchment paper. This helps with even cooking. Roast the veggies in the oven for 20-25 minutes. Halfway through, stir the veggies to get even roasting. They should come out tender and slightly caramelized. While the veggies roast, cook your quinoa by following the package instructions. This is a great base for your bowls.
Assembly of Bowls
Once the veggies are done, take them out and let them cool a bit. Grab your bowls and start with a layer of cooked quinoa. Pile on the roasted veggies next. Add sliced avocado on top for creaminess. Finish with a sprinkle of fresh cilantro for color and flavor. Serve with lime wedges on the side for a zesty kick. Enjoy your flavorful Roasted Veggie Fajita Bowls!
Tips & Tricks
Cooking Tips for Perfect Roasted Veggies
To make your roasted veggies shine, follow these simple tips:
- Cut veggies evenly: This helps them cook at the same time.
- Use parchment paper: It keeps food from sticking and makes cleanup easy.
- Don’t overcrowd the pan: Give each veggie space to roast well.
- Stir halfway: This ensures even cooking and browning.
Serving Suggestions
Serve your fajita bowls in bright bowls for a fun look. Here are some ideas:
- Add extra toppings: Try adding cheese or salsa for more flavor.
- Garnish with lime: Squeeze fresh lime juice over the top.
- Serve with chips: For a crunchy side, add tortilla chips.
How to Customize Your Fajita Bowls
You can change your bowls to fit your taste. Here are some ways:
- Swap the grains: Use brown rice or farro instead of quinoa.
- Mix up the veggies: Try adding mushrooms or sweet potatoes.
- Add protein: Toss in black beans, grilled chicken, or shrimp for more filling.
Pro Tips
- Prep Veggies in Advance: Chop your vegetables the night before and store them in an airtight container to save time during meal prep.
- Vary Your Grains: Experiment with different bases like farro, bulgur, or cauliflower rice for a unique twist on your fajita bowls.
- Enhance the Flavor: Consider marinating the vegetables in lime juice, garlic, and spices for at least 30 minutes before roasting to deepen the flavor.
- Customize Your Toppings: Feel free to add other toppings such as sour cream, salsa, or shredded cheese for a personalized touch.
Variations
Different Vegetable Combinations
You can mix and match your veggies. Try adding mushrooms or carrots for a fun twist. Sweet potatoes can add a nice sweetness too. Keep the peppers and onions, as they give great flavor. Use any fresh veggies you love. Just remember to slice them evenly. This helps them cook at the same time.
Protein Additions (e.g., beans, chicken)
Want more protein? Add black beans or chickpeas for a hearty meal. They fit perfectly with the roasted veggies. If you prefer meat, grilled chicken works well too. Just season it with the same spices for great taste. You can also use shrimp for a seafood option. This makes your fajita bowls more filling.
Gluten-Free Options
This recipe is naturally gluten-free. Use quinoa or brown rice as your base. Both grains are gluten-free and tasty. If you want more crunch, add some corn tortillas on the side. You can crisp them up in the oven. This adds a nice texture to your bowls. Enjoy these tasty variations!
Storage Info
How to Store Leftovers
To store leftovers, let the fajita bowls cool first. Place the quinoa and veggies in an airtight container. You can keep these in the fridge for up to three days. Make sure to keep the avocado separate to prevent browning.
Reheating Instructions
When you want to eat your leftovers, take them out of the fridge. You can reheat them in the microwave for about 1-2 minutes. Stir halfway through to heat evenly. If you prefer, you can also reheat them in a skillet over medium heat for a few minutes.
Freezing Options
If you want to save some for later, freezing is a great option. Place the cooked quinoa and roasted veggies in a freezer-safe container. They will last up to three months in the freezer. When you're ready to eat, let them thaw in the fridge overnight before reheating.
FAQs
What can I substitute for quinoa?
You can use brown rice or farro. Both have great texture and taste. If you want a lower-carb option, try cauliflower rice. It cooks quickly and absorbs flavors well. Each of these options gives you a hearty base. Plus, they offer a nice twist to your bowls.
Can I make this recipe vegan?
Yes, this recipe is already vegan-friendly! All the veggies, spices, and quinoa are plant-based. Just skip the avocado if you want. You can also add beans for extra protein. Black beans or pinto beans work great in these fajita bowls.
How long does it take to roast the vegetables?
Roasting the vegetables takes about 20-25 minutes at 425°F (220°C). Stir them halfway through for even cooking. Look for them to be tender and slightly caramelized. This brings out their natural sweetness and flavors. Enjoy the aroma while they roast!
This blog post covered all you need for delicious fajita bowls. We explored fresh ingredients, cooking steps, and tips for perfect roasted veggies. You learned how to customize your bowls and make them gluten-free. Plus, we shared helpful storage info and answered common questions.
Now that you have these skills, you can impress everyone with your tasty creations. Enjoy your cooking journey and make these bowls your own!