
Latest & Greatest
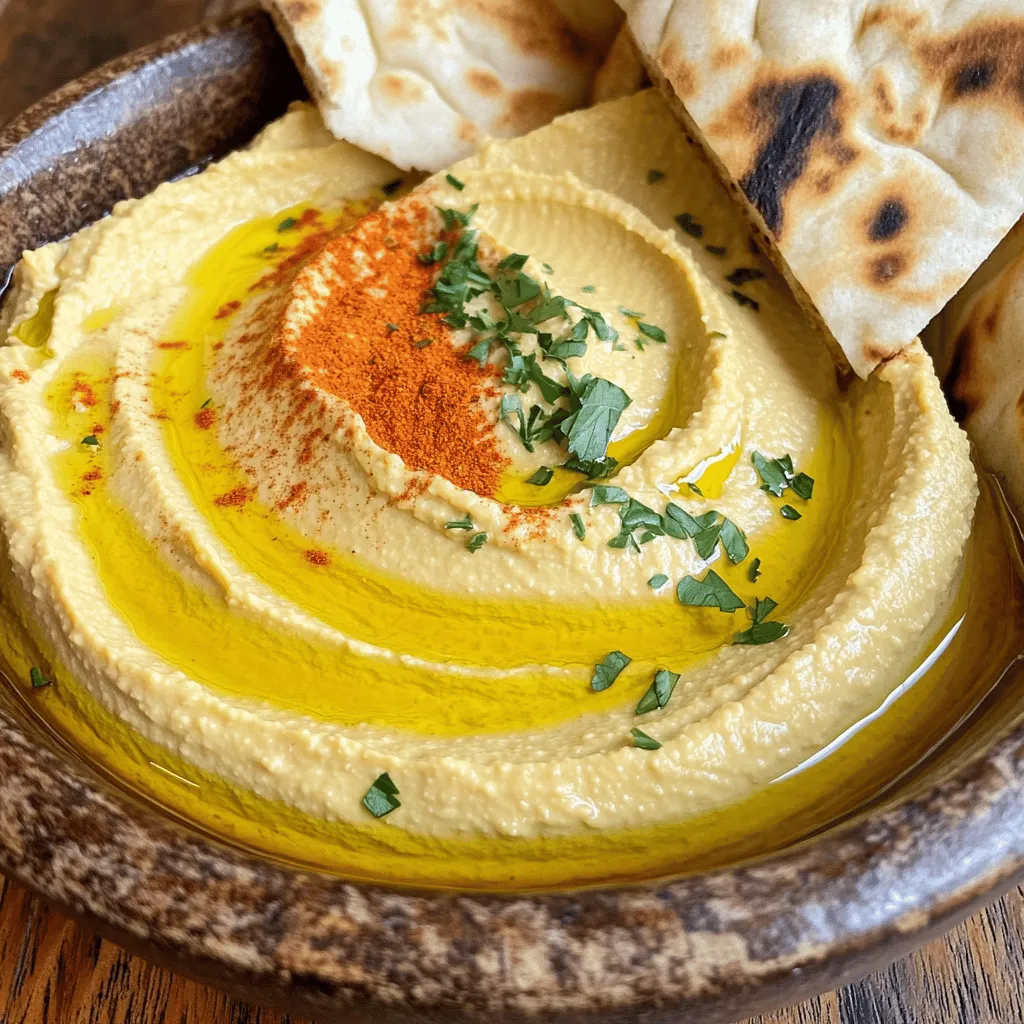
Classic Hummus Recipe Simple and Delicious Dish
Are you ready to whip up a classic hummus that’s both simple and delicious? This easy recipe uses just a
Read more…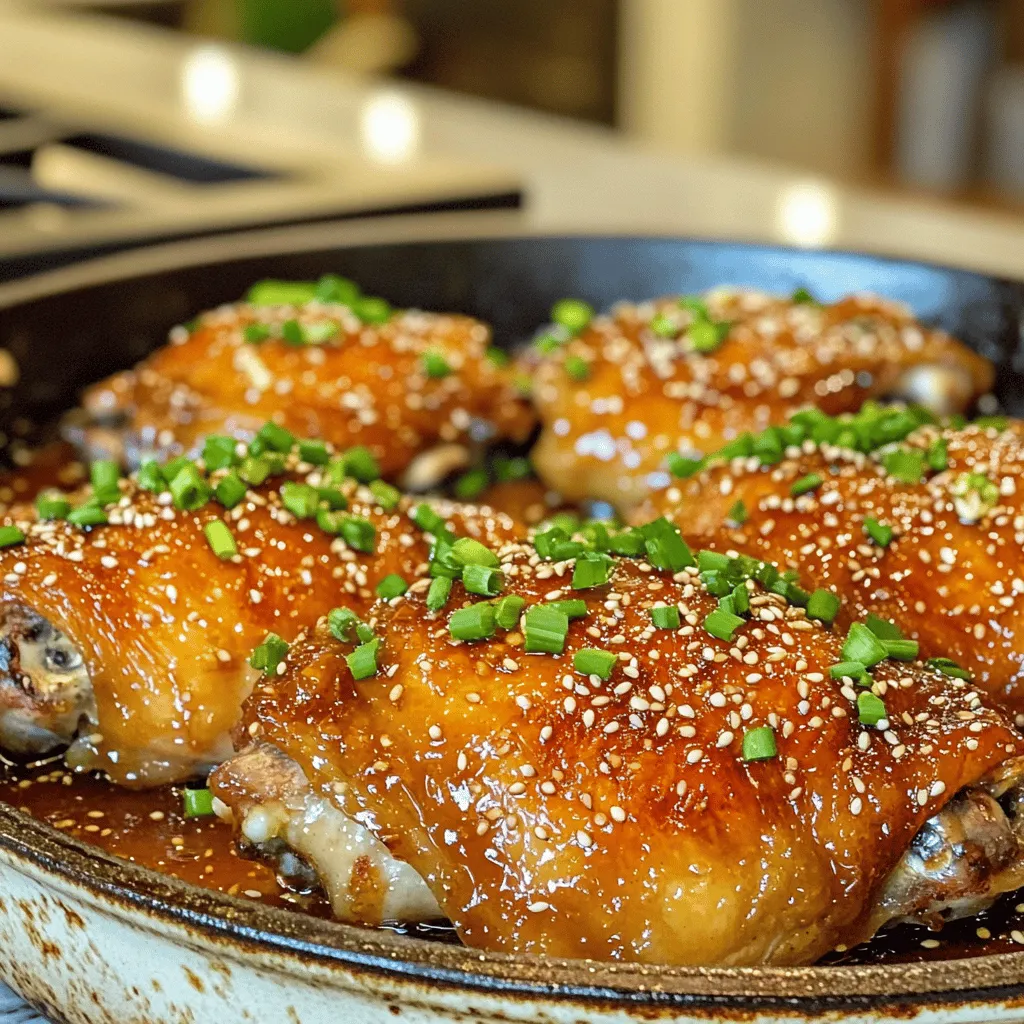
Honey Garlic Chicken Thighs Savory Dinner Delight
Welcome to the savory world of Honey Garlic Chicken Thighs! If you crave a quick, tasty dinner that bursts with
Read more…
Air Fryer Veggie Spring Rolls Crispy and Flavorful Recipe
Ready to impress your friends and family? These Air Fryer Veggie Spring Rolls are crispy, flavorful, and easy to make.
Read more…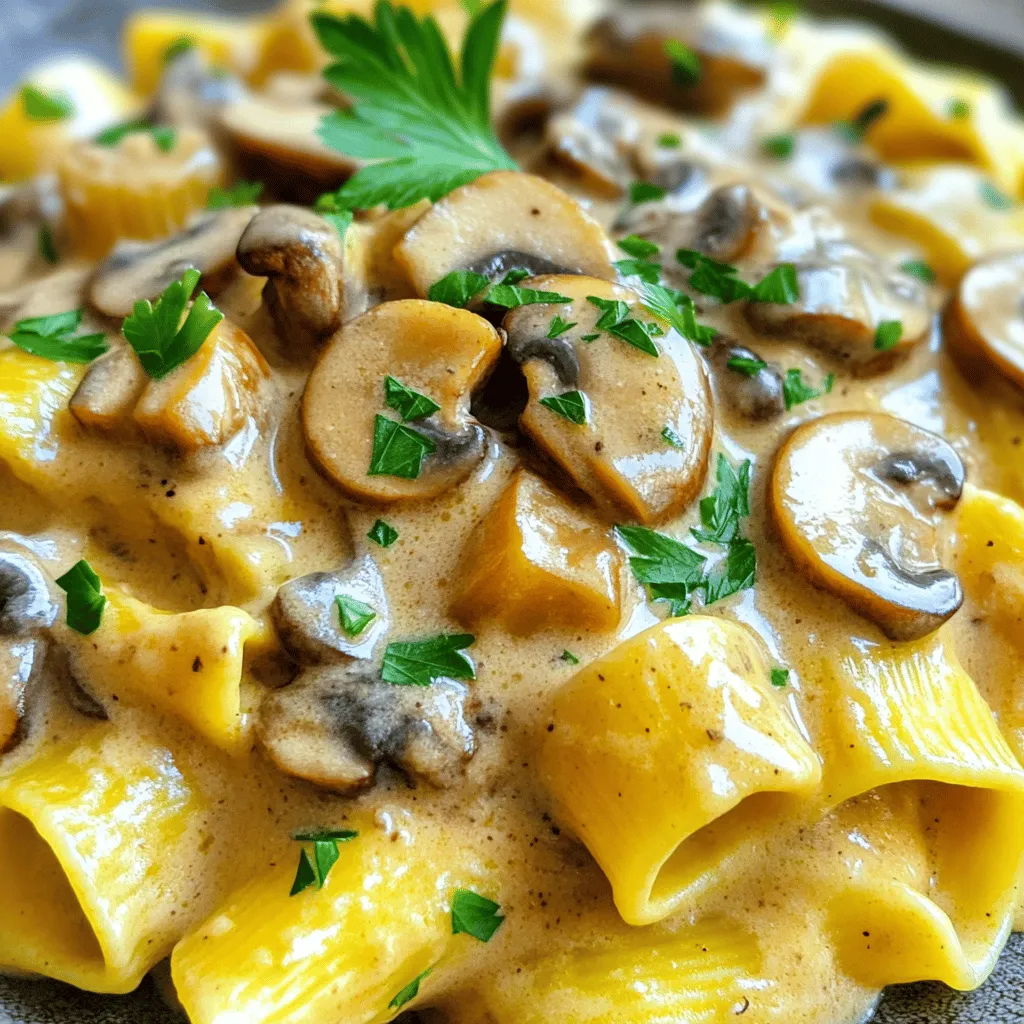
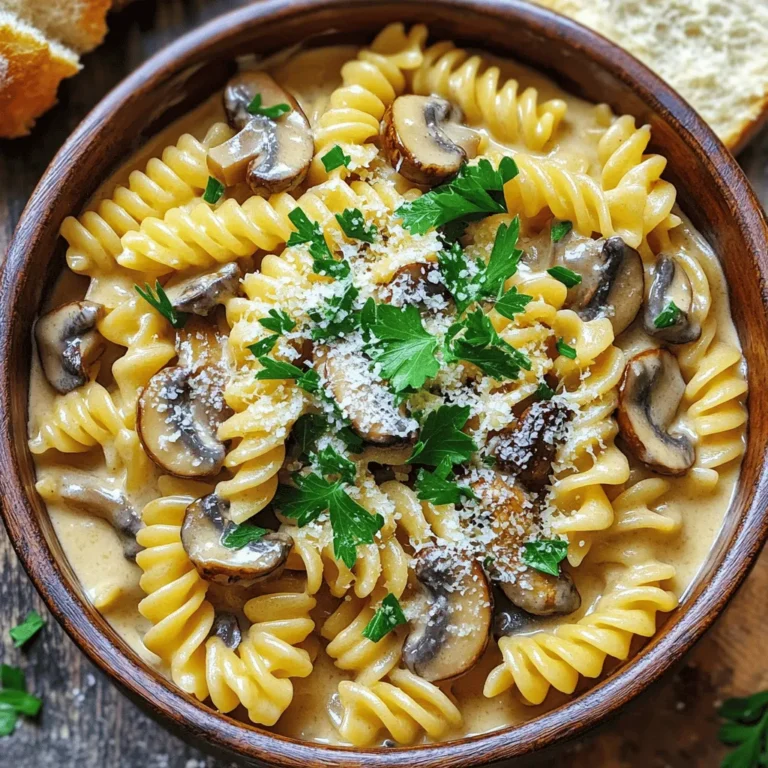
Vegan Mushroom Stroganoff Rich and Creamy Delight
Are you ready for a rich and creamy delight that satisfies your taste buds? This Vegan Mushroom Stroganoff packs a
Read more…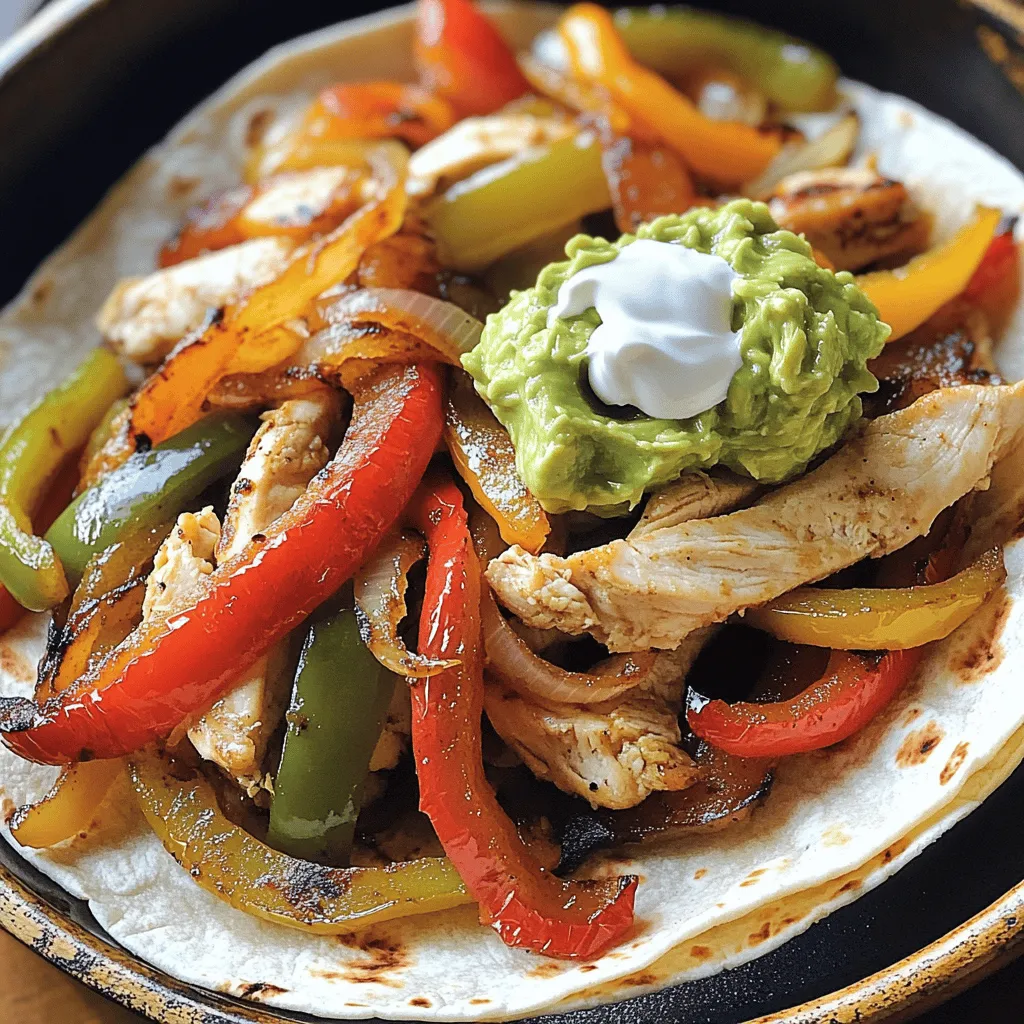
Easy Chicken Fajitas Tasty and Quick Meal Recipe
Looking for a quick and tasty meal? You’re in the right place! In this guide, I’ll show you how to
Read more…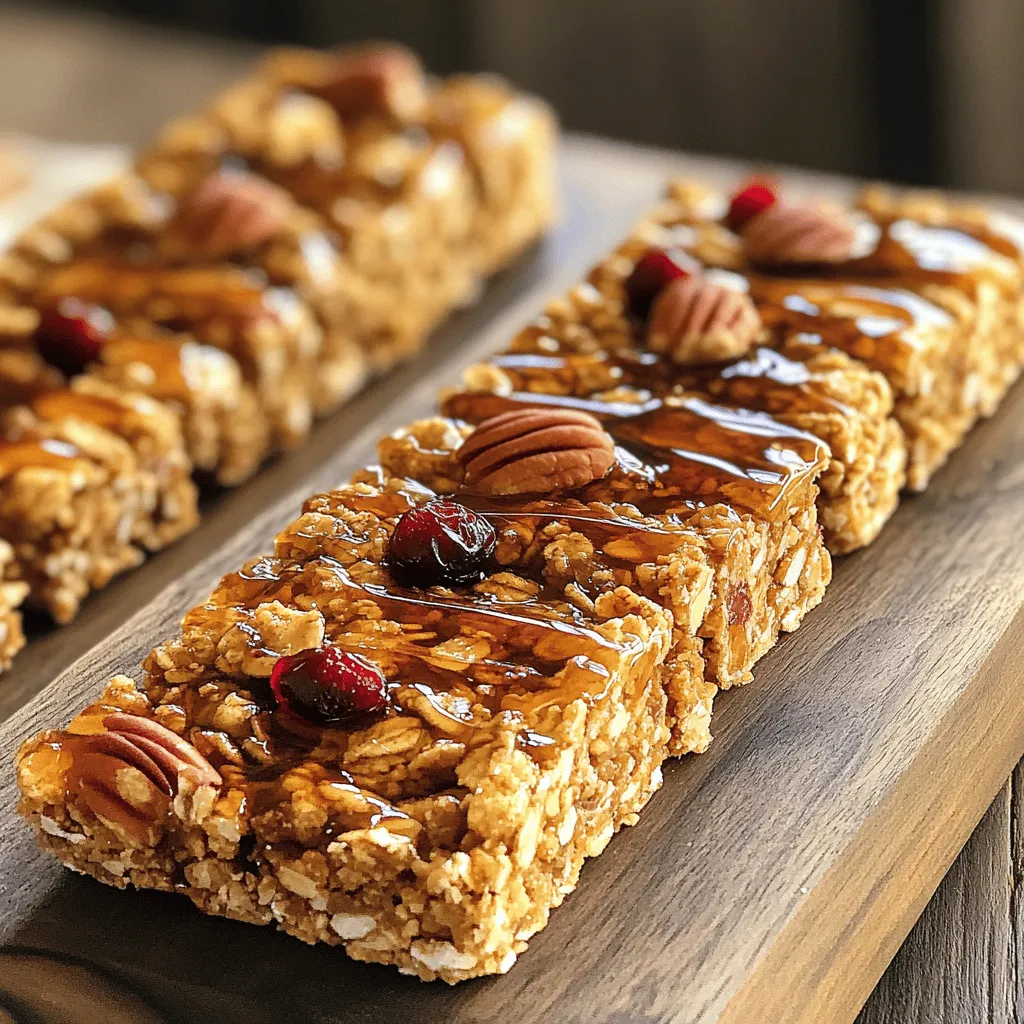
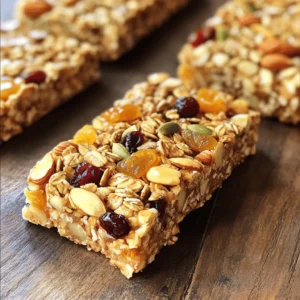
Maple Pecan Granola Bars Tasty and Easy Recipe
Are you ready to whip up a delicious snack? These Maple Pecan Granola Bars are tasty and super easy to
Read more…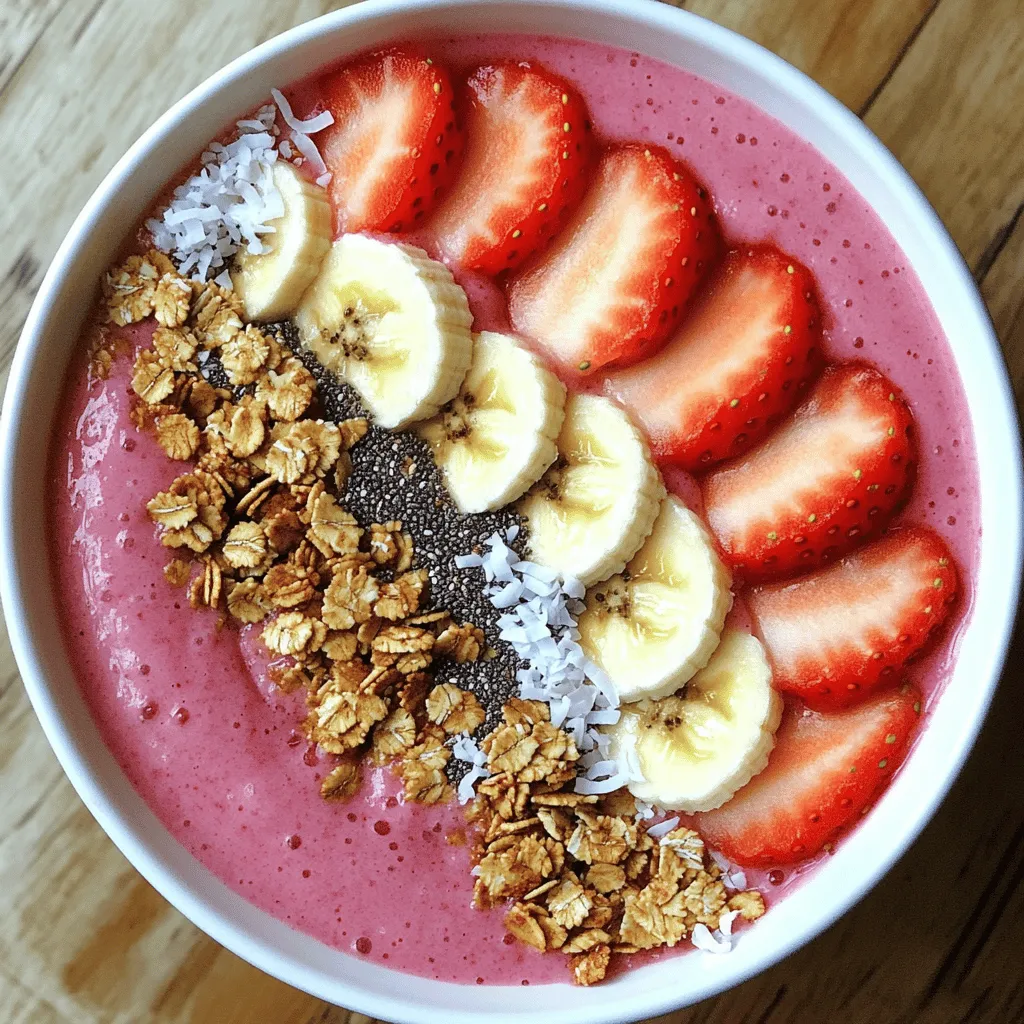
Strawberry Banana Smoothie Bowl Energizing Recipe
Are you ready to whip up a delicious and energizing breakfast? My Strawberry Banana Smoothie Bowl is quick, easy, and
Read more…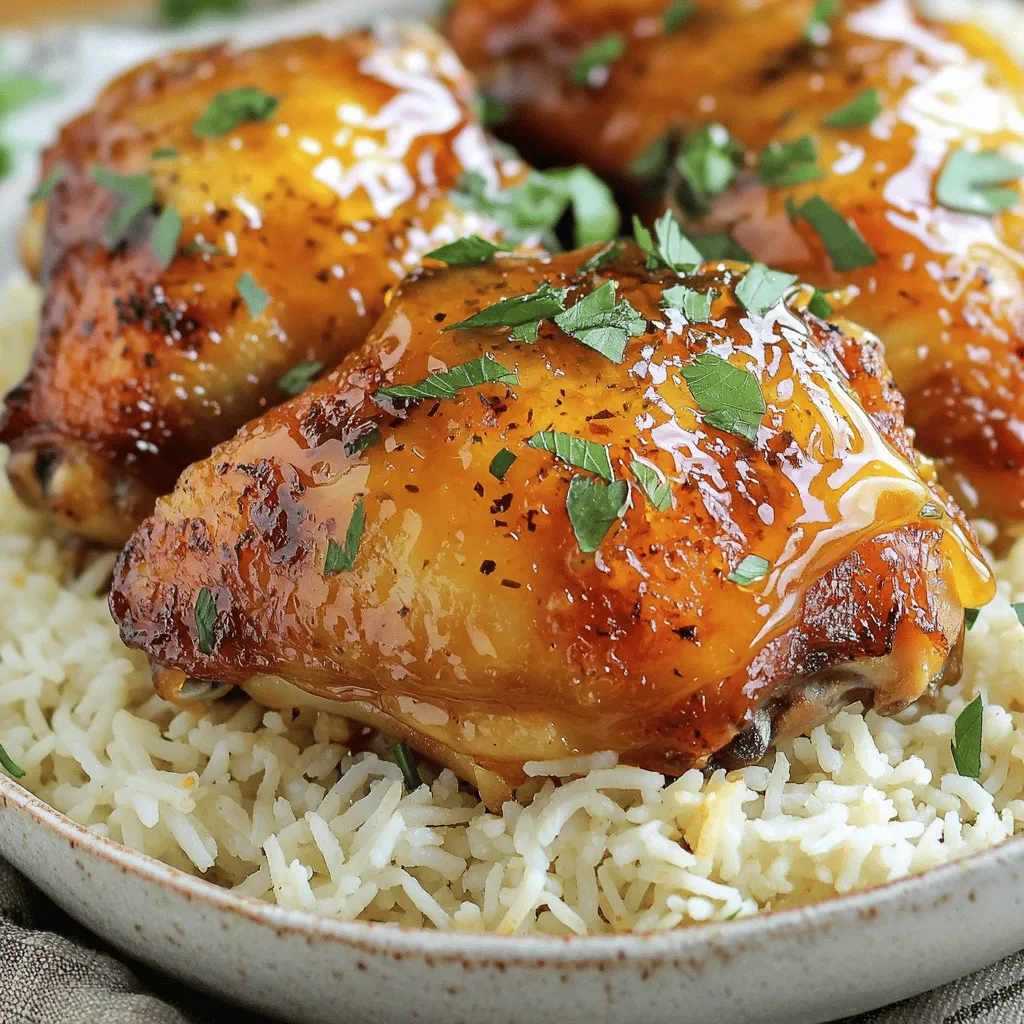
Honey Garlic Chicken Thighs Flavorful and Easy Recipe
Looking for a simple yet mouthwatering dinner option? You’re in the right place! My Honey Garlic Chicken Thighs recipe combines
Read more…browse recipes


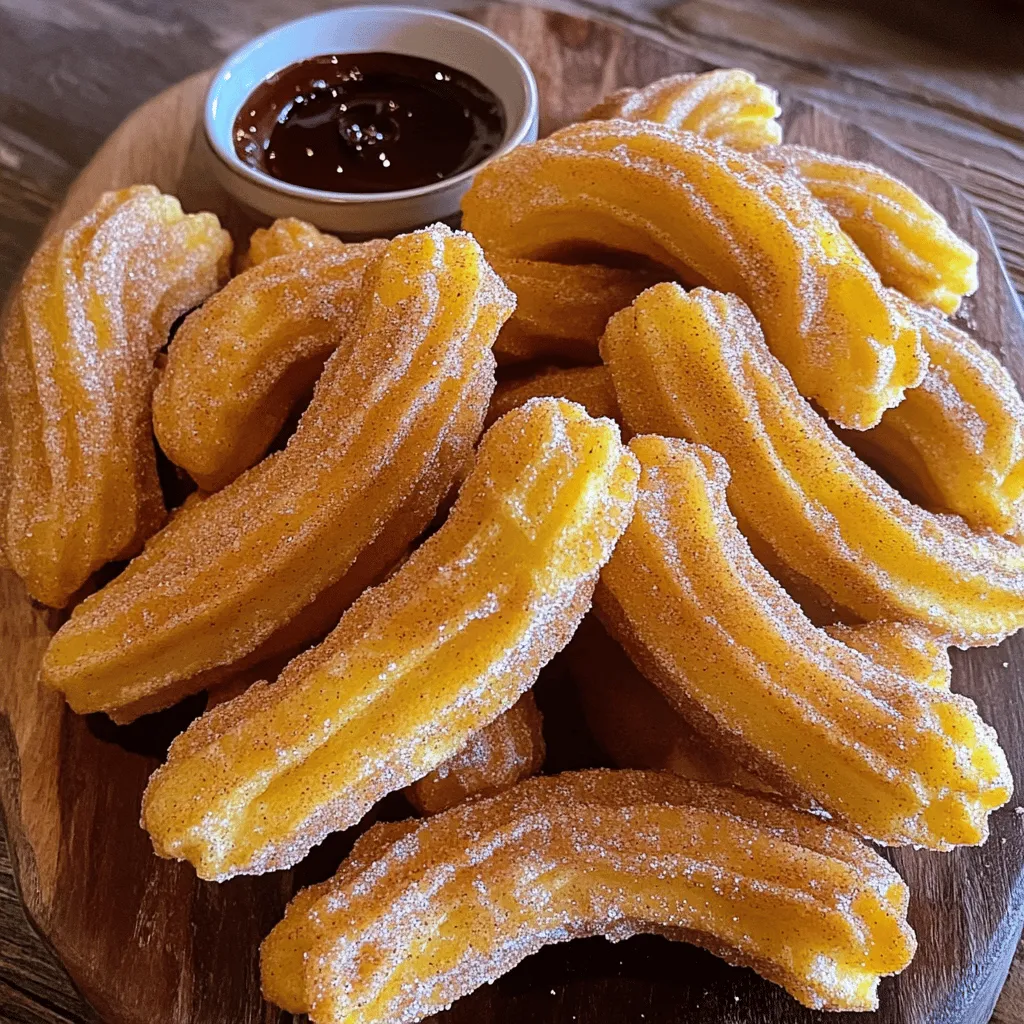
Cinnamon Sugar Churros Irresistible Sweet Treats
Are you ready to indulge in the warm and delicious world of cinnamon sugar churros? These sweet treats are crispy on the outside and…
My Latest Desserts
-

Vegan Chocolate Mug Cake Simple and Delicious Treat
Craving something sweet and easy? You’re in the right place! My vegan chocolate mug cake is quick to make and Read Full Recipe -

Chocolate Hazelnut Spread Pancakes Irresistible Treat
Get ready to indulge in a sweet breakfast treat! Imagine fluffy pancakes, warm from the skillet, drizzled with rich chocolate Read Full Recipe -
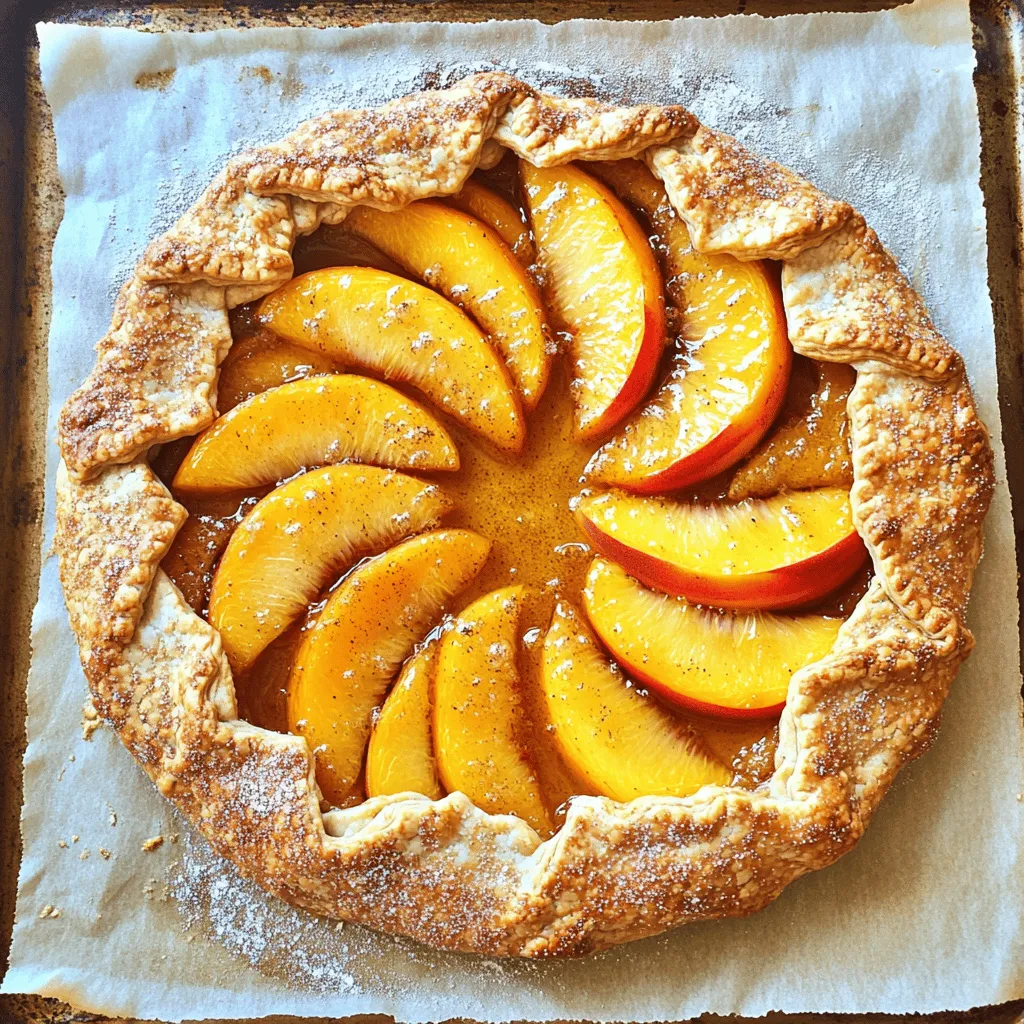
Peach Galette with Almond Crust Delightful Recipe
Are you ready to impress your friends with a stunning dessert? Try this Peach Galette with Almond Crust! This treat Read Full Recipe -
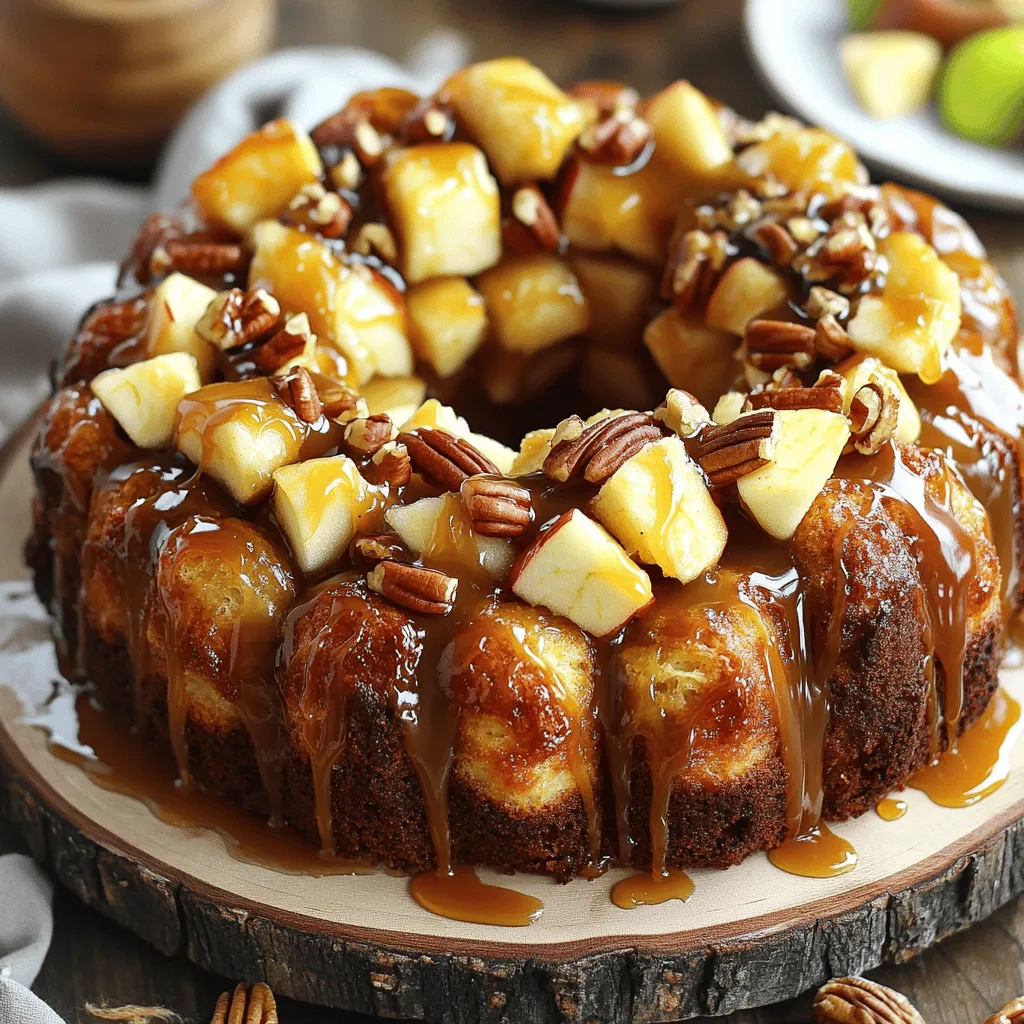
Caramel Apple Monkey Bread Irresistible Sweet Delight
Get ready to indulge in a mouthwatering treat with my Caramel Apple Monkey Bread! This sweet delight is packed with Read Full Recipe -
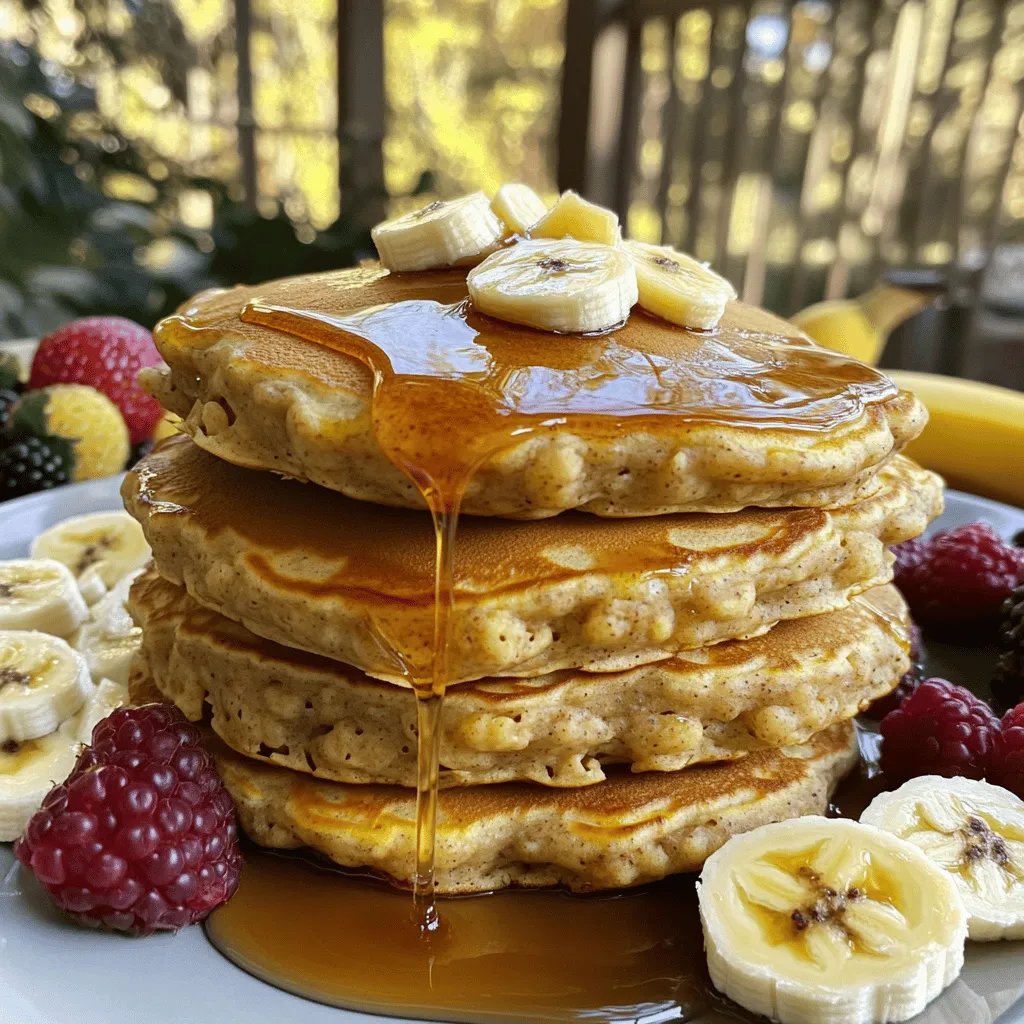
Banana Oatmeal Pancakes Simple and Nutritious Recipe
If you love pancakes but want a healthy twist, you’ll enjoy my Banana Oatmeal Pancakes! This simple recipe combines ripe Read Full Recipe -

No-Bake Chocolate Oatmeal Cookies Simple Delight
Are you ready to indulge in a sweet and easy treat? My No-Bake Chocolate Oatmeal Cookies are simple to make Read Full Recipe -

Coconut Macaroons Irresistible Sweet Treat Recipe
Are you ready to indulge in a sweet treat that is both simple and delicious? Coconut macaroons are the perfect Read Full Recipe -
Chocolate Peanut Butter Protein Balls Simple and Easy
If you’re looking for a quick snack loaded with flavor and nutrition, you’re in the right place! Chocolate Peanut Butter Read Full Recipe -
Banana Oatmeal Muffins Tasty and Simple Recipe
Looking for a tasty and easy treat? These Banana Oatmeal Muffins fit the bill! Made with ripe bananas, rolled oats, Read Full Recipe -
Cinnamon Sugar Churros Irresistible Sweet Treats
Are you ready to indulge in the warm and delicious world of cinnamon sugar churros? These sweet treats are crispy Read Full Recipe
My Latest Recipes

hey,
i’m !
I’m so happy you’re here!
From my kitchen to your table, each dish is a labor of love. May they delight your palate and warm your heart. Let’s savor the beauty of cooking together.
![To make tasty cauliflower buffalo wings, you need a few key items: - 1 large head of cauliflower, cut into bite-sized florets - 1 cup all-purpose flour (or gluten-free flour) - 1 teaspoon garlic powder - 1 teaspoon onion powder - 1 teaspoon smoked paprika - 1/2 teaspoon salt - 1/4 teaspoon black pepper - 1 cup water (adjust as needed) These ingredients create a crispy coating for the cauliflower. The flour gives it structure, while the spices add flavor. For the sauce and to dip, consider these options: - 1 cup buffalo sauce (store-bought or homemade) - 2 tablespoons melted vegan butter (or regular butter) - Suggested garnishes: fresh parsley or chopped green onions The buffalo sauce brings heat and flavor. Mixing it with vegan butter adds richness. You can serve the wings with celery sticks and your choice of blue cheese or ranch dressing for extra flavor. To prepare your cauliflower buffalo wings, gather the following tools: - Baking sheet and parchment paper - Mixing bowls and whisk - Measuring cups and spoons Using parchment paper helps with cleanup. Mixing bowls make it easy to combine ingredients. Measuring cups and spoons ensure you get the right amounts for the best taste. For the full recipe, check out the complete guide! Preheating the oven Start by preheating your oven to 450°F (230°C). This step is key for crispy wings. While the oven heats up, line a baking sheet with parchment paper. This makes cleanup easy and helps the cauliflower not stick. Cutting the cauliflower into florets Take a large head of cauliflower and remove the leaves. Cut the cauliflower into bite-sized florets. Ensure they are even in size. This helps them cook evenly. You want pieces that are not too small, so they hold up well during baking. Mixing dry ingredients In a mixing bowl, combine 1 cup of all-purpose flour, 1 teaspoon of garlic powder, 1 teaspoon of onion powder, 1 teaspoon of smoked paprika, 1/2 teaspoon of salt, and 1/4 teaspoon of black pepper. Mix these dry ingredients well. This blend gives the wings a great flavor. Achieving the perfect batter consistency Gradually add 1 cup of water to the dry mix. Whisk until you get a smooth, thick batter. It should be thick enough to coat the cauliflower but not so thick that it drips off. If needed, adjust with a bit more water or flour. Initial baking process Dip each cauliflower floret into the batter. Make sure each piece is well-coated. Shake off any extra batter. Place the florets evenly on the baking sheet. Bake in the preheated oven for 20 minutes. This makes them crispy. Final baking steps after coating in sauce While the cauliflower bakes, mix 1 cup of buffalo sauce with 2 tablespoons of melted butter. After 20 minutes, take the baking sheet out. Toss the baked cauliflower in the buffalo sauce until well coated. Return the coated wings to the oven for another 10-15 minutes. This final bake allows the sauce to set and adds extra crispiness. To make the crispiest cauliflower buffalo wings, you need a good batter. Use a thick batter to coat each floret well. This helps create a crispy crust. Bake the wings on parchment paper to prevent sticking. Space them out on the sheet. This allows hot air to circulate around them. To prevent sogginess, do not overcrowd the baking sheet. If they touch, steam builds up. Steam makes wings soft instead of crispy. You can also bake them longer if needed. Just watch them closely to avoid burning. Adding spices to the batter can boost flavor. Try adding cayenne pepper for heat. You can also mix in cumin or Italian herbs. This makes the batter more exciting and tasty. For alternative sauces, try BBQ or teriyaki. You can also use a honey mustard sauce. These different sauces keep the meal fresh and fun each time you make it. Serving and garnishing can make your wings look great. Arrange the wings on a platter with celery sticks. Add a bowl of blue cheese or ranch dip in the center. This makes a nice display for parties. For plating suggestions, use large plates or bowls. Stack the wings high for an enticing look. Sprinkle fresh parsley or green onions on top for color. A good presentation makes your dish even more inviting. For the full recipe, check [Full Recipe]. {{image_2}} You can play with sauces to change the flavor. For a sweet twist, try honey mixed with hot sauce. This sweet and spicy mix is a crowd-pleaser. You can also make a barbecue version! Just swap buffalo sauce for your favorite BBQ sauce. Your guests will love these options. Dipping sauces can make a big difference too. Ranch dressing is a classic choice. It cools the heat from buffalo sauce. Blue cheese dressing is another great option. Its creamy texture pairs well with the spicy wings. If you need gluten-free options, use gluten-free flour. Almond flour or chickpea flour works well. These flours keep the wings crispy. They still taste amazing! For vegan-friendly options, use plant-based butter. This keeps your wings tasty without dairy. Also, make sure your buffalo sauce is vegan. Many brands offer delicious vegan choices. You can add fun ingredients to the batter. Try mixing in herbs like parsley or cilantro. They add fresh flavor to each bite. You can also toss in chopped vegetables like spinach or bell peppers for extra nutrition. Experimenting with seasonings is also fun. Add cayenne for more heat or smoked paprika for a deeper flavor. The more you play, the more unique your wings will be. Enjoy creating your own version of cauliflower buffalo wings! For the full recipe, check out the link above. To keep your cauliflower buffalo wings fresh, store them in an airtight container. Make sure the wings cool down before sealing. They will last in the fridge for about 3 to 5 days. If you want to enjoy them later, refrigeration is the best option. The best way to reheat cauliflower wings is in the oven. Preheat your oven to 375°F (190°C). Spread the wings on a baking sheet. Heat them for about 10 to 15 minutes until they feel warm and crispy. You can use a microwave, but it may make them soft. To keep them crispy, avoid the microwave if you can. You can freeze cauliflower wings before or after baking. If you freeze them before baking, coat them in batter and place them on a baking sheet. Once they’re frozen, transfer them to a freezer bag. If you freeze after baking, let them cool first. Use the same method for storage. For thawing, place them in the fridge overnight. You can also reheat them directly from the freezer. Just add a few extra minutes to the baking time. Enjoy your tasty cauliflower buffalo wings anytime! For detailed steps, check the Full Recipe. To make cauliflower buffalo wings gluten-free, use gluten-free flour. Some great options are almond flour and chickpea flour. You can also use a store-bought gluten-free flour blend. These flours work well in the batter. They give a nice crunch and flavor. Just follow the same steps in the recipe. You will enjoy tasty wings without gluten! Yes, you can use an air fryer for cauliflower buffalo wings. First, prepare the batter as usual. Then coat the cauliflower florets. Place them in a single layer in the air fryer basket. Cook at 400°F (200°C) for about 12-15 minutes. Check halfway through and shake the basket. This method gives you a crispy texture without much oil. Some great dipping sauces for cauliflower buffalo wings include ranch dressing and blue cheese dressing. They both balance the spicy heat well. You can also try honey mustard for a sweet twist. If you want something different, try a creamy avocado dip. Each sauce adds unique flavors to your wings! The spice level of the cauliflower buffalo wings can vary. The heat comes from the buffalo sauce used. If you like less spice, use a milder buffalo sauce. You can also mix in some yogurt or sour cream to tone it down. For more heat, add extra hot sauce to the recipe. Adjust it to your taste! Cauliflower buffalo wings are a healthier option than traditional wings. They are lower in calories and fat. Cauliflower is high in fiber and vitamins. This makes them a great choice for health-conscious eaters. You can enjoy the flavor without the guilt. Plus, they are plant-based, making them good for vegan diets. Check the full recipe for detailed nutritional info! In this blog post, we explored making delicious cauliflower buffalo wings. We covered essential ingredients like cauliflower, flour, and seasonings. You also learned about tasty sauces, equipment needed, and the step-by-step process from preparation to baking. We shared tips for the best texture and flavor variations to try. Finally, we discussed storage methods for leftovers to enjoy later. By following these steps and tips, you can create a tasty, healthier snack that everyone will love. Enjoy your cooking!](https://homecookingstyle.com/wp-content/uploads/2025/04/111c091e-de5e-479c-b933-097f88dcab8e-300x300.webp)
![To make Lemon Garlic Roasted Brussels Sprouts, you need simple, fresh ingredients. Here’s what you'll need: - 1 pound Brussels sprouts, trimmed and halved - 3 tablespoons olive oil - 4 cloves garlic, minced - Zest and juice of 1 lemon - 1 teaspoon honey (or maple syrup) - Salt and pepper to taste - 2 tablespoons grated Parmesan cheese (optional) - Fresh parsley for garnish Each ingredient plays a key role in creating a tasty dish. The Brussels sprouts bring a nutty flavor, while the lemon adds a bright, zesty note. Garlic gives depth and warmth, making every bite so good. The honey or maple syrup balances the flavors nicely. Don’t forget the salt and pepper; they enhance everything! Using fresh parsley for garnish adds a pop of color and freshness. If you want to take it up a notch, sprinkle some grated Parmesan cheese on top before serving. This recipe is all about balance and brightness, making it a perfect side for any meal. For the full recipe, check out the detailed instructions and tips. 1. First, preheat your oven to 425°F (220°C). This helps the Brussels sprouts roast perfectly. 2. In a large bowl, mix the halved Brussels sprouts with olive oil, minced garlic, lemon zest, lemon juice, and honey. Toss them well to coat evenly. 3. Next, season the mixture with salt and pepper to your taste. This step adds flavor to your dish. 1. Spread the Brussels sprouts on a baking sheet. Make sure they are in a single layer. This helps them roast evenly. 2. Roast them in the preheated oven for 25-30 minutes. Stir them halfway through for even cooking. Look for a golden brown color and crispy edges. 1. Once done, take them out of the oven. If you like, sprinkle grated Parmesan cheese on top. This adds a nice touch of flavor. 2. Don’t forget to add fresh chopped parsley for color and freshness. 3. Serve immediately and enjoy the zesty flavors! For more details, check the Full Recipe. To pick the best Brussels sprouts, look for tight, green buds. They should feel firm and heavy. Avoid any that are yellow or have brown spots. Fresh sprouts will have a vibrant green color. If you can, buy them still on the stalk. This keeps them fresh longer. For crispy Brussels sprouts, make sure to space them out on the baking sheet. If they touch, they will steam instead of roast. This can lead to soggy sprouts, which no one wants. A hot oven is also key. Preheat it to 425°F (220°C). Stir them halfway through cooking for even browning. To boost the flavor, try adding herbs or spices. Rosemary or thyme work well with lemon. You can also sprinkle some red pepper flakes for a bit of heat. For a sweet touch, consider adding a dash of balsamic vinegar. These tweaks can take your dish to the next level. For the complete guide, check the Full Recipe. {{image_2}} You can easily make this dish vegan. Just swap honey for maple syrup. Maple syrup adds a sweet touch without any animal products. This change keeps the dish tasty while being plant-based. I love how it blends well with lemon and garlic. Want to add some protein? You can toss in crispy bacon or roasted chickpeas. Bacon gives a savory crunch that pairs well with the sprouts. Chickpeas are a great vegan option, adding both protein and texture. Choose what suits your taste best. Don't be afraid to mix in different spices or sauces. Try smoked paprika for a warm flavor, or chili flakes for some heat. You could also drizzle balsamic glaze for a sweet tang. Each tweak brings a new vibe to the dish. Experimenting can lead to your own favorite version! For the full recipe, check out the [Full Recipe]. To keep your Lemon Garlic Roasted Brussels Sprouts fresh, store them in an airtight container. Make sure to let them cool first. This helps maintain their taste and texture. Place the sprouts in the fridge for up to three days. If you have a lot, you can separate them into smaller containers. This way, you can take out just what you need. When reheating, aim for the oven or air fryer. Both methods make the sprouts crispy again. Preheat your oven to 350°F (175°C). Spread the sprouts on a baking sheet and heat for about 10-15 minutes. If using an air fryer, set it to 350°F (175°C) and cook for 5-8 minutes. Check often to avoid burning. This keeps the flavors bright and fresh. If you want to freeze your Brussels sprouts, it’s best to do it before cooking. First, wash and trim them. Then, blanch the sprouts in boiling water for 3-5 minutes. After that, cool them in ice water to stop cooking. Drain and pack them in freezer bags. Remove as much air as possible before sealing. You can freeze them for up to three months. When you're ready to use them, thaw them in the fridge overnight. Cook them straight from frozen or roast them for a quick meal. For the full recipe, check out the earlier sections. To make Lemon Garlic Roasted Brussels Sprouts, follow these simple steps. First, preheat your oven to 425°F (220°C). Next, take 1 pound of Brussels sprouts, trim them, and cut them in half. In a bowl, mix the halved Brussels sprouts with 3 tablespoons of olive oil, 4 minced garlic cloves, lemon zest, and juice from 1 lemon. Add 1 teaspoon of honey and season with salt and pepper. Toss everything well to coat. Spread the sprouts in a single layer on a baking sheet. Roast for 25-30 minutes, stirring halfway through. When they turn golden brown, they are ready! If you like, sprinkle with Parmesan cheese and parsley. For the full details, check the Full Recipe. Yes, you can use frozen Brussels sprouts. However, you will need to adjust the cooking time. Frozen sprouts may take longer to roast. Start by roasting them for about 30-35 minutes. Check for doneness by looking for a golden color. You might also want to thaw them before roasting for better results. This step helps avoid excess moisture and keeps them crispy. Lemon Garlic Roasted Brussels Sprouts pair well with many dishes. Try serving them with roasted chicken or grilled fish for a balanced meal. They also complement quinoa or rice nicely. For a vegetarian option, serve them with a hearty bean salad. Adding a simple green salad on the side enhances the meal's freshness. This dish is not only tasty but also nutritious. One serving of Lemon Garlic Roasted Brussels Sprouts contains about 120 calories. It has healthy fats from olive oil and fiber from Brussels sprouts. You also get vitamins C and K, which are great for your health. If you add Parmesan cheese, remember to account for the extra calories and fat. In this blog post, we covered how to make delicious Lemon Garlic Roasted Brussels sprouts. We explored fresh ingredients, easy steps for preparation, and cooking methods for perfectly roasted sprouts. I shared tips for choosing quality ingredients and enhancing flavors. You can also adapt the recipe to fit your diet. Finally, I provided storage tips to keep your leftovers fresh. Enjoy cooking this tasty dish and impress your friends and family with your skills!](https://homecookingstyle.com/wp-content/uploads/2025/05/6aa7f305-4067-4afe-a6f1-81e6ff1afe29-300x300.webp)
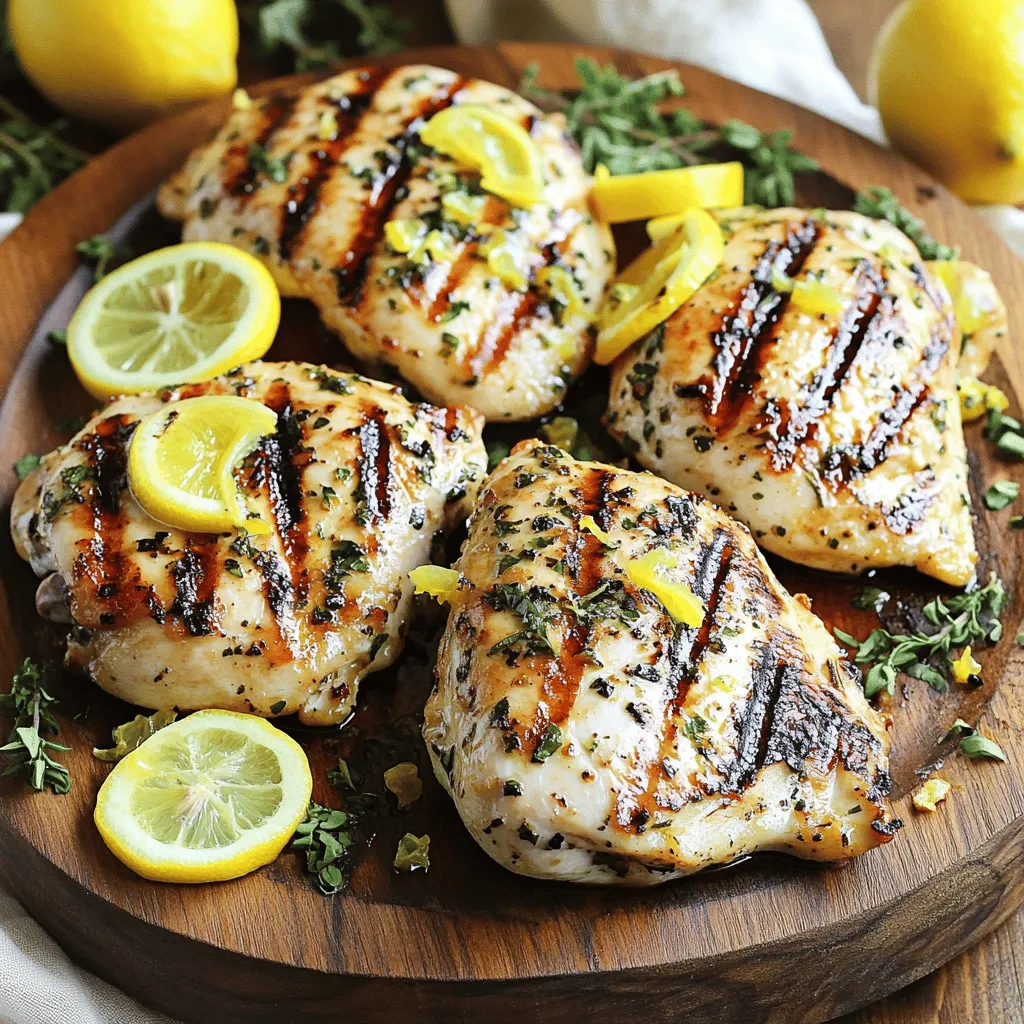
Lemon Garlic Herb Grilled Chicken Flavorful Recipe
If you’re craving a dish that bursts with flavor, look no further! This Lemon Garlic Herb Grilled Chicken recipe combines juicy chicken breasts with…