


Latest & Greatest

Cinnamon Sugar Churros Irresistible Sweet Treats
Are you ready to indulge in the warm and delicious world of cinnamon sugar churros? These sweet treats are crispy
Read more…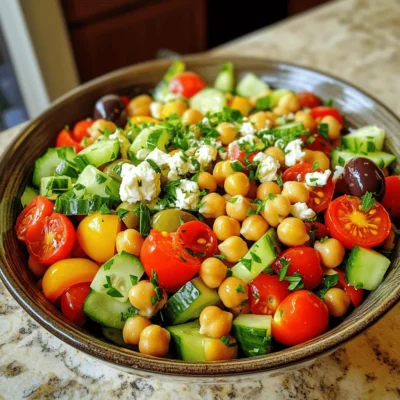
Mediterranean Chickpea Salad Flavorful and Fresh Meal
Ready to elevate your meal game? This Mediterranean Chickpea Salad offers vibrant flavors and fresh ingredients that make every bite
Read more…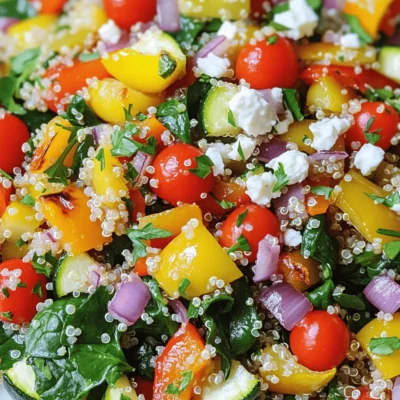
Roasted Vegetable Quinoa Salad Fresh and Flavorful Dish
Are you ready to enjoy a super tasty and healthy dish? This Roasted Vegetable Quinoa Salad packs a punch with
Read more…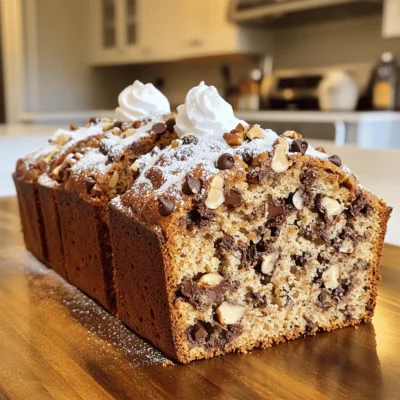
Chocolate Chip Banana Bread Simple and Tasty Recipe
Are you craving a delicious treat that’s simple to make? Look no further! This Chocolate Chip Banana Bread recipe blends
Read more…
Spicy Thai Basil Chicken Quick and Flavorful Recipe
Do you crave a dish that packs a flavor punch? Spicy Thai Basil Chicken is your answer! This quick recipe
Read more…
Cinnamon Roll Casserole Flavorful Breakfast Delight
Are you ready to transform your breakfast game? This Cinnamon Roll Casserole is a flavorful delight that brings comfort food
Read more…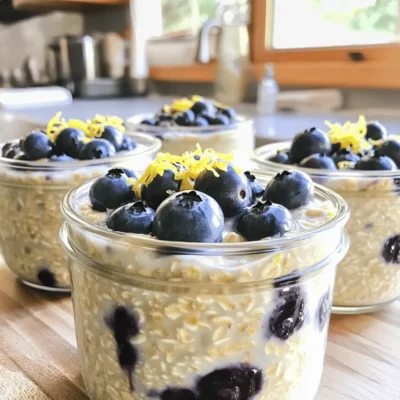
Lemon Blueberry Overnight Oats Simple and Tasty Recipe
Start your day on a bright note with Lemon Blueberry Overnight Oats! This simple recipe packs tangy lemon and sweet
Read more…
Garlic Herb Roasted Potatoes Crispy and Flavorful Delight
If you crave crispy, flavorful potatoes, you’re in for a treat! My Garlic Herb Roasted Potatoes are the perfect side
Read more…browse recipes


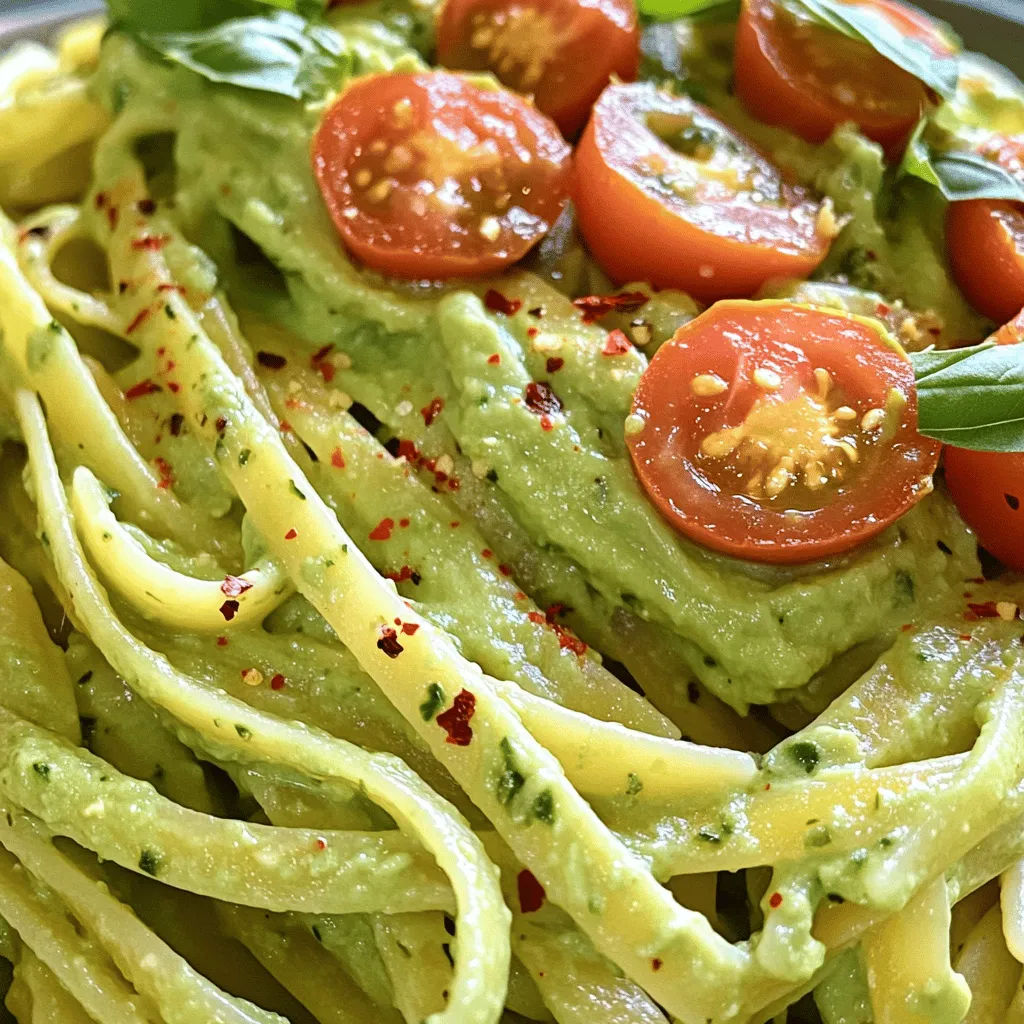
Creamy Avocado Pasta Quick and Tasty Weeknight Meal
Looking for a quick and tasty meal? This Creamy Avocado Pasta is your answer! In just 30 minutes, you can whip up a delicious,…
My Latest Desserts
-

Vegan Chocolate Mug Cake Simple and Delicious Treat
Craving something sweet and easy? You’re in the right place! My vegan chocolate mug cake is quick to make and Read Full Recipe -

Chocolate Hazelnut Spread Pancakes Irresistible Treat
Get ready to indulge in a sweet breakfast treat! Imagine fluffy pancakes, warm from the skillet, drizzled with rich chocolate Read Full Recipe -

Peach Galette with Almond Crust Delightful Recipe
Are you ready to impress your friends with a stunning dessert? Try this Peach Galette with Almond Crust! This treat Read Full Recipe -
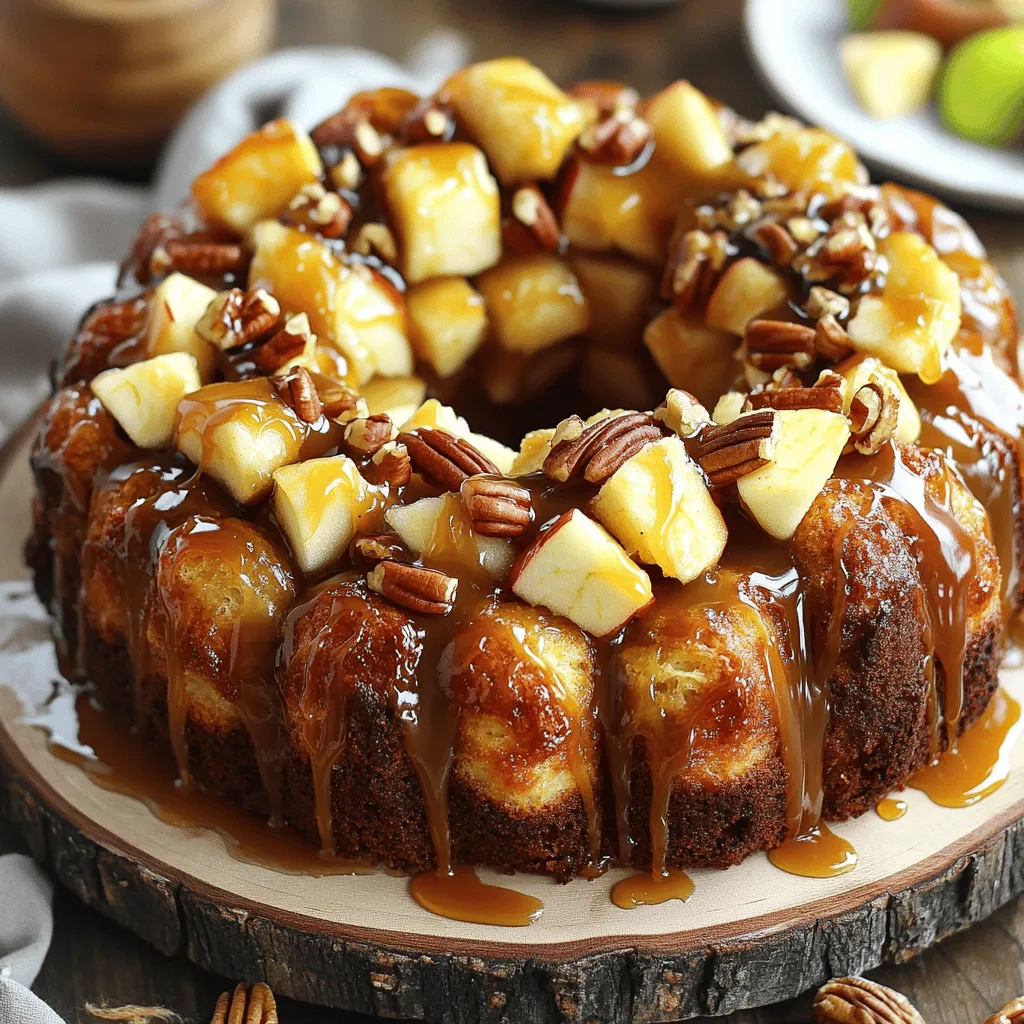
Caramel Apple Monkey Bread Irresistible Sweet Delight
Get ready to indulge in a mouthwatering treat with my Caramel Apple Monkey Bread! This sweet delight is packed with Read Full Recipe -
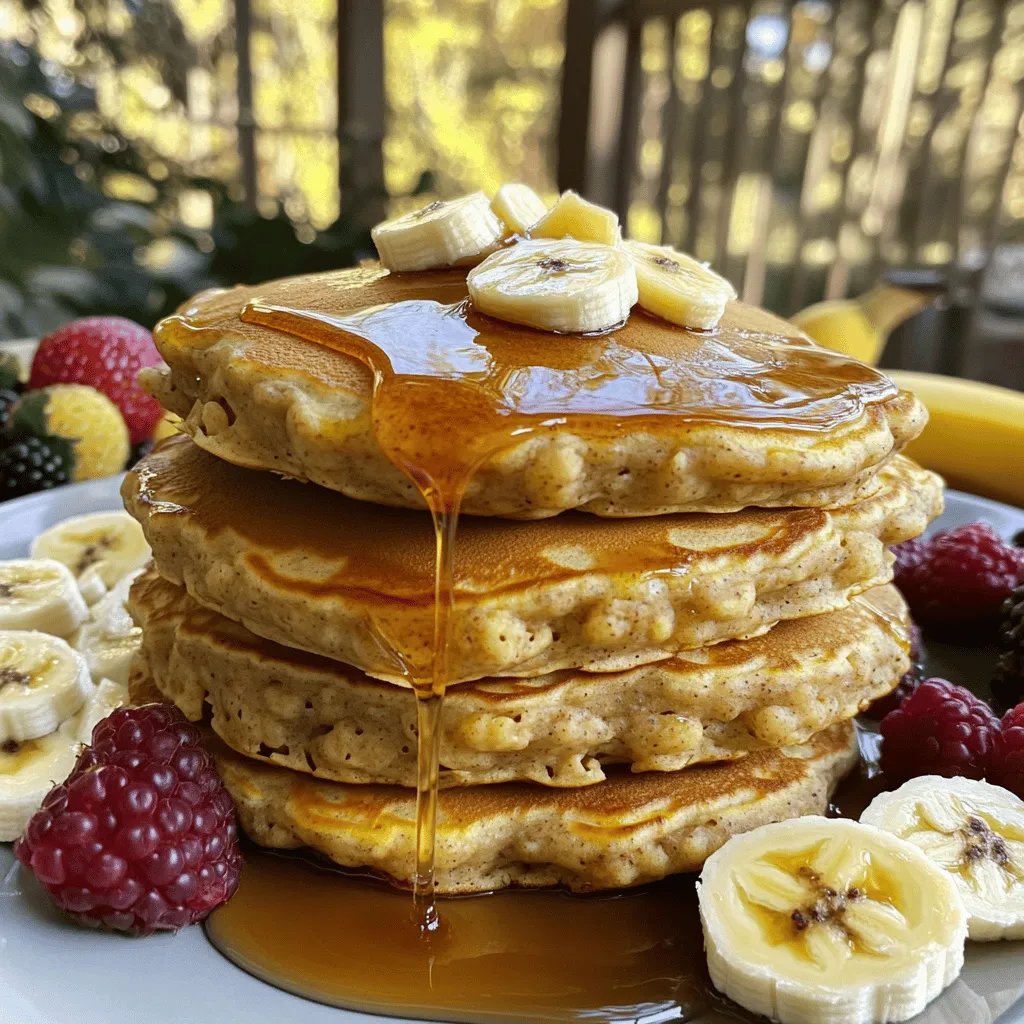
Banana Oatmeal Pancakes Simple and Nutritious Recipe
If you love pancakes but want a healthy twist, you’ll enjoy my Banana Oatmeal Pancakes! This simple recipe combines ripe Read Full Recipe -

No-Bake Chocolate Oatmeal Cookies Simple Delight
Are you ready to indulge in a sweet and easy treat? My No-Bake Chocolate Oatmeal Cookies are simple to make Read Full Recipe -

Coconut Macaroons Irresistible Sweet Treat Recipe
Are you ready to indulge in a sweet treat that is both simple and delicious? Coconut macaroons are the perfect Read Full Recipe -
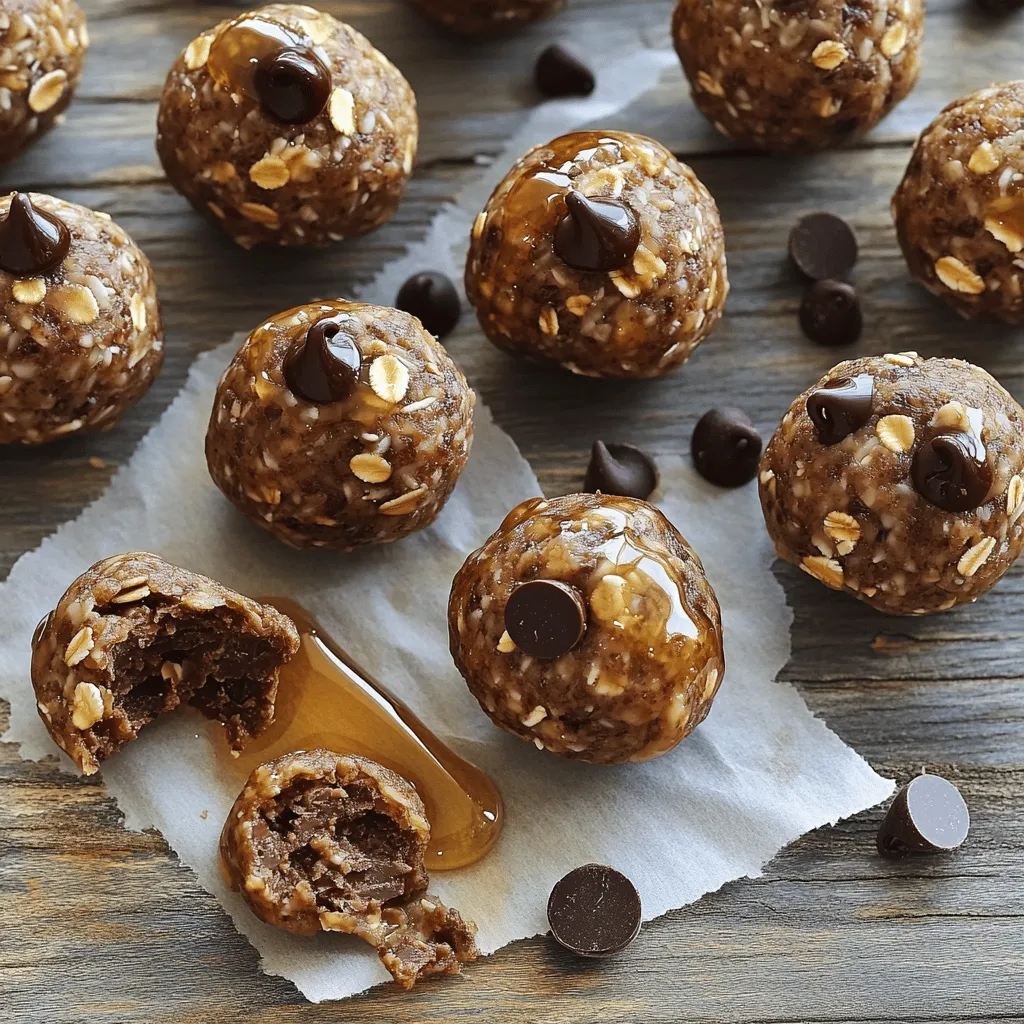
Chocolate Peanut Butter Protein Balls Simple and Easy
If you’re looking for a quick snack loaded with flavor and nutrition, you’re in the right place! Chocolate Peanut Butter Read Full Recipe -
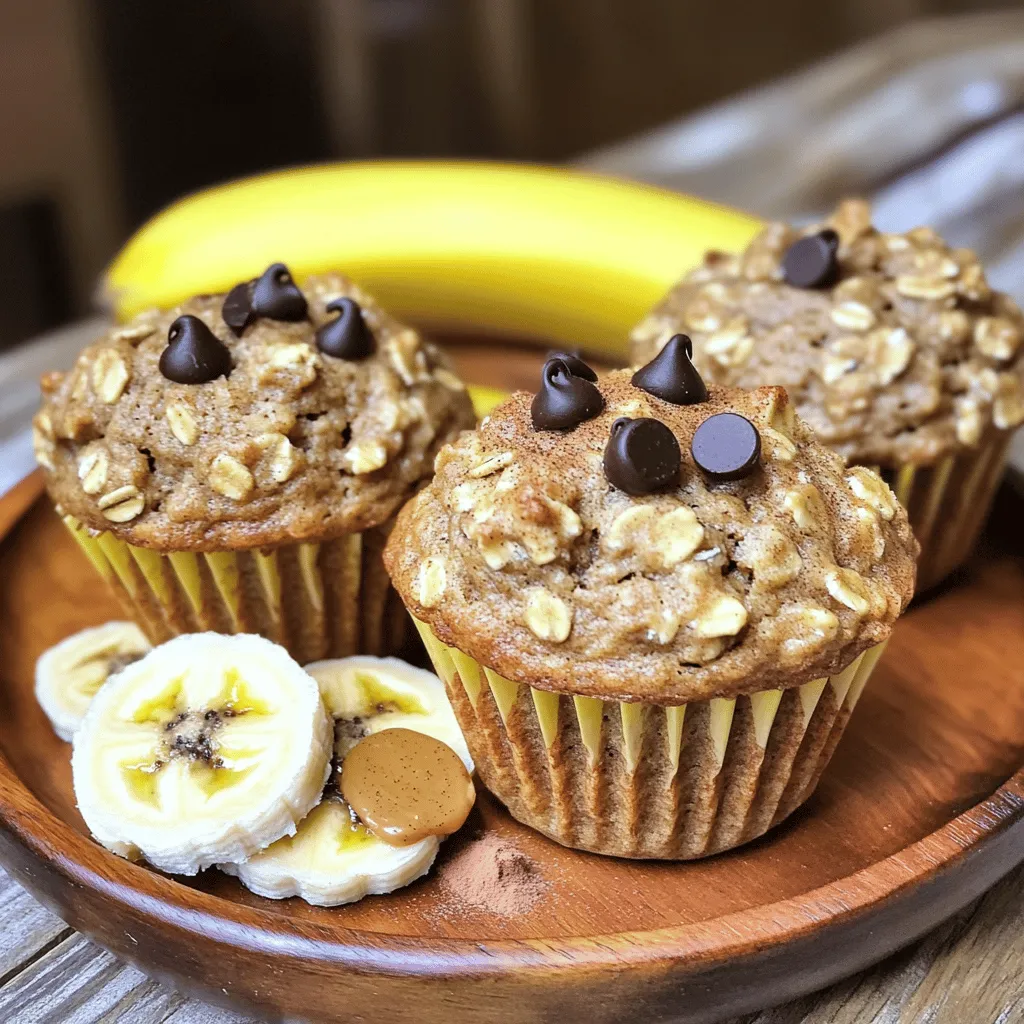
Banana Oatmeal Muffins Tasty and Simple Recipe
Looking for a tasty and easy treat? These Banana Oatmeal Muffins fit the bill! Made with ripe bananas, rolled oats, Read Full Recipe -
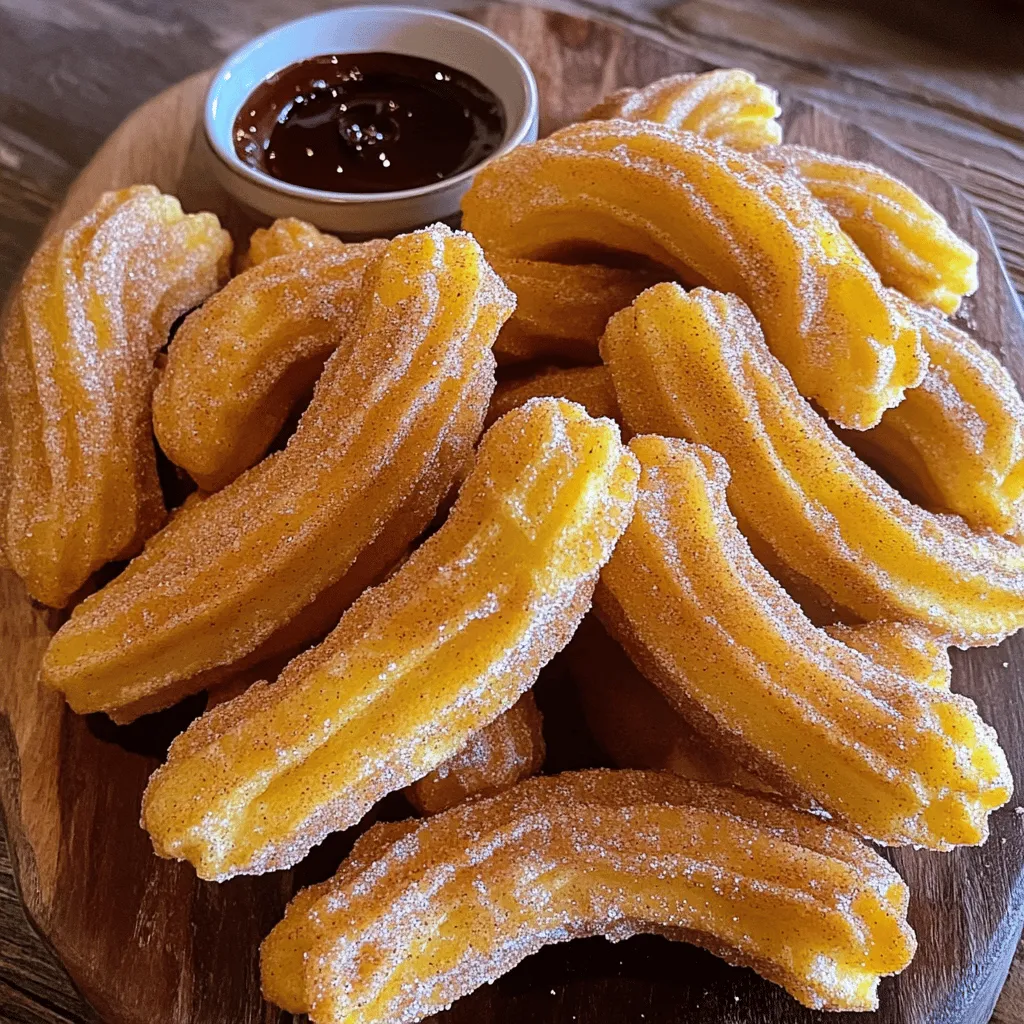
Cinnamon Sugar Churros Irresistible Sweet Treats
Are you ready to indulge in the warm and delicious world of cinnamon sugar churros? These sweet treats are crispy Read Full Recipe
My Latest Recipes

hey,
i’m !
I’m so happy you’re here!
From my kitchen to your table, each dish is a labor of love. May they delight your palate and warm your heart. Let’s savor the beauty of cooking together.

![- 1 cup rolled oats - 1 cup unsweetened almond milk (or your preferred milk) - 1 medium carrot, finely grated - 1/4 cup Greek yogurt (or dairy-free yogurt) - 1 tablespoon maple syrup (or honey) - 1/2 teaspoon ground cinnamon - 1/4 teaspoon nutmeg - 1/4 cup raisins - 2 tablespoons chopped walnuts (optional) - 1 tablespoon chia seeds - A pinch of salt - Additional walnuts and shredded coconut for topping You can switch Greek yogurt for any dairy or non-dairy yogurt. Almond milk works great, but feel free to use oat milk, soy milk, or any kind you enjoy. For sweetness, maple syrup is nice, but honey, agave, or even stevia can work too. Each serving packs about 300 calories. You get around 10 grams of protein, 9 grams of fat, and 50 grams of carbs. Carrots provide vitamins A and K, while oats give you fiber for digestion. Walnuts add healthy fats and protein, making this a balanced meal! If you want to dive deeper into the full recipe, check out the [Full Recipe]. 1. First, grab a large mixing bowl. Combine the rolled oats and almond milk. 2. Add the finely grated carrot, Greek yogurt, and maple syrup. Stir well until blended. 3. Next, sprinkle in the ground cinnamon, nutmeg, chia seeds, raisins, and a pinch of salt. Mix thoroughly. 4. Now, divide the mixture into two or four jars or bowls, depending on how much you want. Chilling overnight is key for great flavor. This time allows the oats to soak up the milk. The oats soften, and the spices meld nicely. If you can't wait, chill for at least four hours. A longer chill gives creamier oats, while a shorter chill keeps them firmer. In the morning, take your jars from the fridge. Give the oats a good stir. If they seem too thick, add a splash of milk to thin them out. For extra flavor, top with chopped walnuts and shredded coconut. You can also try fresh fruit or a drizzle of honey for more fun! For the complete recipe, check out the [Full Recipe]. To get creamy overnight oats, you need the right balance of ingredients. Use rolled oats instead of instant oats. Rolled oats soak up the milk better. You want a nice texture, not too mushy. If your oats are too thick in the morning, add a splash of milk. This helps you reach the right consistency. You can change the flavor easily. Try adding different spices, like ginger or allspice. A drop of vanilla extract gives a sweet touch. You can also include seasonal ingredients. In the fall, add pumpkin puree, and in spring, try fresh berries. These small changes can make your oats exciting. If mornings are busy, make these oats ahead of time. You can prepare multiple servings at once. Use jars to store them in the fridge. They last for up to five days. Just grab a jar when you need breakfast. This way, you have a healthy meal ready to go! For the full recipe, check the link above. {{image_2}} You can easily make carrot cake overnight oats vegan. Just swap Greek yogurt for a plant-based yogurt. Use maple syrup as a sweetener instead of honey. For a nut-free option, skip the walnuts and choose seeds like pumpkin or sunflower seeds. These adjustments keep the flavors rich and tasty while fitting different diets. Want to mix it up? Try tropical carrot cake overnight oats. Just add some crushed pineapple and a splash of coconut milk. This gives a fun twist to your breakfast. You could also make a chocolate carrot cake version. Mix cocoa powder into the base for a chocolatey treat. Both options are sweet and satisfying. Toppings can really change the game. You can add more seeds or nuts for crunch. Think chia, pumpkin, or even flaxseeds. Fresh fruits like banana or berries make great pairings, too. They add freshness and color to your oats. Don't be afraid to get creative with toppings; they can make your oats even more delicious and fun! Carrot cake overnight oats stay fresh in the fridge for up to five days. After five days, the oats may lose their taste and texture. Look for signs like a sour smell or change in color. If you see any mold, it’s time to throw them away. Yes, you can freeze overnight oats! They freeze well for up to three months. Use airtight containers to prevent freezer burn. When ready to eat, thaw them in the fridge overnight. You can also microwave them for a quick reheat, but add a splash of milk to restore creaminess. Planning portions for the week makes breakfast easy. I recommend using 2 to 4 jars, depending on your needs. Glass jars work well for storage. They keep the oats fresh and let you see the layers. You can also write the date on the jars to track freshness. Carrot Cake Overnight Oats can stay fresh for up to five days in the fridge. Store them in airtight containers. Always check for any off smells or changes in texture before eating. Yes, you can use instant oats. They will soak up liquid faster than rolled oats. This will change the texture, making it creamier but less chewy. If you prefer a thicker result, consider reducing the almond milk slightly. If you don’t have chia seeds, you can use flaxseeds. They offer similar health benefits and help thicken the oats. You can also skip them if you want; the oats will still taste great! To make these oats gluten-free, ensure you use certified gluten-free oats. Many brands offer gluten-free rolled oats. Check the label to be sure. This way, you can enjoy your delicious breakfast worry-free! Absolutely! You can reduce the maple syrup or use a sugar alternative. For a lower sugar option, try adding mashed banana or unsweetened applesauce for sweetness. Adjust to your taste for a healthier treat. For the full recipe, refer to the Carrot Cake Overnight Oats section above. Carrot Cake Overnight Oats are a tasty and healthy breakfast choice. We covered essential ingredients, substitutes, and instructions to make this dish. Remember to chill the oats overnight for the best texture. Explore different flavors and toppings to suit your taste. You can prepare multiple servings ahead of time to save on busy mornings. With these simple steps, you can enjoy a nutritious start to your day. Dive into your kitchen and create your own delicious version!](https://homecookingstyle.com/wp-content/uploads/2025/05/d1825ae7-cf3d-4927-a985-68a2d2454f43-300x300.webp)


No-Bake Tiramisu Decadent and Simple Delight
Are you ready to indulge in a dessert that’s both rich and easy to make? My No-Bake Tiramisu recipe delivers creamy layers of mascarpone…