
Latest & Greatest

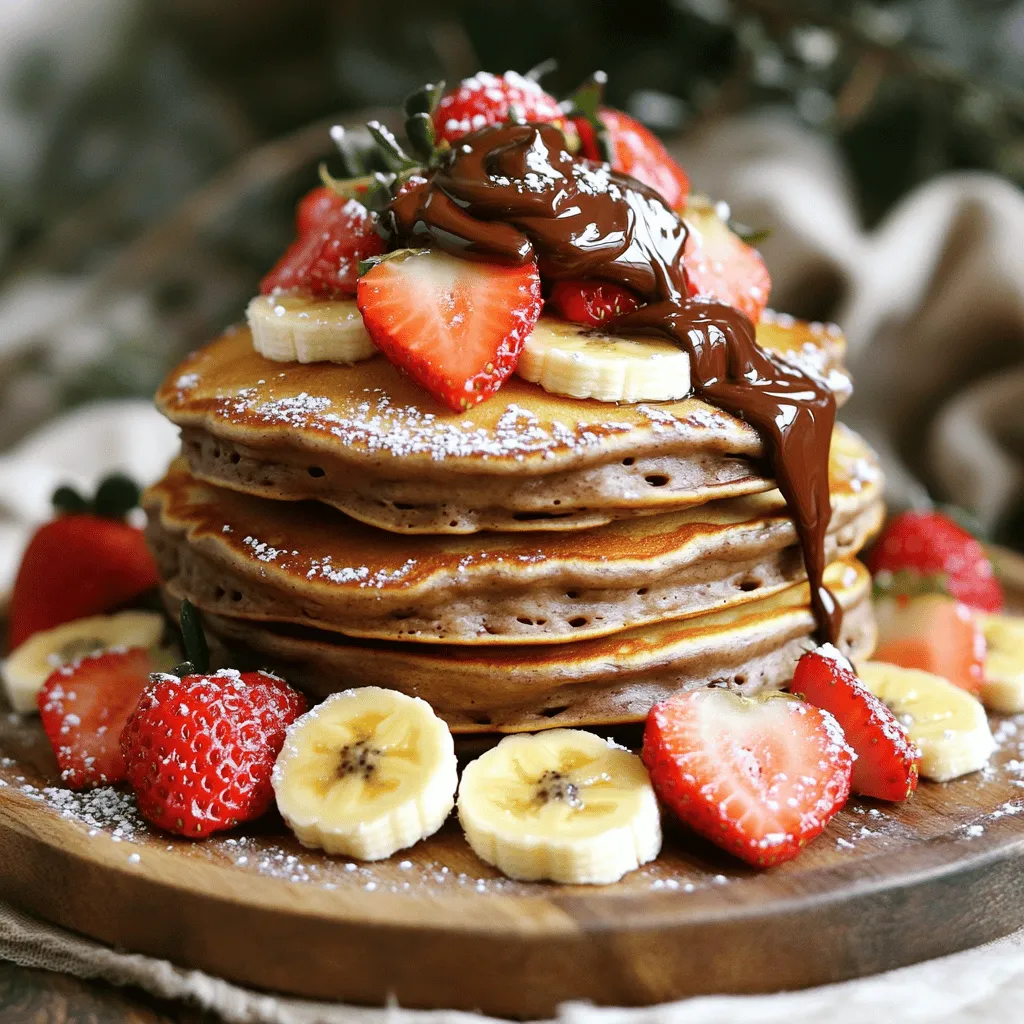
Banana Oatmeal Pancakes Simple and Nutritious Recipe
If you love pancakes but want a healthy twist, you’ll enjoy my Banana Oatmeal Pancakes! This simple recipe combines ripe
Read more…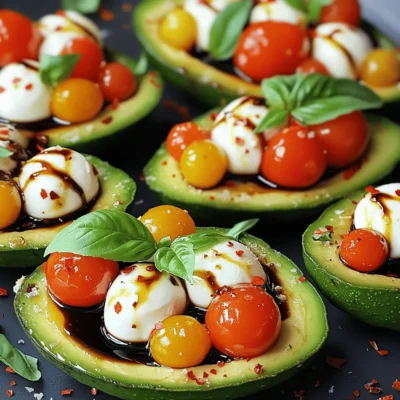
Caprese Stuffed Avocados Flavorful and Fresh Treat
If you’re looking for a dish that’s both fresh and easy to make, Caprese Stuffed Avocados are your answer! This
Read more…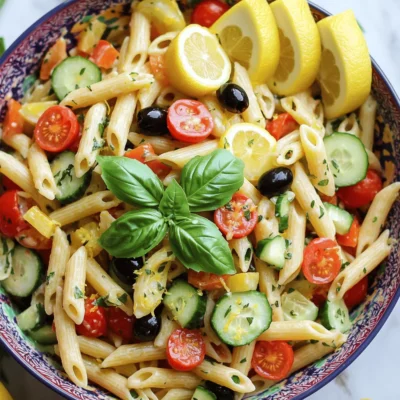
Lemon Basil Pasta Salad Refreshing and Flavorful Dish
Craving a fresh twist on pasta? My Lemon Basil Pasta Salad is just the answer! Bursting with vibrant flavors, this
Read more…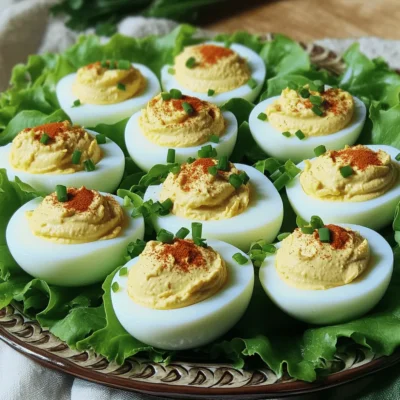
Classic Deviled Eggs Tasty and Simple Recipe Guide
If you’re ready to impress your friends at your next gathering, look no further! Classic deviled eggs are a must-try
Read more…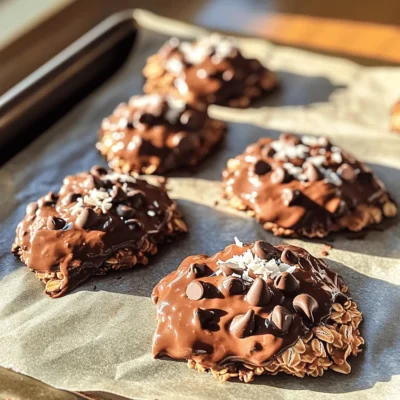
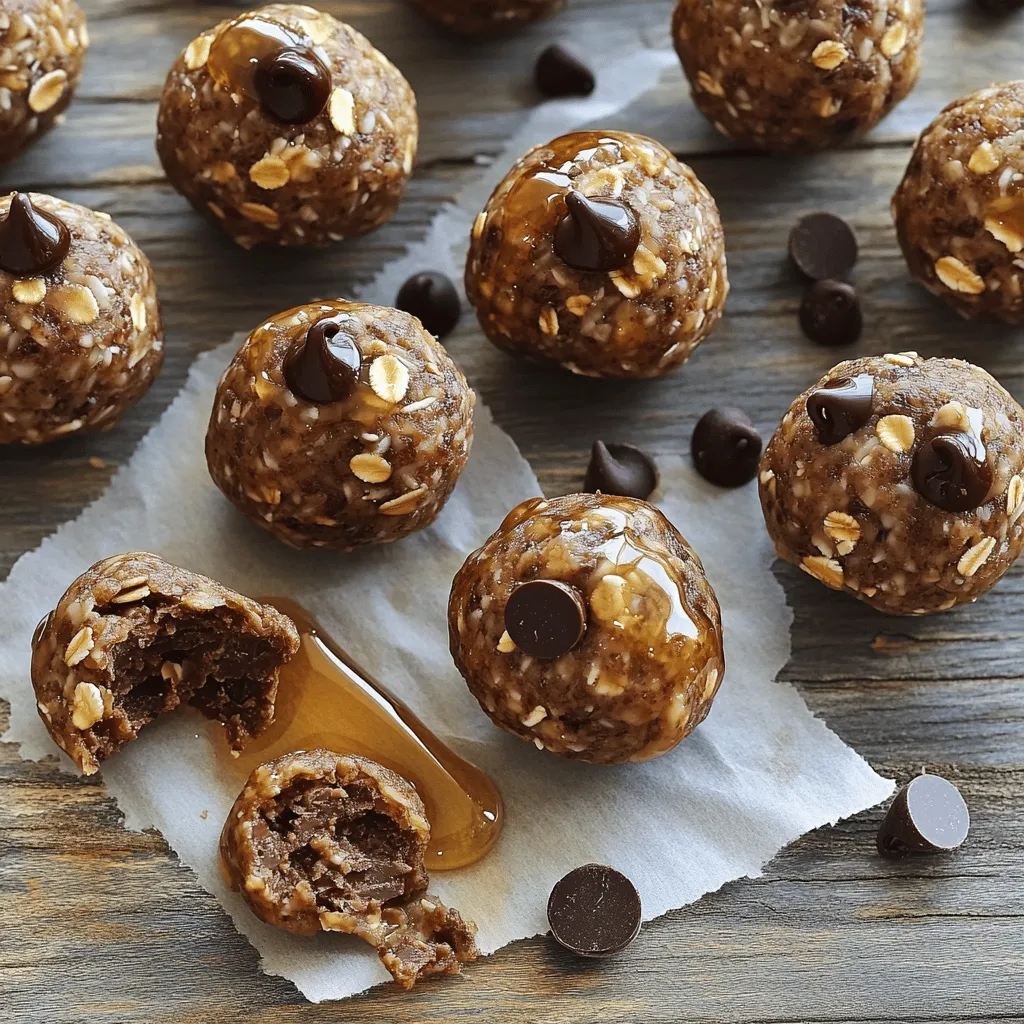
No-Bake Chocolate Oatmeal Cookies Simple Delight
Are you ready to indulge in a sweet and easy treat? My No-Bake Chocolate Oatmeal Cookies are simple to make
Read more…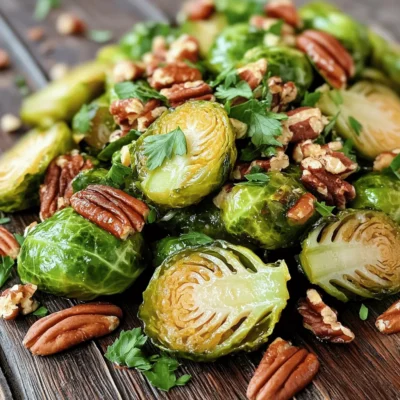
Maple Dijon Roasted Brussels Sprouts Flavorful Delight
If you’re looking for a tasty side dish that will impress anyone, you’ve found it! Maple Dijon Roasted Brussels Sprouts
Read more…
Coconut Macaroons Irresistible Sweet Treat Recipe
Are you ready to indulge in a sweet treat that is both simple and delicious? Coconut macaroons are the perfect
Read more…
Garlic Parmesan Roasted Broccoli Healthy Side Dish
Looking for a healthy side dish that’s flavorful and easy to make? Garlic Parmesan Roasted Broccoli might be your new
Read more…browse recipes


Wild Blueberry Coffee Cake Danishes Delightful Treat
Get ready to bake a treat that will impress! In this post, I’ll show you how to make Wild Blueberry Coffee Cake Danishes. With…
My Latest Desserts
-
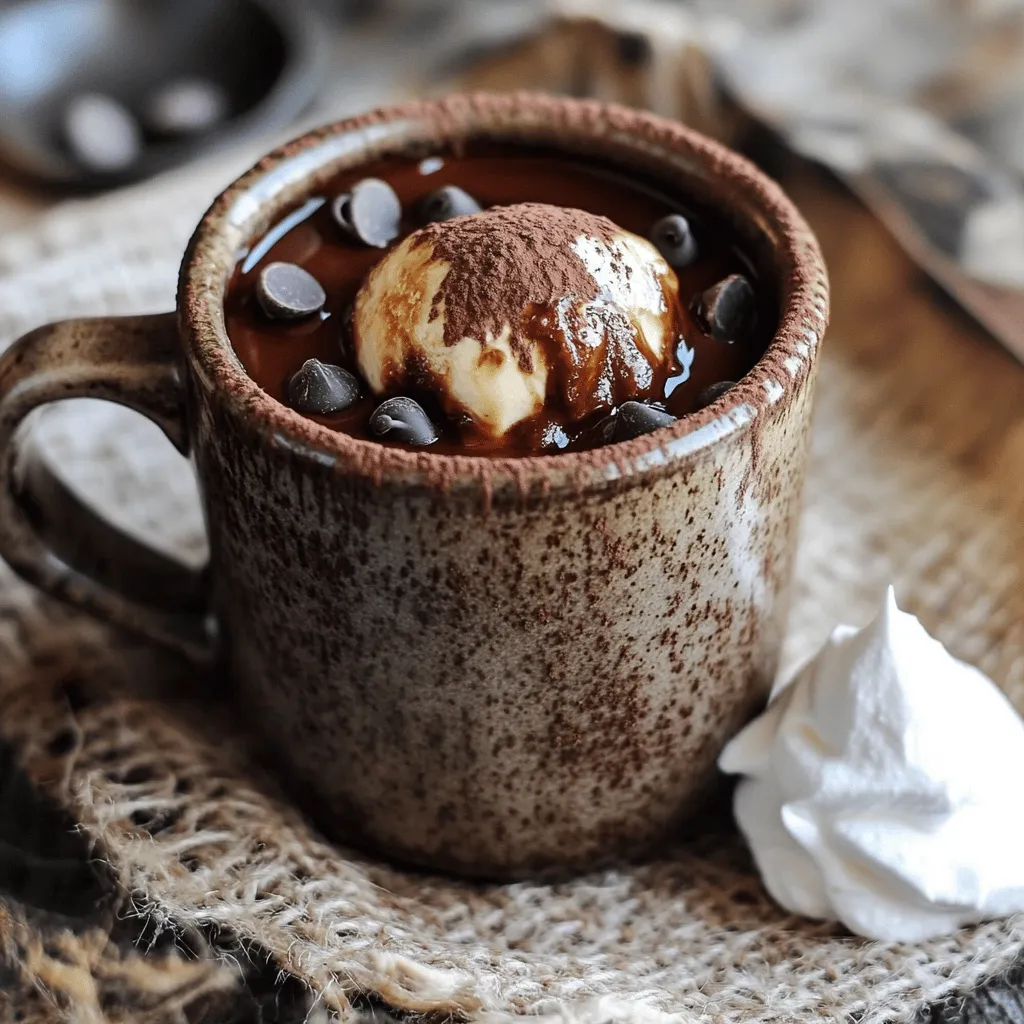
Vegan Chocolate Mug Cake Simple and Delicious Treat
Craving something sweet and easy? You’re in the right place! My vegan chocolate mug cake is quick to make and Read Full Recipe -
Chocolate Hazelnut Spread Pancakes Irresistible Treat
Get ready to indulge in a sweet breakfast treat! Imagine fluffy pancakes, warm from the skillet, drizzled with rich chocolate Read Full Recipe -
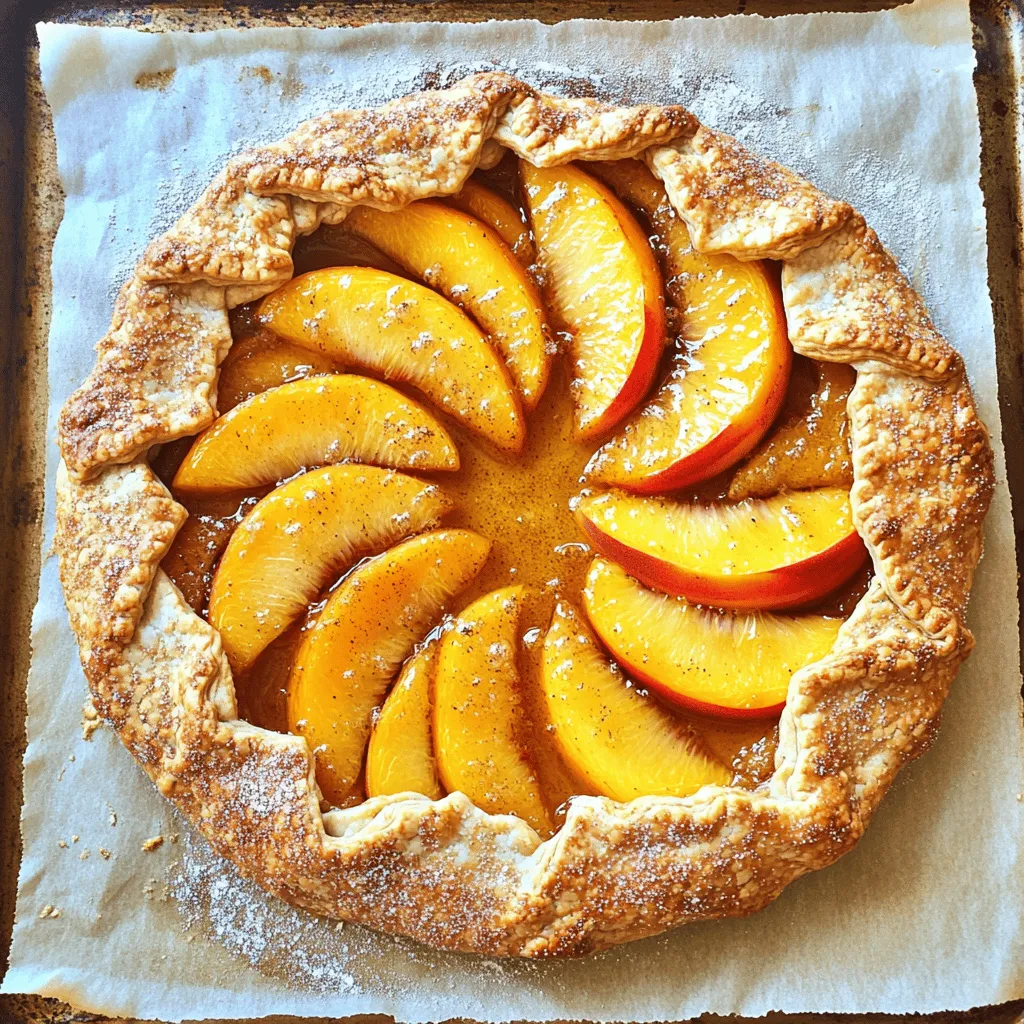
Peach Galette with Almond Crust Delightful Recipe
Are you ready to impress your friends with a stunning dessert? Try this Peach Galette with Almond Crust! This treat Read Full Recipe -
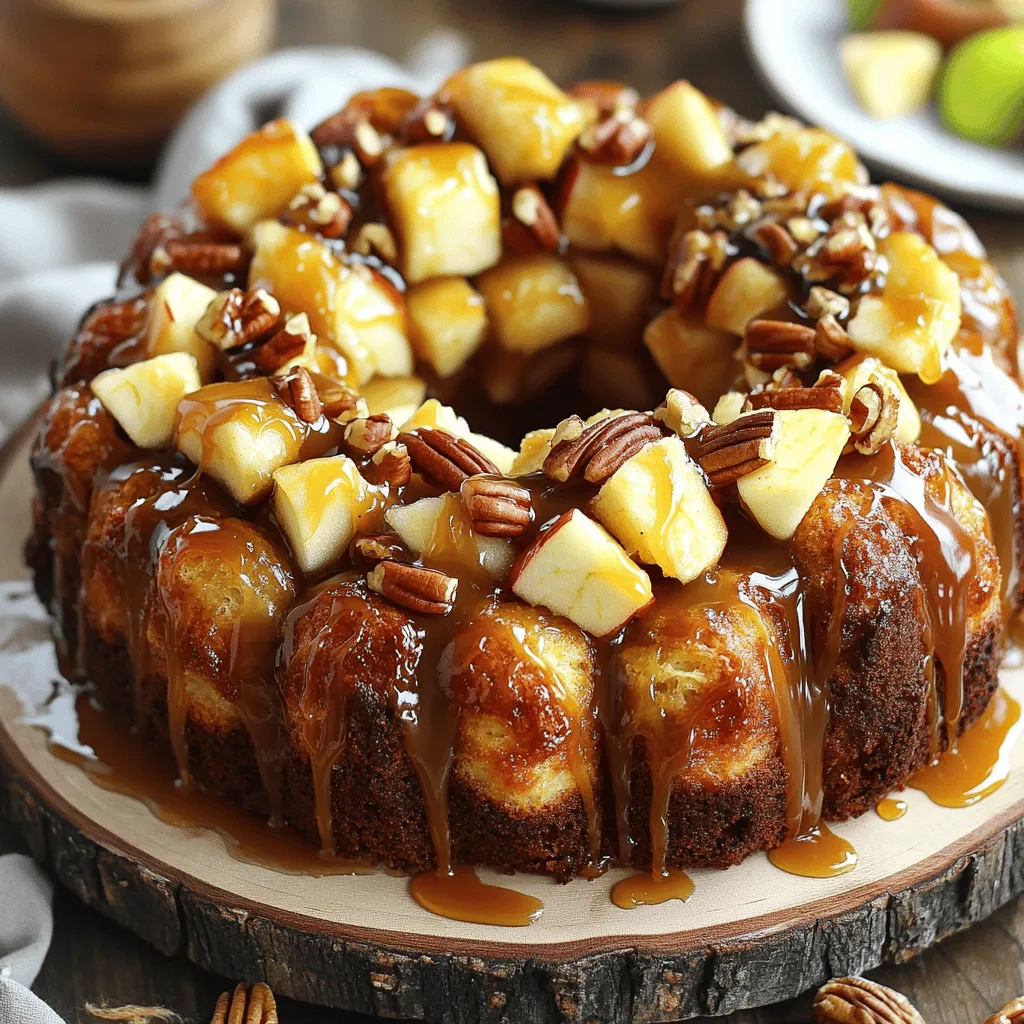
Caramel Apple Monkey Bread Irresistible Sweet Delight
Get ready to indulge in a mouthwatering treat with my Caramel Apple Monkey Bread! This sweet delight is packed with Read Full Recipe -
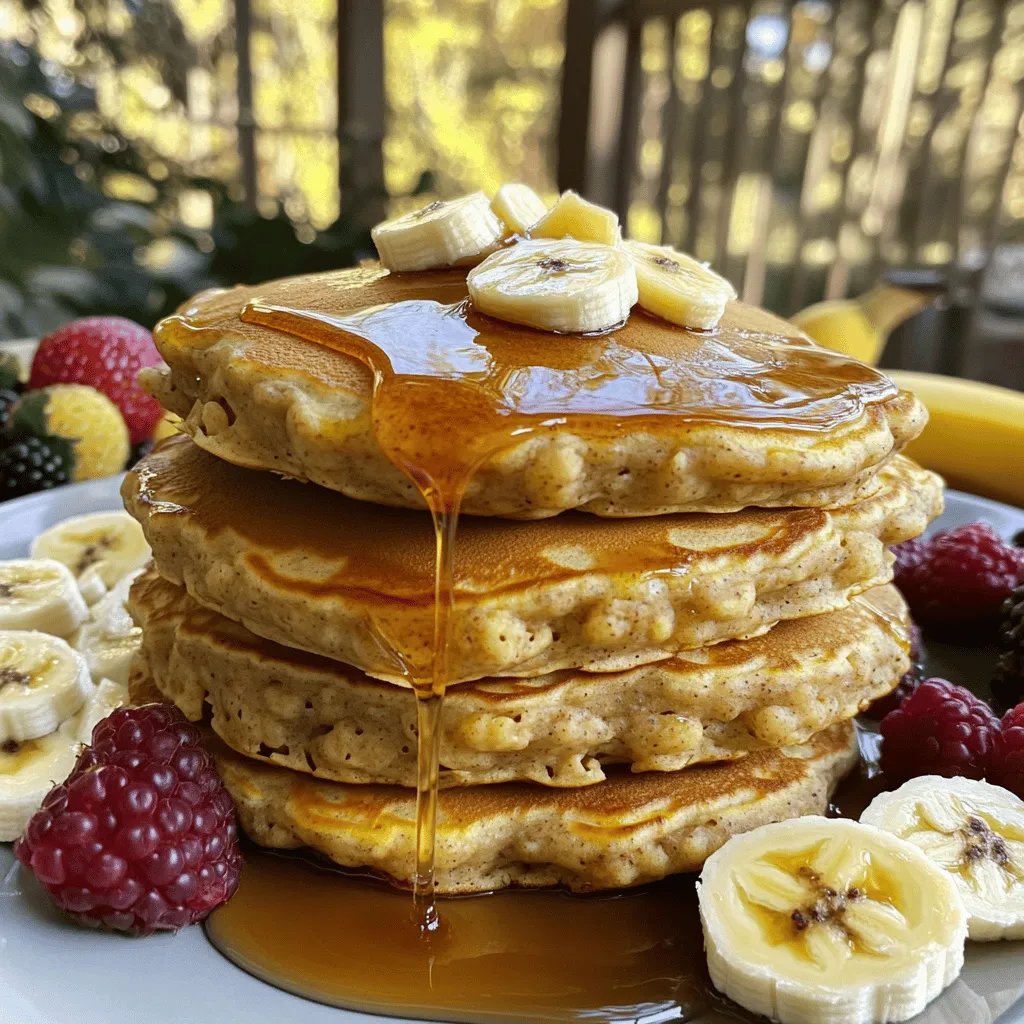
Banana Oatmeal Pancakes Simple and Nutritious Recipe
If you love pancakes but want a healthy twist, you’ll enjoy my Banana Oatmeal Pancakes! This simple recipe combines ripe Read Full Recipe -

No-Bake Chocolate Oatmeal Cookies Simple Delight
Are you ready to indulge in a sweet and easy treat? My No-Bake Chocolate Oatmeal Cookies are simple to make Read Full Recipe -

Coconut Macaroons Irresistible Sweet Treat Recipe
Are you ready to indulge in a sweet treat that is both simple and delicious? Coconut macaroons are the perfect Read Full Recipe -
Chocolate Peanut Butter Protein Balls Simple and Easy
If you’re looking for a quick snack loaded with flavor and nutrition, you’re in the right place! Chocolate Peanut Butter Read Full Recipe -
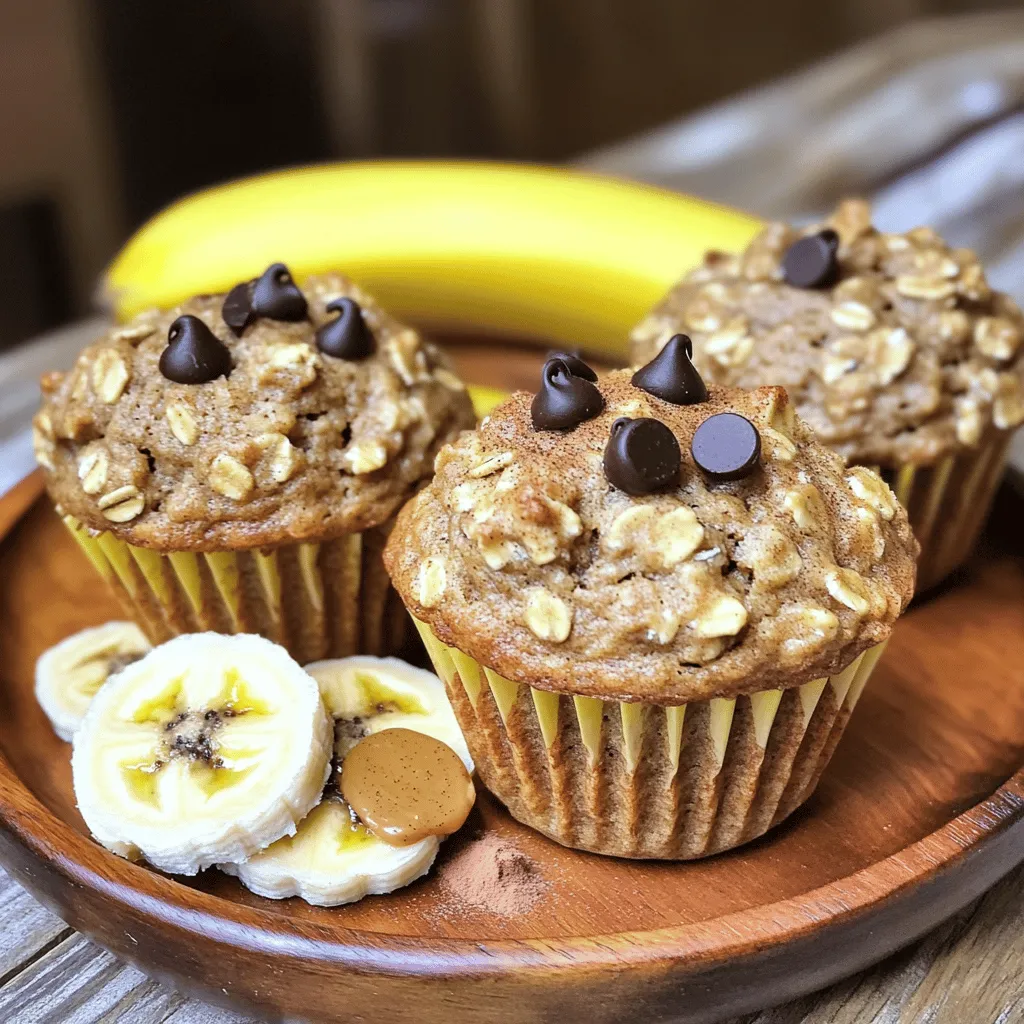
Banana Oatmeal Muffins Tasty and Simple Recipe
Looking for a tasty and easy treat? These Banana Oatmeal Muffins fit the bill! Made with ripe bananas, rolled oats, Read Full Recipe -
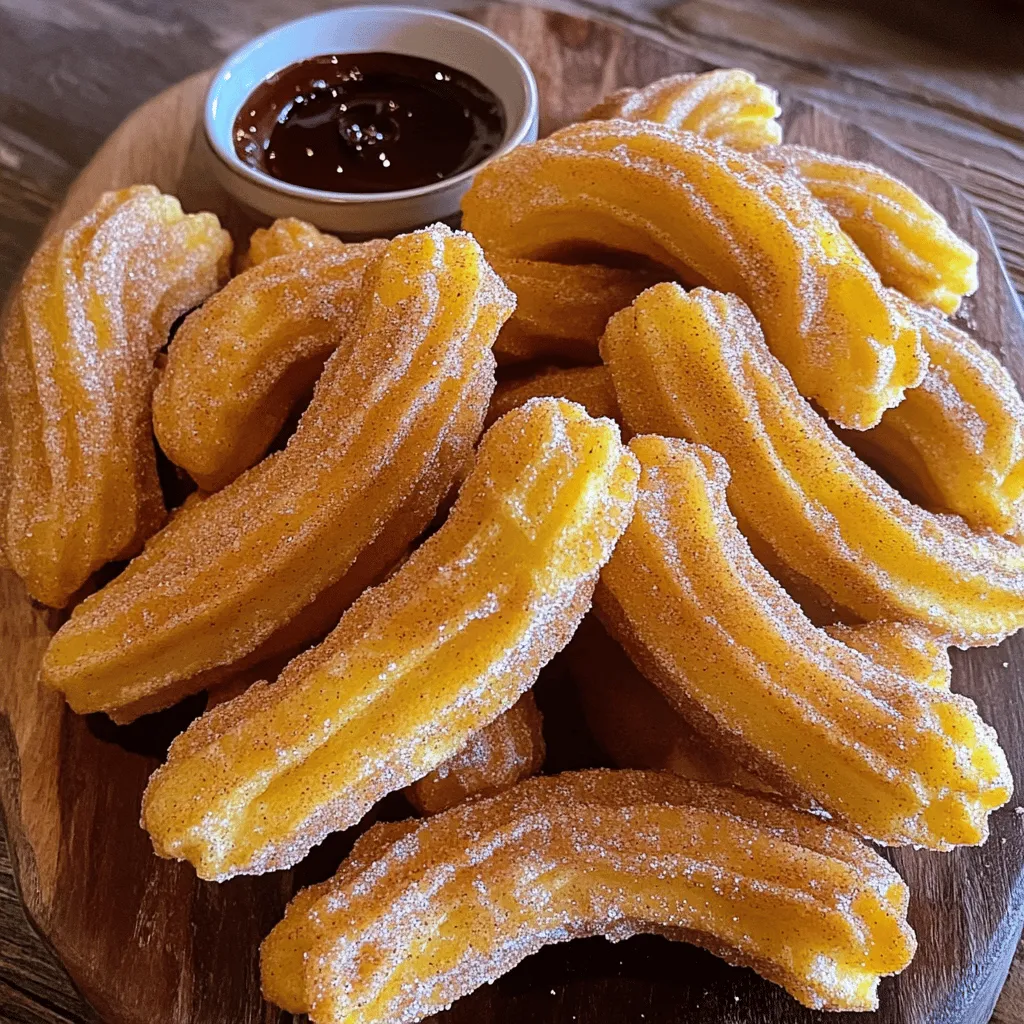
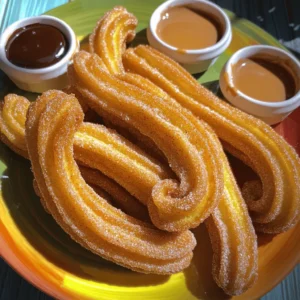
Cinnamon Sugar Churros Irresistible Sweet Treats
Are you ready to indulge in the warm and delicious world of cinnamon sugar churros? These sweet treats are crispy Read Full Recipe
My Latest Recipes

hey,
i’m !
I’m so happy you’re here!
From my kitchen to your table, each dish is a labor of love. May they delight your palate and warm your heart. Let’s savor the beauty of cooking together.
 section above! In this blog post, we've explored the delightful world of eggnog cake. From the essential ingredients to a simple step-by-step guide, I aimed to equip you with everything you need. Don’t forget the frosty touch with nutmeg on top for that holiday spirit. Whether you're baking a gluten-free or vegan version, you can enjoy eggnog cake your way. Remember, proper storage keeps your cake fresh longer. I hope you're excited to try this festive treat soon! Now, gather your ingredients and start baking!](https://homecookingstyle.com/wp-content/uploads/2025/05/aa5247c1-c875-4cfa-a861-46c922289bc5-300x300.webp)
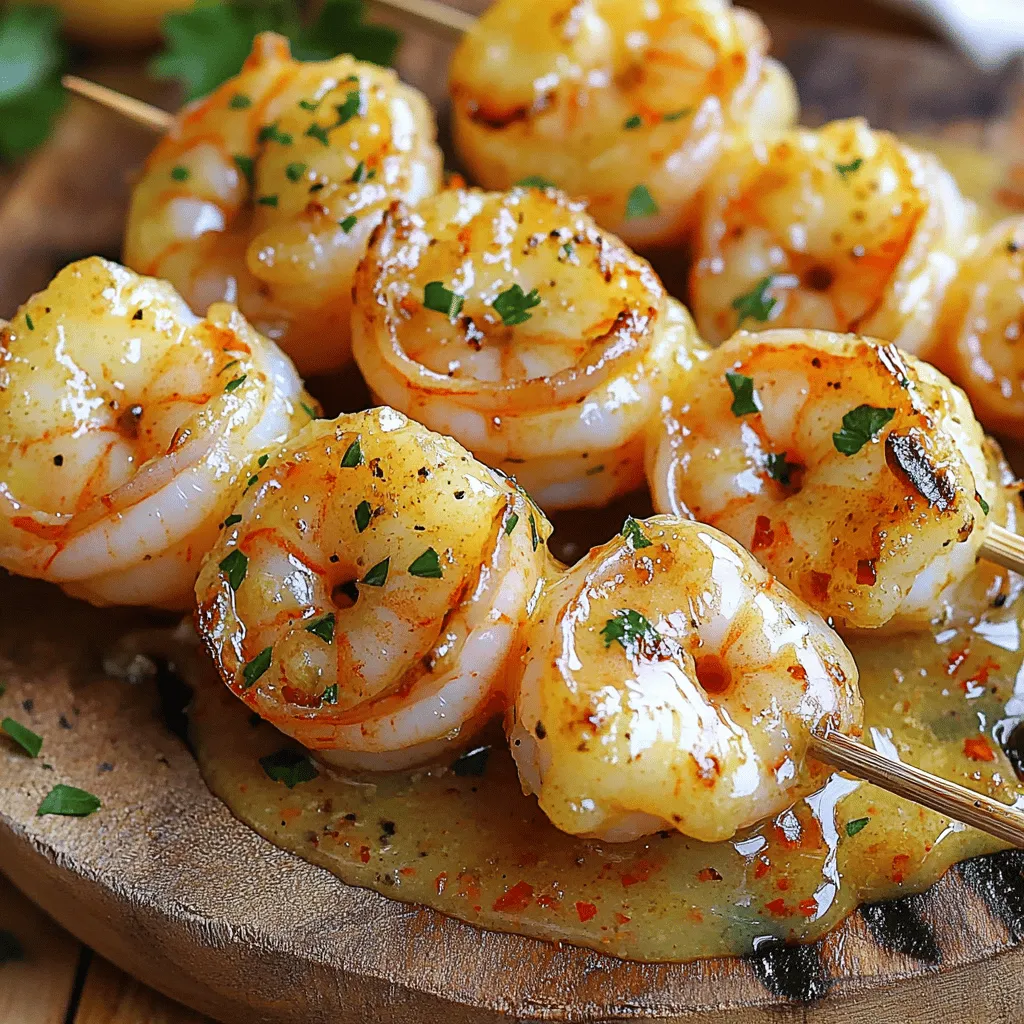
Garlic Butter Shrimp Skewers Quick and Flavorful Recipe
Are you ready to elevate your grilling game? My Garlic Butter Shrimp Skewers recipe is quick, flavorful, and packed with mouthwatering goodness. With just…