
Latest & Greatest
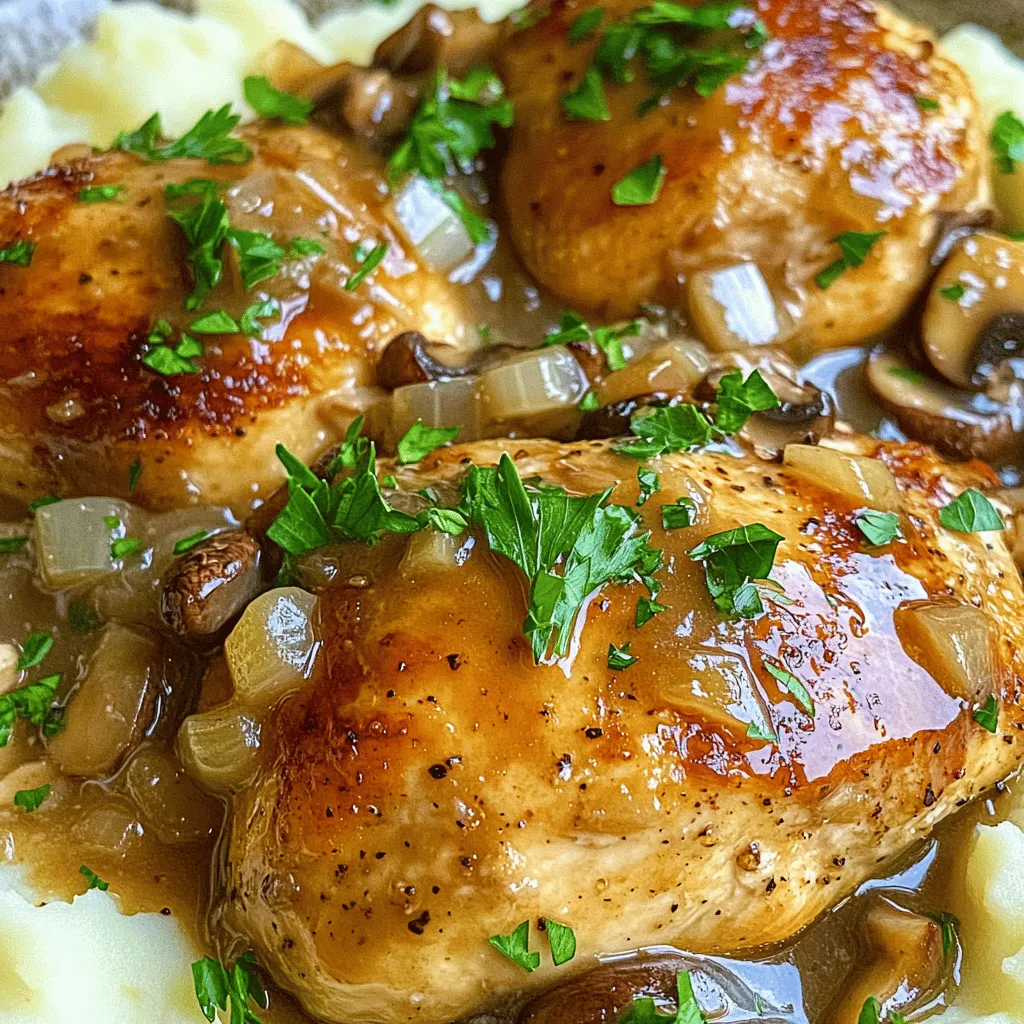
Mushroom Chicken Delight Easy and Flavorful Recipe
Are you ready to enjoy a quick and delicious meal? Mushroom Chicken Delight is an easy recipe that bursts with
Read more…
Crockpot Mexican Chicken Flavorful and Easy Recipe
If you’re seeking a simple yet tasty meal that’ll impress your family, you’ve come to the right place! This Crockpot
Read more…
Spring Hash Brown Crust Quiche Delightful and Simple
Welcome to your new favorite dish: the Spring Hash Brown Crust Quiche! If you love fresh flavors and simple cooking,
Read more…browse recipes


Easter Chicks Cupcakes Fun and Festive Treats
Are you ready to make Easter extra fun? These Easter Chicks Cupcakes are perfect for any celebration. With their bright colors and cute designs,…
My Latest Desserts
-
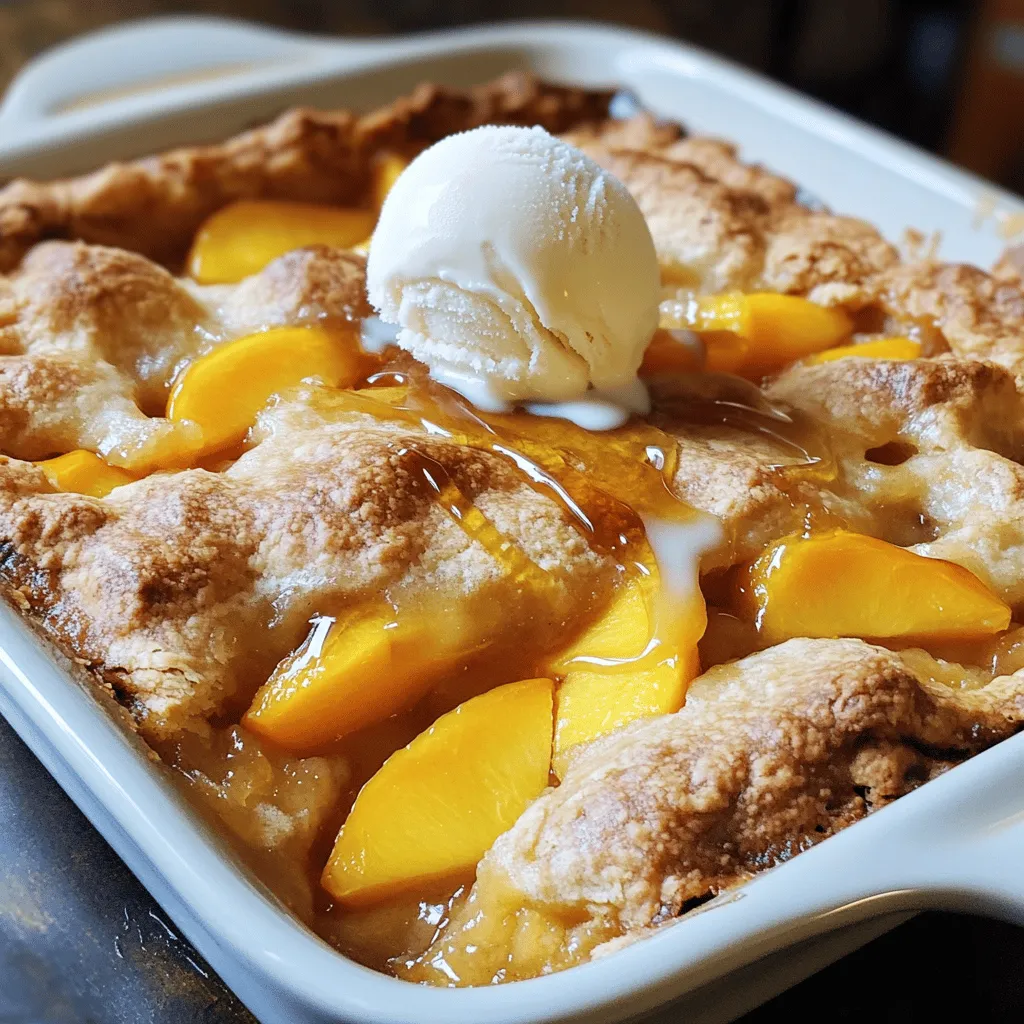
Peach Cobbler with Bisquick Simple and Tasty Dessert
Craving a warm dessert that’s easy to make? Let me show you how to whip up a Peach Cobbler with Read Full Recipe -
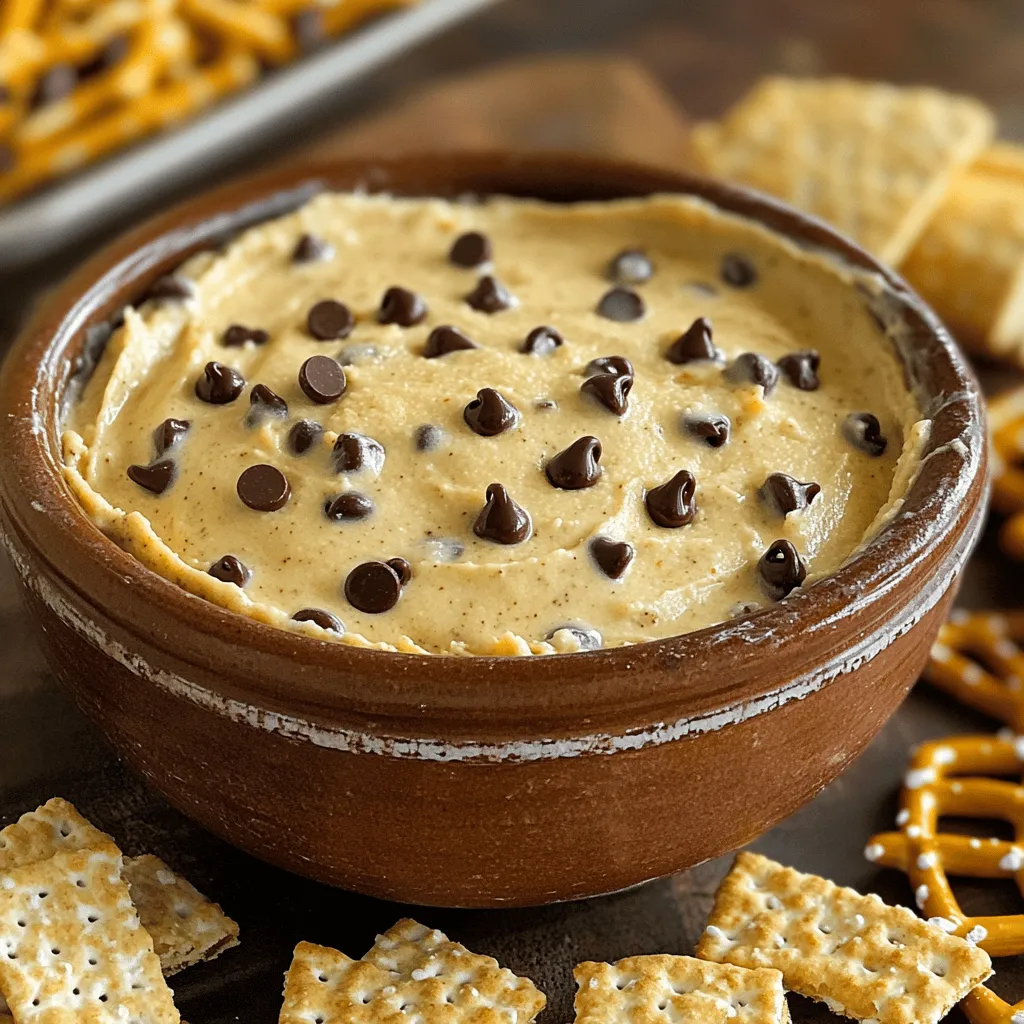
Chocolate Chip Cookie Dough Dip Simple and Tasty Snack
If you crave a sweet treat without the fuss of baking, chocolate chip cookie dough dip is for you! This Read Full Recipe -
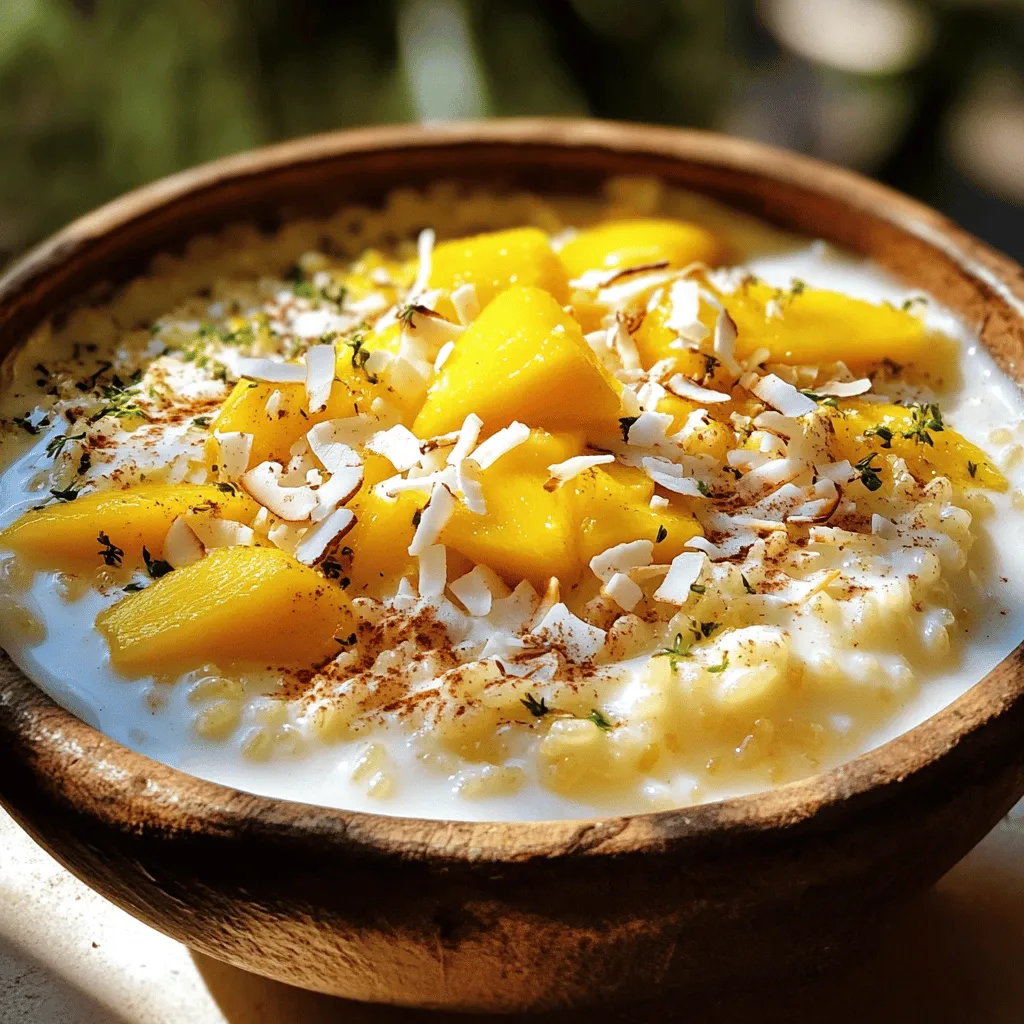
Coconut Milk Rice Pudding Creamy and Comforting Treat
Indulge yourself in a creamy and comforting treat: Coconut Milk Rice Pudding. This delightful dessert combines fragrant jasmine rice with Read Full Recipe -

Banana Oatmeal Cookies Tasty and Healthy Treat
Are you ready to bake something delicious and good for you? These Banana Oatmeal Cookies are the perfect blend of Read Full Recipe -
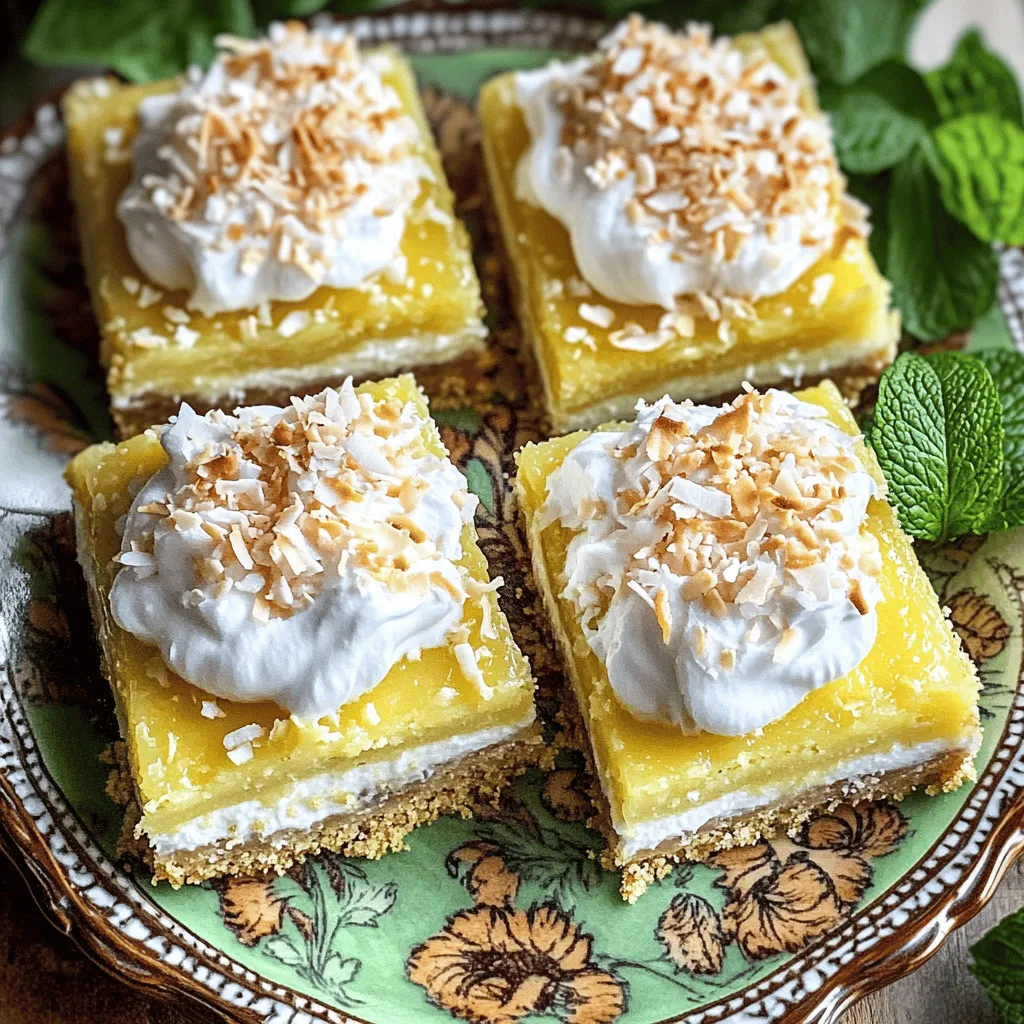
Coconut Cream Pie Bars Delightfully Creamy Treat
If you’re craving something sweet and creamy, Coconut Cream Pie Bars are your answer. These bars combine rich coconut flavor Read Full Recipe -
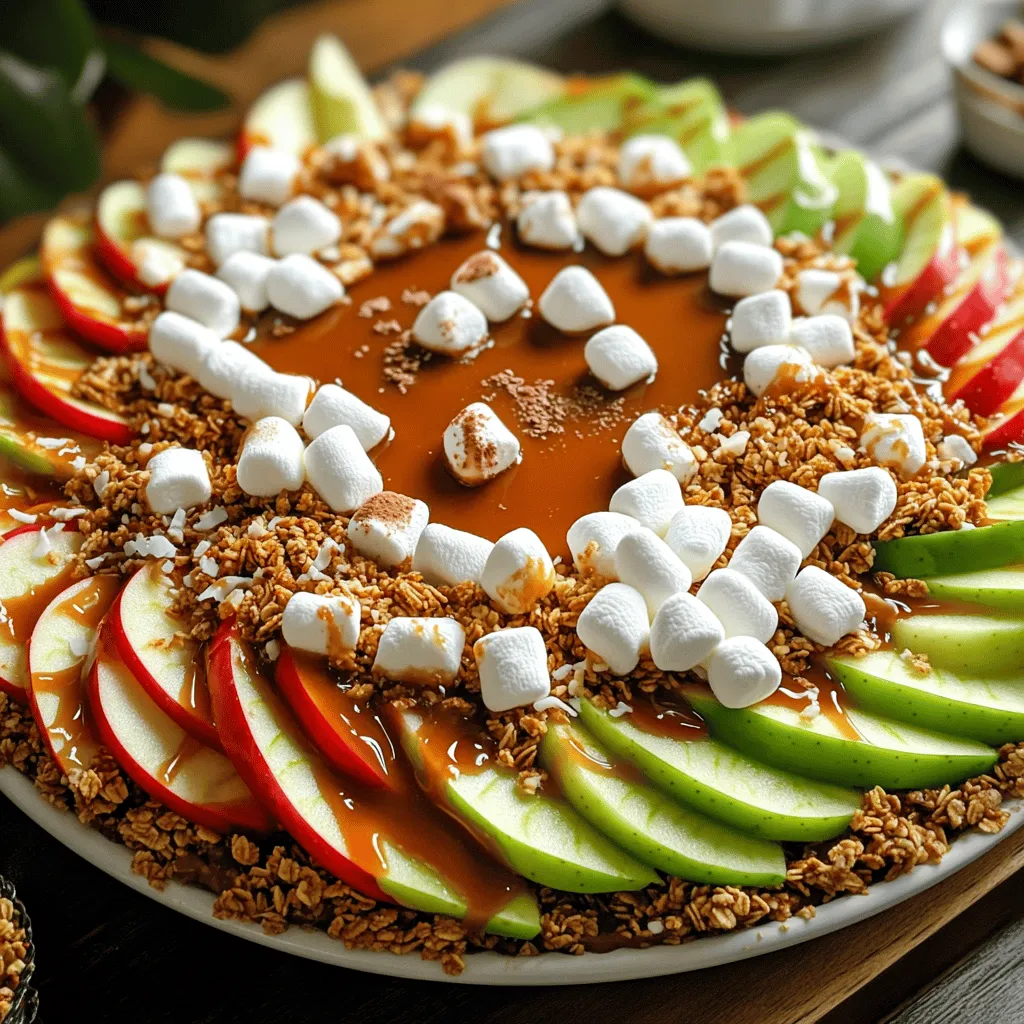
Caramel Apple Nachos Delightful Sweet Snack Idea
Get ready to indulge in a sweet twist with Caramel Apple Nachos! This fun snack combines crisp apples, gooey caramel, Read Full Recipe -
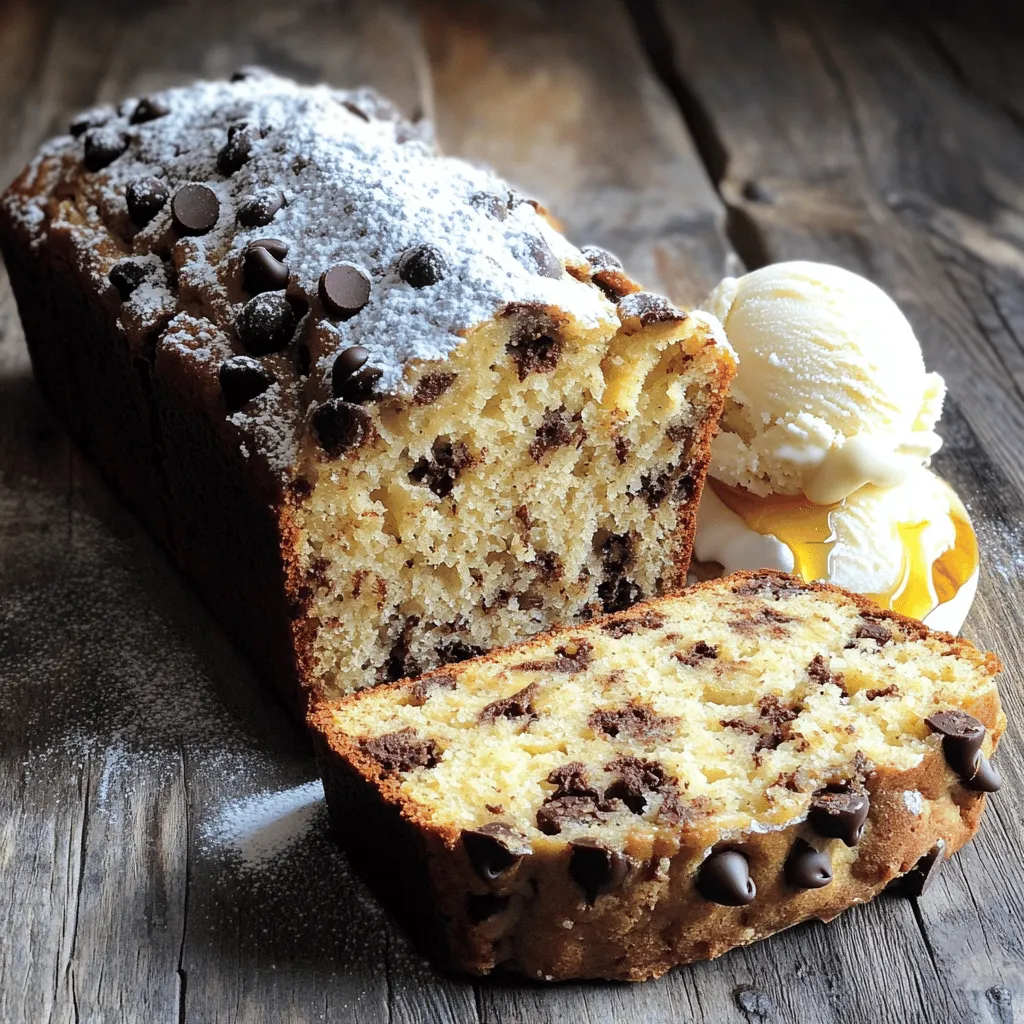
Chocolate Chip Banana Bread Simple and Tasty Recipe
Do you love warm, sweet treats? If so, you’ll adore this simple and tasty Chocolate Chip Banana Bread recipe! With Read Full Recipe -

Cinnamon Sugar Donut Muffins Soft and Tasty Treat
Get ready to satisfy your sweet tooth with these Cinnamon Sugar Donut Muffins! They’re soft, tasty, and perfect for any Read Full Recipe -
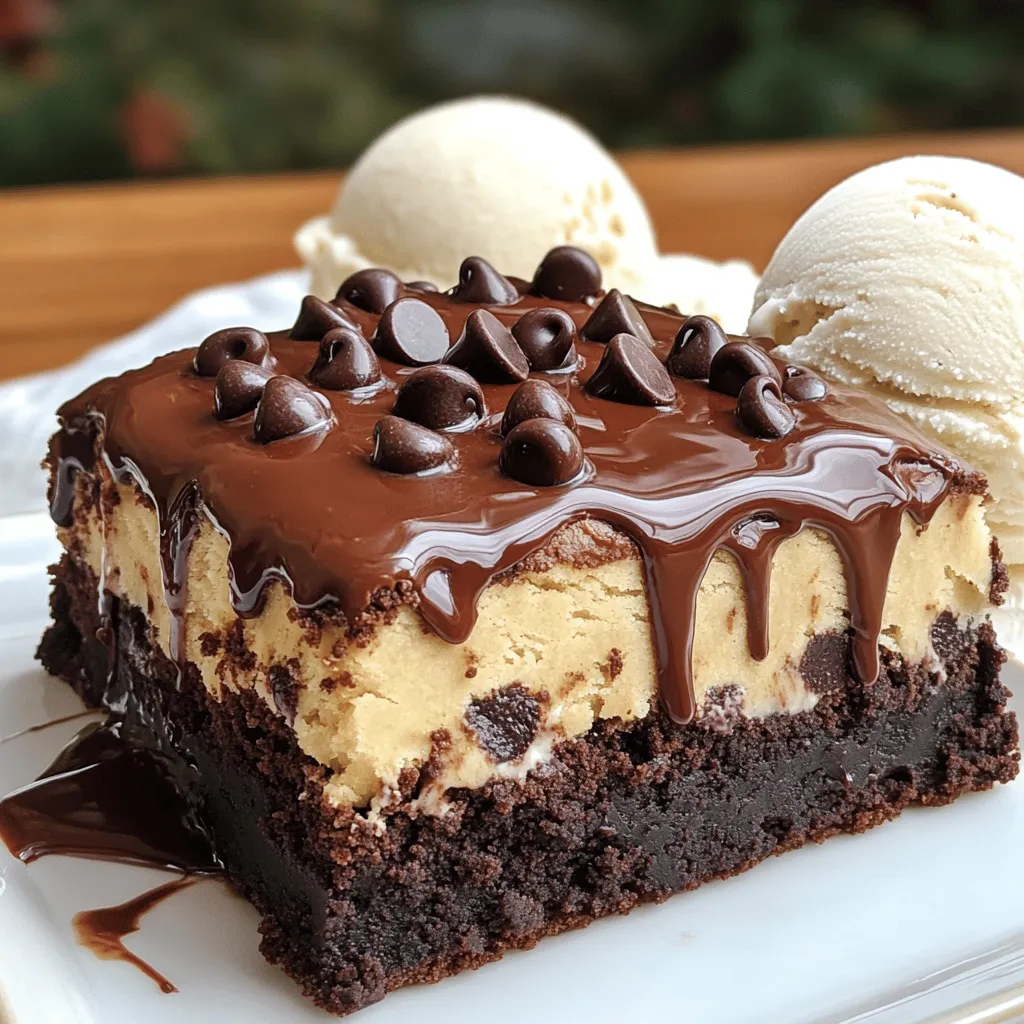
Chocolate Chip Cookie Dough Brownies Delightful Treat
Do you love brownies and cookie dough? Then, you’ll adore Chocolate Chip Cookie Dough Brownies! This delightful treat combines rich, Read Full Recipe -
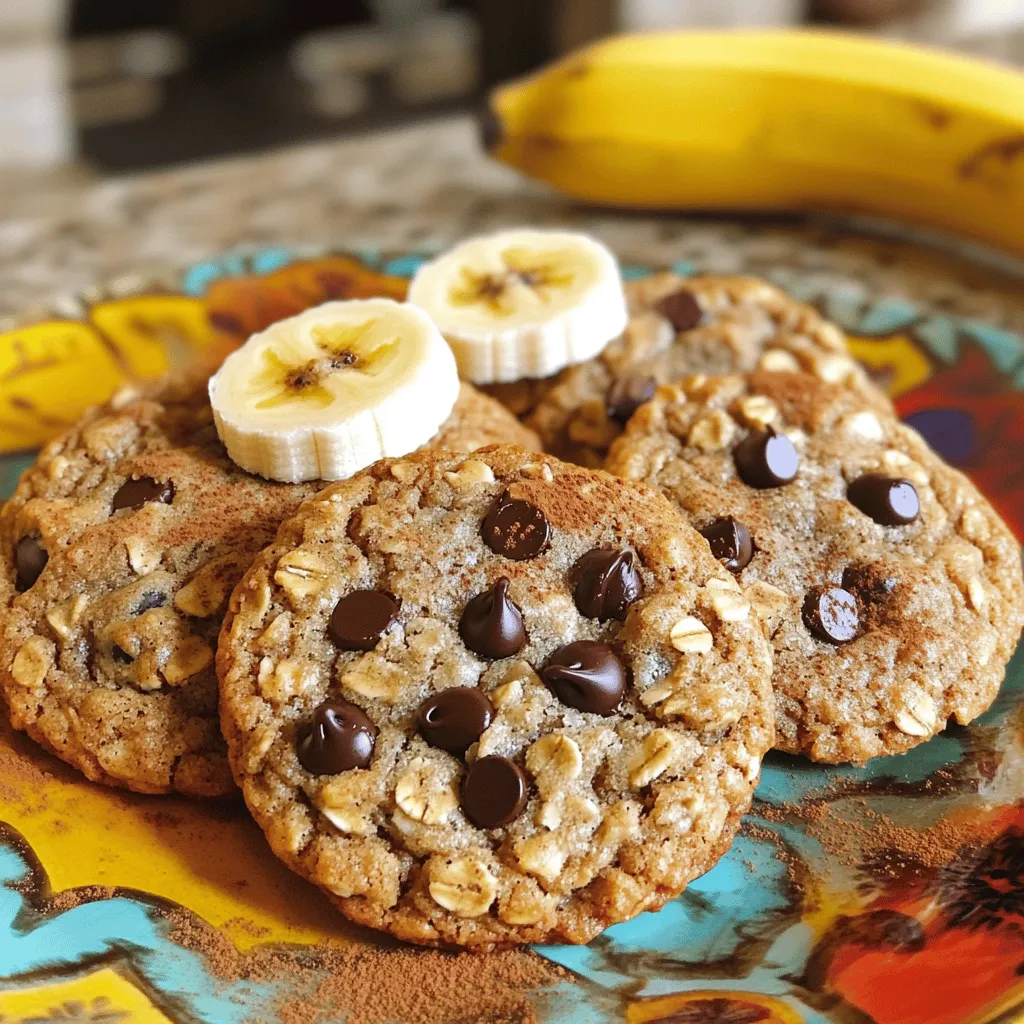
Banana Oatmeal Cookies Simple and Tasty Recipe
Looking for a quick and delicious treat? These Banana Oatmeal Cookies are the answer! With just a few simple ingredients, Read Full Recipe
My Latest Recipes

hey,
i’m !
I’m so happy you’re here!
From my kitchen to your table, each dish is a labor of love. May they delight your palate and warm your heart. Let’s savor the beauty of cooking together.


![To make mango sorbet, you need simple ingredients. Here’s what you will need: - 3 ripe mangoes, peeled and diced - 1/2 cup coconut water - 1/4 cup freshly squeezed lime juice - 1/4 cup agave syrup or honey (adjust based on sweetness preference) - Pinch of sea salt - Fresh mint leaves for garnish These ingredients work together to create a refreshing treat. The ripe mangoes give the sorbet its sweet and fruity flavor. Coconut water adds a nice touch of tropical taste. Lime juice brings a hint of tartness to balance the sweetness. Using fresh mangoes makes a big difference. Fresh mangoes are sweet and juicy, which enhances the final product. Choose mangoes that are ripe but not overripe. They should yield slightly when you press them. If fresh mangoes are not available, frozen mangoes can work too. They are picked and frozen at peak ripeness, so they still have good flavor. Just make sure to thaw them before use. You can customize the sweetness of your mango sorbet. Agave syrup is a great choice, as it blends well. Honey is another option, adding a nice flavor. You can also explore other sweeteners, like maple syrup or stevia. Adjust the amount based on your taste. If you prefer a less sweet sorbet, reduce the sweetener. This way, you can enjoy the true flavor of the mangoes. For the complete recipe, check out the [Full Recipe]. To start, you need ripe mangoes. Look for mangoes that give slightly when you press them. This means they are ready to eat. Use a sharp knife to peel the mangoes. After peeling, cut them into small, even pieces. This helps them blend better. You can use three ripe mangoes for this recipe. The more ripe they are, the sweeter your sorbet will taste. Next, you will blend the mangoes. Place the diced mangoes in a blender. Add half a cup of coconut water. This adds a nice flavor and helps the mangoes blend smoothly. Then, pour in a quarter cup of fresh lime juice. This gives your sorbet a tangy kick. Add a quarter cup of agave syrup or honey for sweetness, plus a pinch of sea salt. Blend everything until it is completely smooth. If you want a sweeter taste, add more sweetener and blend again. After blending, pour the mango mixture into a shallow dish. Cover it with plastic wrap and put it in the freezer. Let it freeze for about two hours. When you see the edges starting to freeze, take it out. Use a fork to scrape the mixture. Scraping helps make your sorbet light and fluffy. Return it to the freezer for three to four hours. Remember to scrape every hour. This will give you a perfect texture. Once ready, let it sit out for a few minutes before serving. This will make scooping easier. Enjoy your tropical bliss mango sorbet as a delightful treat for any occasion! To make great mango sorbet, you need ripe mangoes. Look for mangoes that feel soft when you press them gently. They should have a sweet aroma. If they are hard, they need more time to ripen. You can leave them at room temperature for a few days. Once ripe, keep them in the fridge to slow down the ripening. This way, you can have perfect mangoes ready for your sorbet. Not everyone likes the same level of sweetness. Start with a small amount of agave syrup or honey. Blend your mixture and taste it. If it’s not sweet enough, add a bit more. Blend again and taste. Repeat until it’s just right for you. Remember, the sweetness can change once frozen, so it’s okay for it to be a bit sweeter before freezing. You can add fun flavors to your mango sorbet. Consider adding a splash of coconut milk for creaminess. A bit of fresh ginger can give it a nice kick. You might also try a hint of vanilla extract for warmth. Fresh mint leaves can add a refreshing touch. Feel free to experiment and find what you love. The Full Recipe has room for your creativity! {{image_2}} You can make a fun twist on mango sorbet. Just swap the agave syrup for a fruit puree. Try mixing in some blended berries or peaches. This adds color and flavor. You get a vibrant rainbow sorbet that everyone will love. It’s dairy-free and vegan, so it fits many diets. Use my full recipe to guide you. Mango sorbet is tasty on its own, but blending it with other fruits is great. Pineapple, banana, and coconut work well. They add more tropical vibes. Just mix them with mango in the blender. The result is a fruity explosion. You can also try adding a splash of orange juice for extra zest. This blend will give you a refreshing treat. Herbs and spices can change your sorbet game. Fresh mint or basil can add a bright note. Just chop them finely and blend them into your mixture. For a spicy kick, add a pinch of cayenne pepper or ginger. This creates a fun contrast with the sweetness of the mango. Try different combinations to find what you like best. To keep your mango sorbet fresh, freeze it right. Use an airtight container to avoid ice crystals. Leave some space at the top as the sorbet expands when frozen. If you like, you can also use a shallow dish. This helps it freeze faster and makes scooping easier later. After you scoop out your mango sorbet, cover it tightly. Use plastic wrap or a lid to keep air out. This helps maintain its creamy texture. If you have a lot left, consider dividing it into smaller portions. This way, you can enjoy it later without refreezing the whole batch. Mango sorbet can last in the freezer for about one month. After that, it may lose flavor and texture. Check for signs of spoilage. If you see ice crystals forming on top, it might be time to toss it. If it smells off or has a strange color, don’t eat it. Always trust your senses! Serve mango sorbet in bowls or cups. You can also use fun glasses for a party. Garnish each serving with a fresh mint leaf. This adds color and a nice smell. For extra flair, add a slice of lime on the rim. Enjoy it cold on a hot day. Everyone loves a refreshing treat like this! Yes, you can make mango sorbet without an ice cream maker! Just use a blender or food processor. Blend the mangoes and other ingredients until smooth. Pour the mixture into a shallow dish. Freeze it for about two hours. When it starts to freeze, mix it with a fork every hour. This helps make it light and fluffy. Mango sorbet can be healthy! It has natural sugars from the mangoes. Mangoes are high in vitamins A and C. They also have fiber, which is good for digestion. Coconut water adds hydration and potassium. Sweeteners like honey or agave can be adjusted for your needs. So, it can be a tasty, guilt-free treat! Mango sorbet is easy and fun to make. We covered essential ingredients, techniques, and tips. You can choose fresh or frozen mangoes and adjust sweetness as you like. Don’t forget to explore fun variations, like adding herbs or mixing in other fruits. Store it well to keep it fresh longer. With these steps, you can enjoy a tasty treat that’s healthy and unique. Dive in, get creative, and savor every spoonful of your homemade mango sorbet!](https://homecookingstyle.com/wp-content/uploads/2025/04/ea816ce6-0cbd-4010-9016-6b896a95baa6-300x300.webp)
![- 1 lb Brussels sprouts, halved - 3 tablespoons balsamic vinegar - 2 tablespoons honey - 2 tablespoons olive oil - 2 cloves garlic, minced - Salt and black pepper, to taste - ¼ cup grated Parmesan cheese (optional) - 1 tablespoon chopped fresh parsley for garnish Gathering the right ingredients is key to making delicious Balsamic Glazed Brussels Sprouts. Brussels sprouts are small and round, making them fun to cook with. The balsamic vinegar adds a sweet and tangy flavor. Honey balances this with more sweetness. Olive oil helps everything roast well in the oven. Garlic gives a nice aroma and taste. You can also add salt and pepper for seasoning. If you love cheese, Parmesan is a tasty option on top. Fresh parsley adds a pop of color and freshness. - Other vinegars for variations - Additional toppings like nuts or seeds Want to switch things up? You can try other vinegars like apple cider or red wine vinegar. These can change the flavor a bit. You might also want to add nuts or seeds, which give a nice crunch. For the full recipe, check out the Balsamic Bliss Brussels Sprouts section. 1. Preheat the oven to 400°F (200°C). This step is key for even cooking. 2. Prepare the Brussels sprouts by washing and halving them. This helps to cook them faster. 3. In a large bowl, toss the halved Brussels sprouts with olive oil, minced garlic, salt, and black pepper. Make sure they are well coated. To roast Brussels sprouts for the best flavor, spread them out on a baking sheet. Ensure they are in a single layer for even roasting. Roast them in the oven for 20-25 minutes. Stir halfway through to promote even browning. For the perfect glaze, combine balsamic vinegar and honey in a small saucepan over low heat. Stir it for about 3-5 minutes until it thickens slightly. This creates a sweet and tangy sauce. Once the Brussels sprouts are roasted, drizzle the balsamic glaze over them. Toss well to combine. If you like, sprinkle grated Parmesan cheese on top and return it to the oven. Bake for an extra 2-3 minutes until the cheese melts. Finally, remove from the oven and garnish with chopped fresh parsley before serving. This adds a pop of color and fresh flavor. For the full recipe, refer to the earlier section. To cook Brussels sprouts evenly, make sure they are all the same size. Halving them helps a lot. Spread them out on the baking sheet. Avoid crowding, as this can cause steaming instead of roasting. When selecting fresh Brussels sprouts, look for tight, bright green heads. They should feel firm to the touch. Avoid any with yellow leaves or soft spots. To boost flavor, consider adding spices like paprika or red pepper flakes. A pinch of smoked salt can add depth. For a herby touch, try thyme or rosemary. If you want to adjust sweetness, add more honey or maple syrup. To increase acidity, drizzle in more balsamic vinegar or a squeeze of lemon juice. Balsamic glazed Brussels sprouts pair well with roasted chicken or grilled fish. They also complement grains like quinoa or farro for a hearty meal. For presentation, serve them on a large platter. Sprinkle with extra Parmesan and fresh parsley for color. A drizzle of balsamic glaze on top adds an extra touch. For the full recipe, refer to the [Full Recipe]. {{image_2}} You can swap honey for maple syrup or agave nectar to make this dish vegan. Both options add a nice sweetness. If you want to try different sweeteners, consider brown sugar or coconut sugar. Each will give a unique flavor to the balsamic glaze. Grilling Brussels sprouts brings a smoky taste. To grill, skewer them or use a grill basket. Roast them in the oven for a crispy texture. This method enhances their natural flavor. If you're short on time, try stovetop methods. Sautéing in a pan can get you tasty Brussels sprouts quickly. For a savory twist, add chopped bacon or pancetta. This will give your sprouts a rich flavor that pairs well with the glaze. You can also experiment with different cheeses. Try feta for a tangy taste or goat cheese for creaminess. Both add depth to your dish. For the full recipe, check out the Balsamic Bliss Brussels Sprouts. To keep your Balsamic Glazed Brussels Sprouts fresh, store them in an airtight container. Place them in the fridge. They will last about 3 days. After that, they may lose flavor and texture. Always check for any signs of spoilage before eating. When reheating Brussels sprouts, the goal is to keep them crispy. You can use the oven or a skillet. For the oven, preheat it to 350°F (175°C). Spread the sprouts on a baking sheet and heat for about 10-15 minutes. If you use a skillet, place a little olive oil in the pan. Heat the sprouts over medium heat until warm. If you have leftovers, get creative! Add them to salads, grain bowls, or even omelets. They can also make a great topping for pizza or a flavorful addition to pasta dishes. Enjoy your Balsamic Glazed Brussels Sprouts in new ways! Brussels sprouts are packed with nutrients. They are high in vitamins C and K. These vitamins help your body fight off illness. Brussels sprouts also contain fiber, which aids digestion. Eating them may lower your risk of heart disease. They are low in calories, making them a great choice for weight loss. Yes, you can prepare Balsamic Glazed Brussels Sprouts ahead of time. Roast the sprouts and store them in the fridge. When you are ready to eat, reheat them in the oven. This keeps them crispy and tasty. You can add the balsamic glaze just before serving for the best flavor. To keep Brussels sprouts from getting soggy, follow these tips: - Roast them at a high temperature. - Spread them out on the baking sheet. - Avoid overcrowding the pan. - Stir them halfway through cooking. These steps help them stay crisp and delicious. No, Parmesan cheese is not a must in this recipe. It adds a nice flavor, but you can skip it. If you want a vegan option, use nutritional yeast for a cheesy taste. Feel free to play with flavors that you enjoy. Balsamic Glazed Brussels Sprouts pair well with many dishes. Try serving them with roasted chicken, grilled steak, or a hearty grain dish. They also complement pasta or quinoa bowls nicely. Add a fresh salad for a complete meal. For more ideas, check out the Full Recipe. Balsamic glazed Brussels sprouts are a tasty and healthy side. We explored the key ingredients, preparation steps, and cooking methods. I shared tips for flavor and freshness, along with variations to suit your taste. Storing leftovers can be easy, and I provided reheating ideas too. Remember, cooking is about experimenting and having fun. So, enjoy making this dish your own!](https://homecookingstyle.com/wp-content/uploads/2025/05/93ddea06-4db3-4b76-976a-3dbe1cd8878d-300x300.webp)
Candied Strawberries Simple and Delicious Treat
If you’re looking to impress your friends or enjoy a sweet treat, candied strawberries are a win! This simple recipe showcases fresh strawberries drenched…