
Latest & Greatest
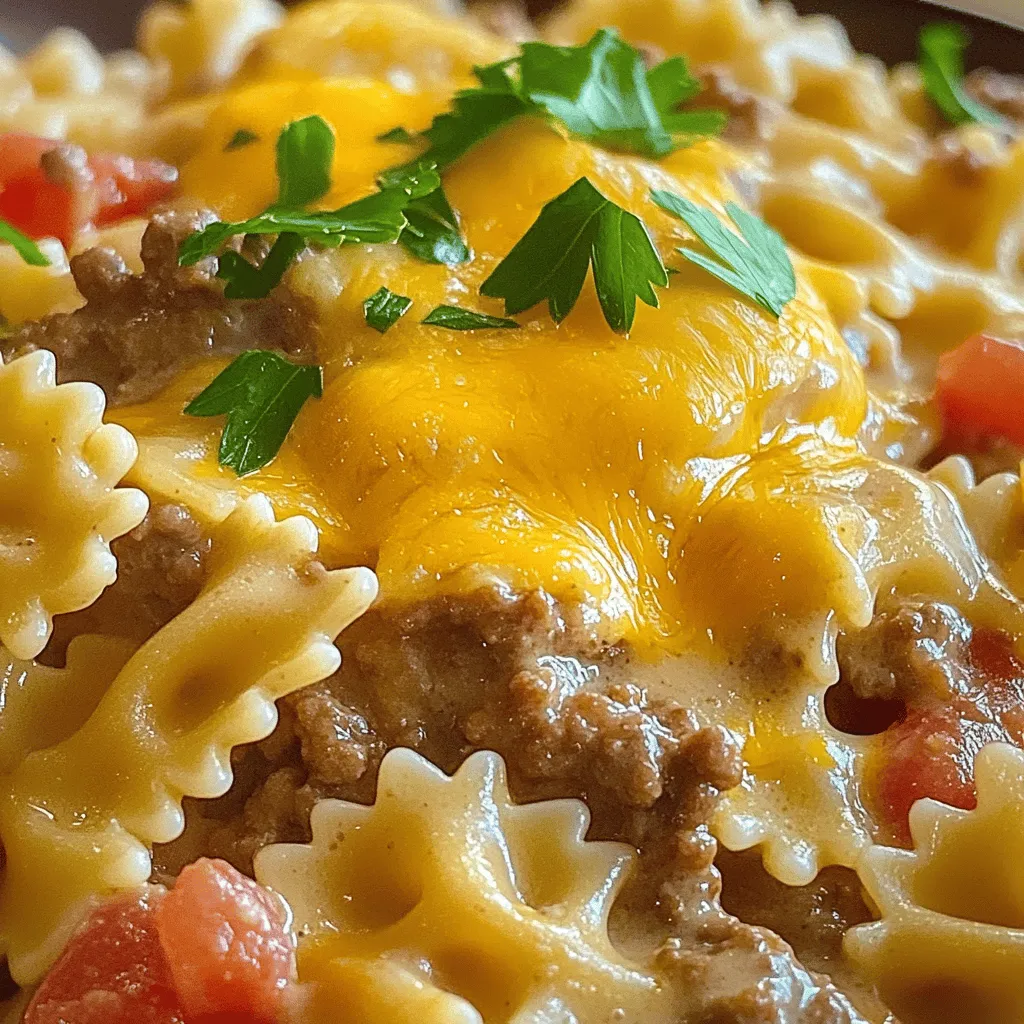
Cheesy Beef and Bowtie Pasta Savory Comfort Food
Are you ready for a meal that feels like a warm hug? Cheesy Beef and Bowtie Pasta is your answer.
Read more…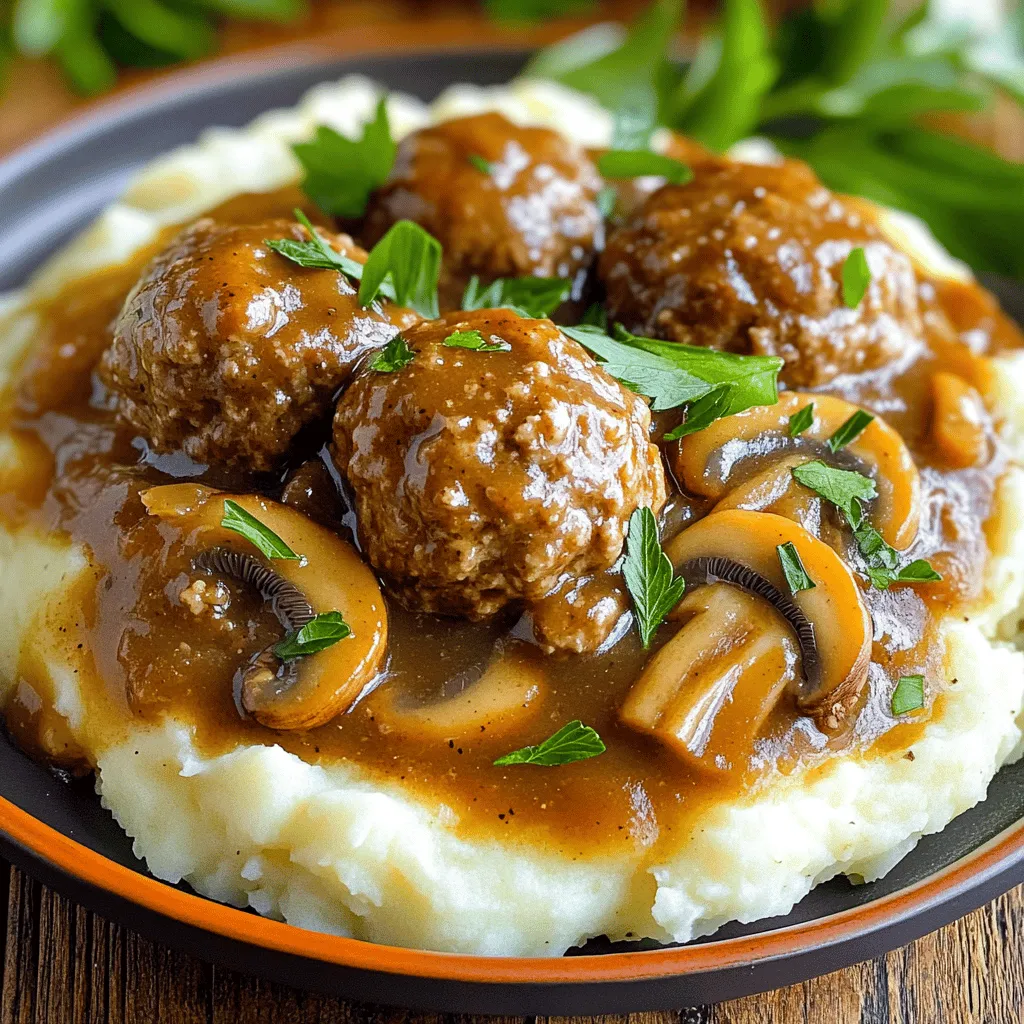
Savory Slow Cooker Salisbury Steak Meatballs Recipe
Are you ready to impress your family with a delicious meal? This Savory Slow Cooker Salisbury Steak Meatballs Recipe is
Read more…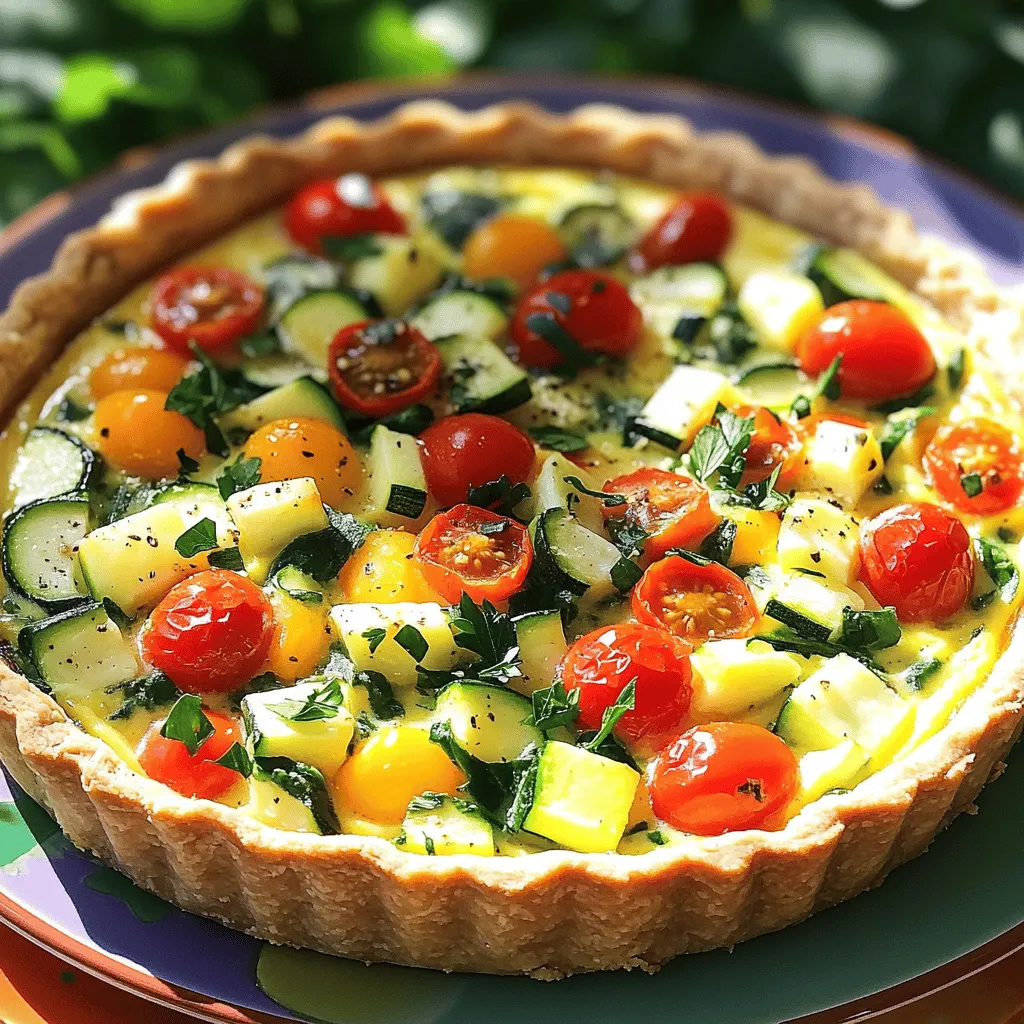
Vegetable Quiche Flavorful and Nutritious Dish
If you’re craving a dish that’s both tasty and good for you, vegetable quiche fits the bill! This colorful blend
Read more…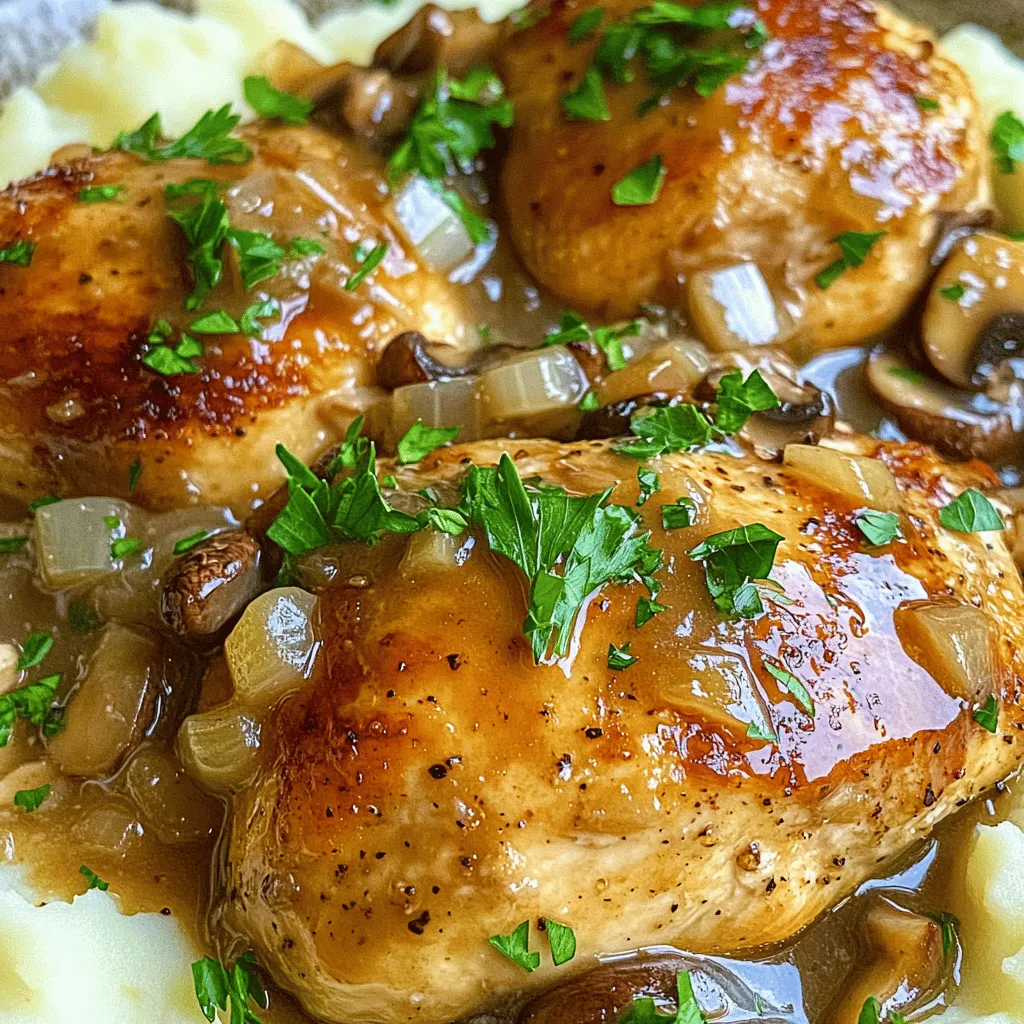
Mushroom Chicken Delight Easy and Flavorful Recipe
Are you ready to enjoy a quick and delicious meal? Mushroom Chicken Delight is an easy recipe that bursts with
Read more…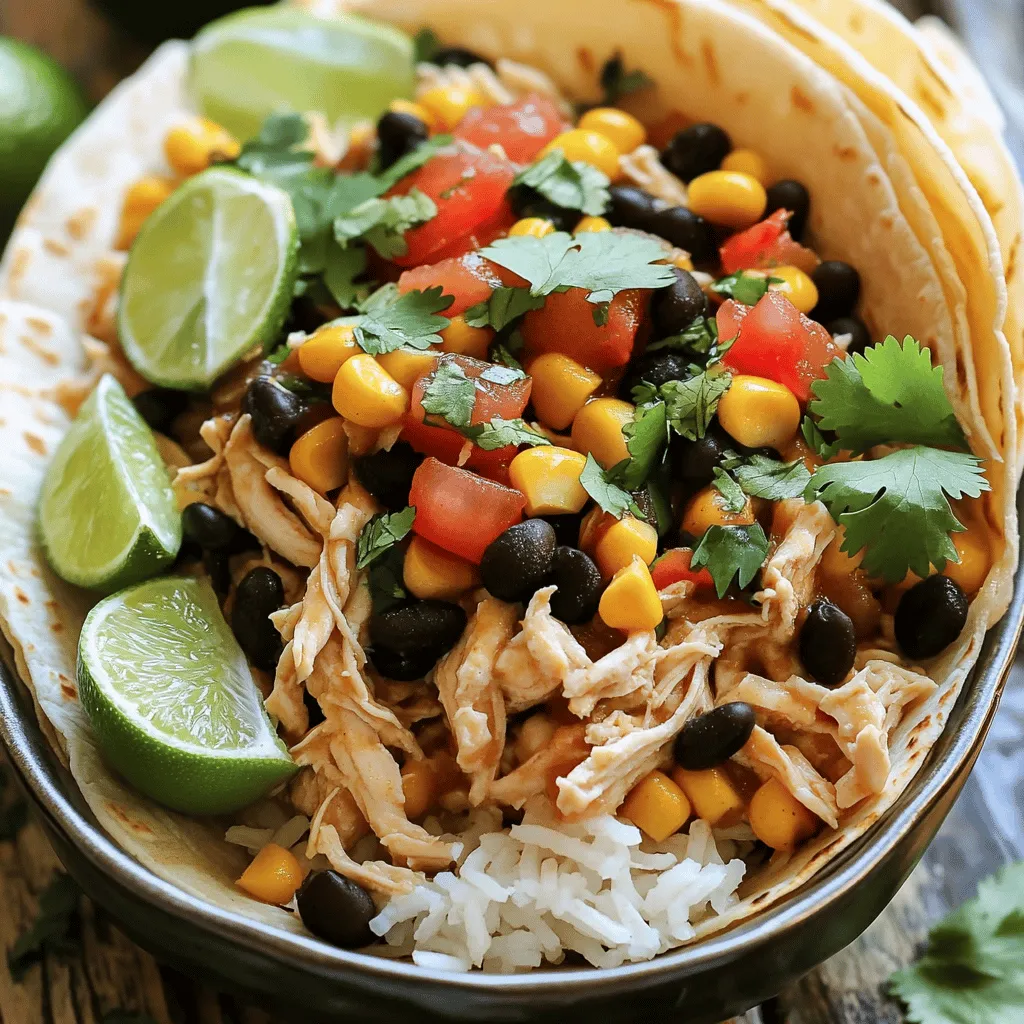
Crockpot Mexican Chicken Flavorful and Easy Recipe
If you’re seeking a simple yet tasty meal that’ll impress your family, you’ve come to the right place! This Crockpot
Read more…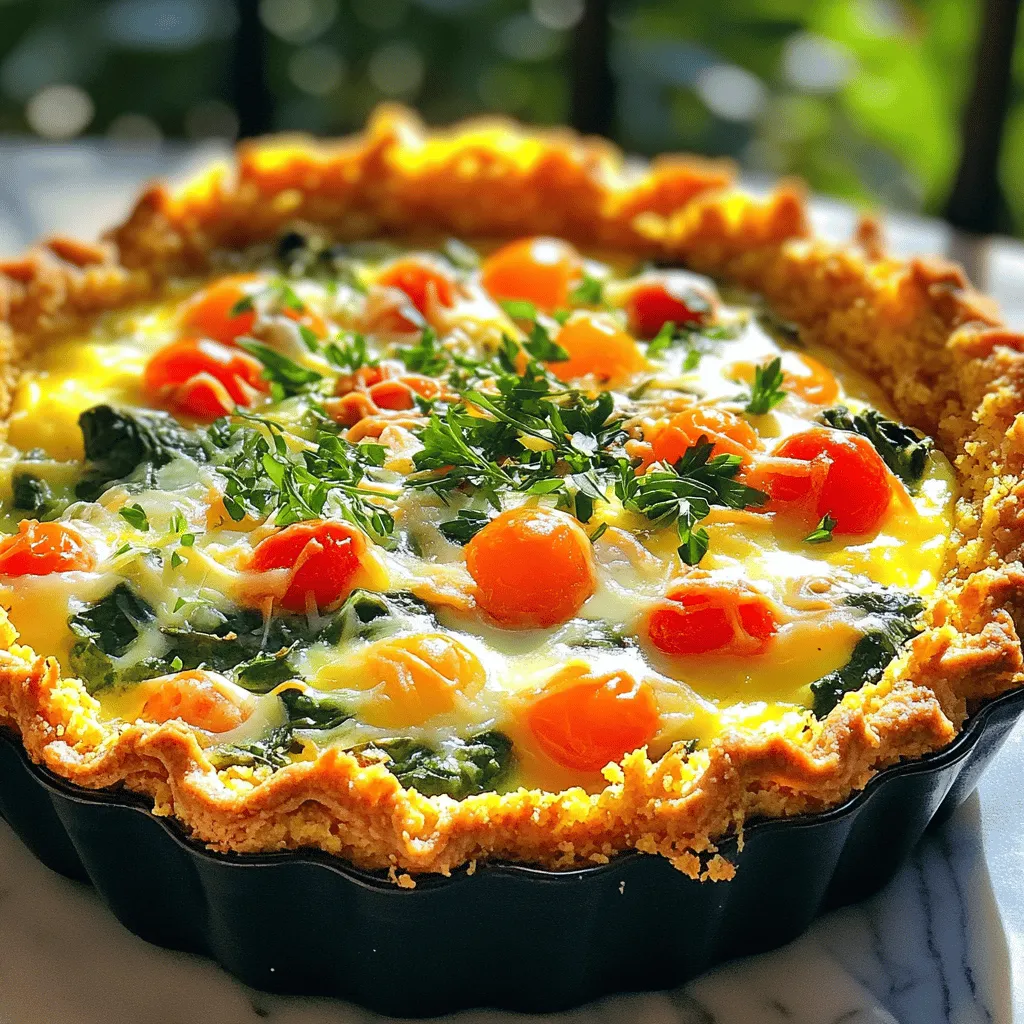
Spring Hash Brown Crust Quiche Delightful and Simple
Welcome to your new favorite dish: the Spring Hash Brown Crust Quiche! If you love fresh flavors and simple cooking,
Read more…browse recipes

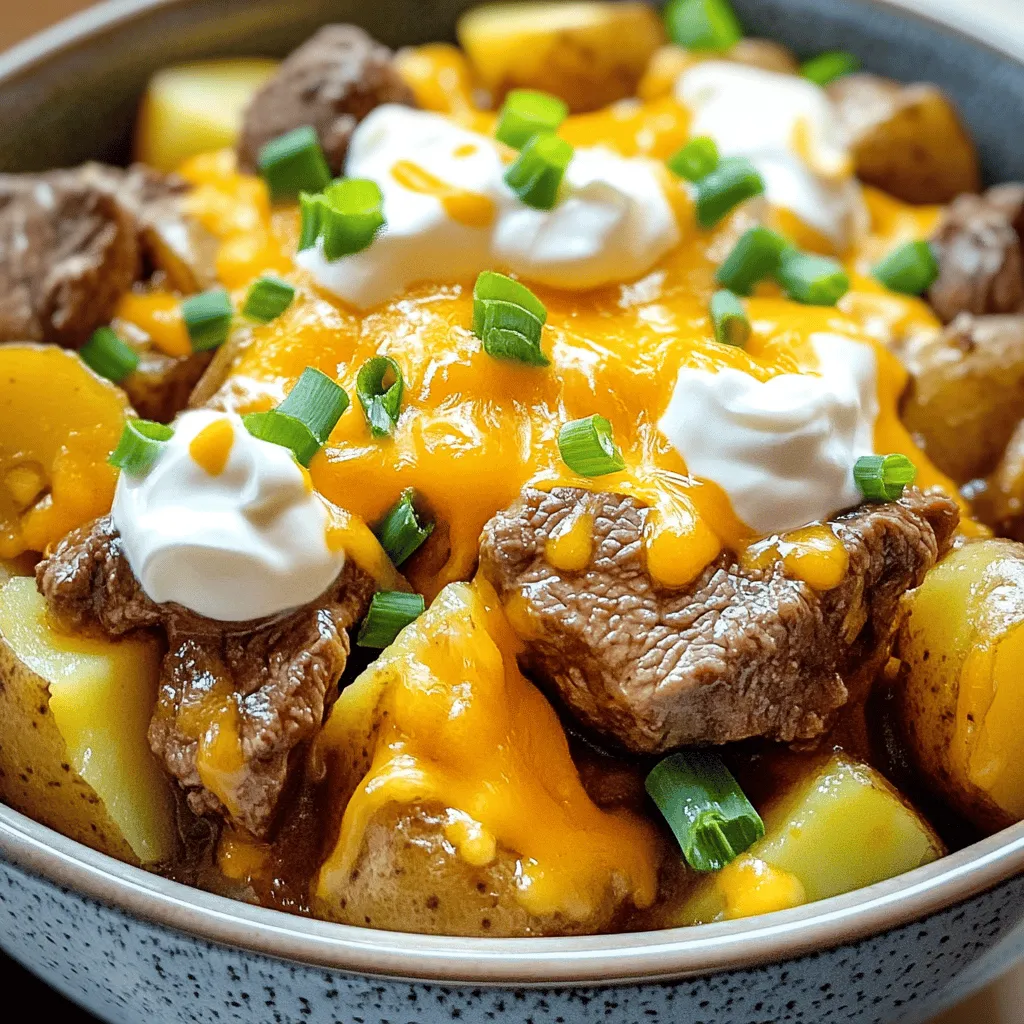
Crockpot Loaded Steak and Potato Bake Easy Dinner Delight
Looking for an easy dinner that packs a punch? You’ve come to the right place! My Crockpot Loaded Steak and Potato Bake is the…
My Latest Desserts
-
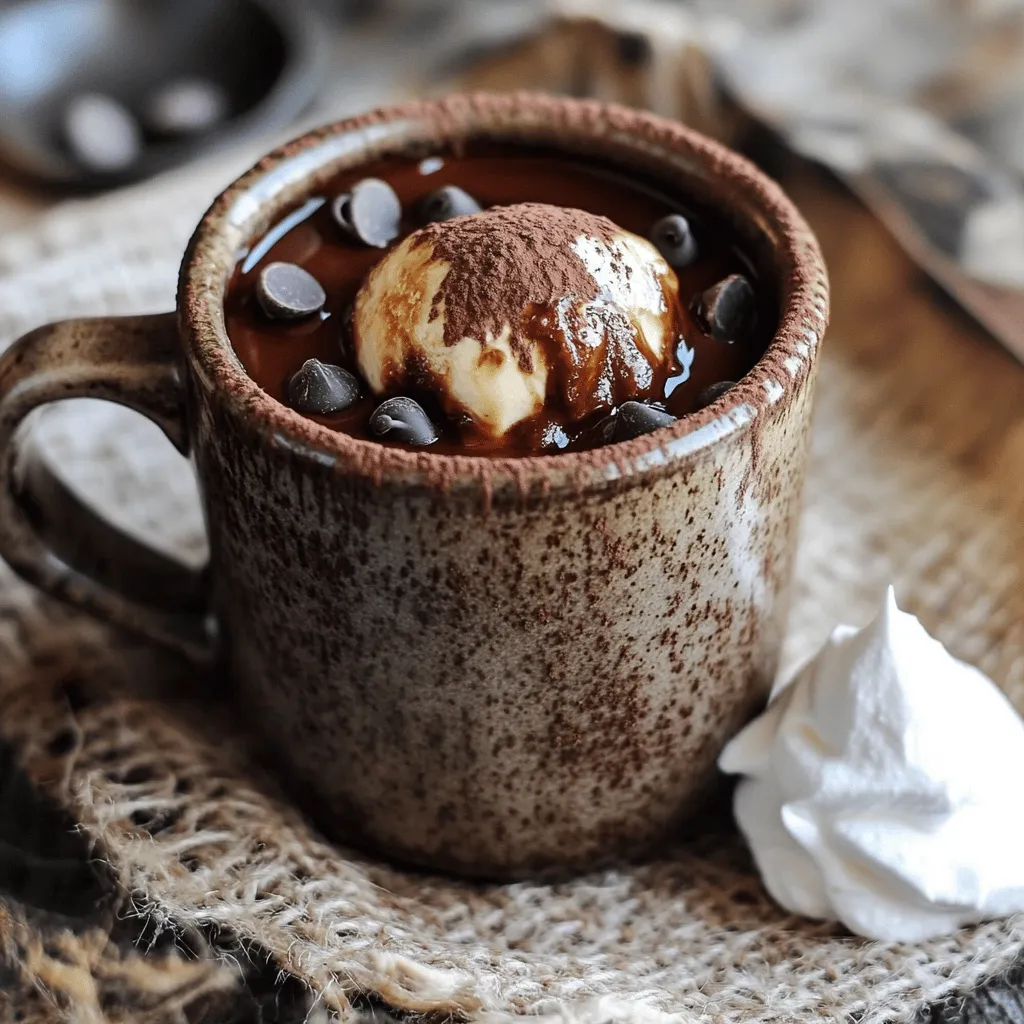
Vegan Chocolate Mug Cake Simple and Delicious Treat
Craving something sweet and easy? You’re in the right place! My vegan chocolate mug cake is quick to make and Read Full Recipe -

Chocolate Hazelnut Spread Pancakes Irresistible Treat
Get ready to indulge in a sweet breakfast treat! Imagine fluffy pancakes, warm from the skillet, drizzled with rich chocolate Read Full Recipe -
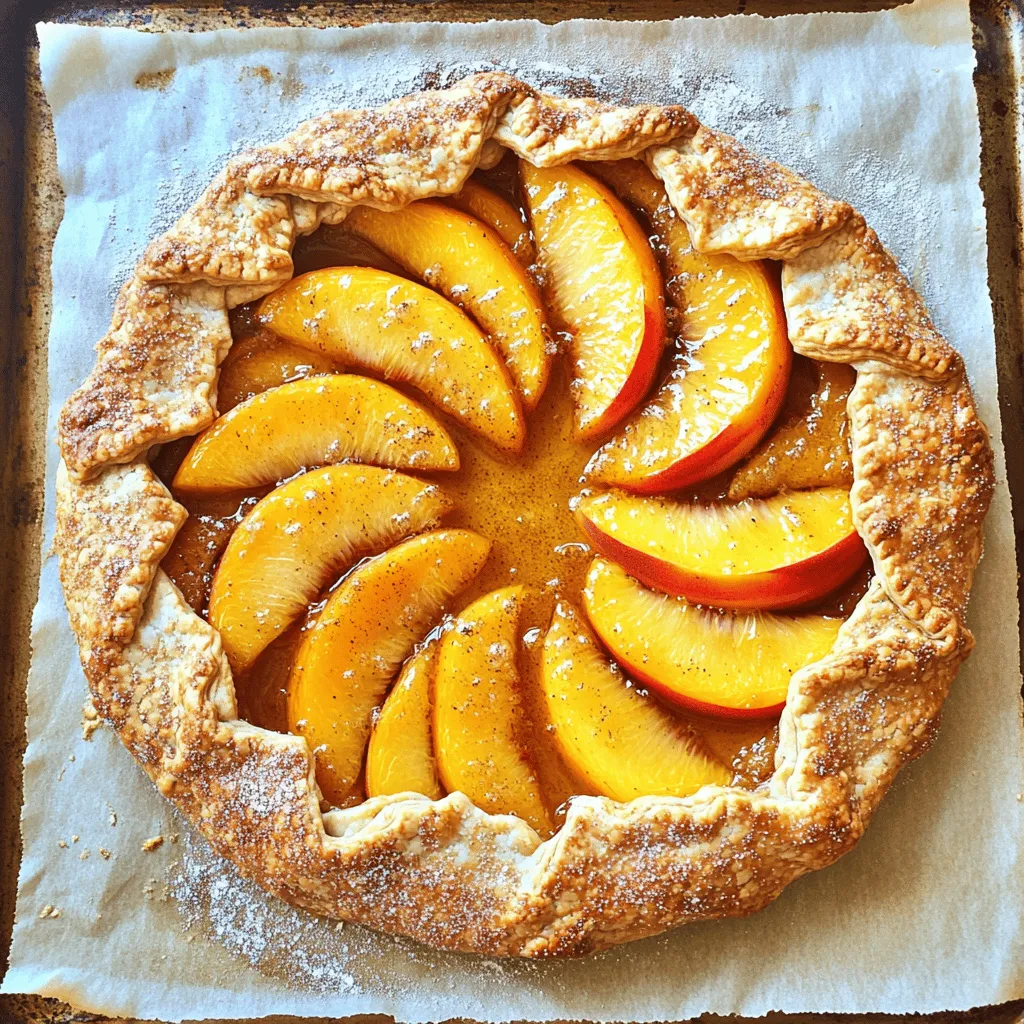
Peach Galette with Almond Crust Delightful Recipe
Are you ready to impress your friends with a stunning dessert? Try this Peach Galette with Almond Crust! This treat Read Full Recipe -
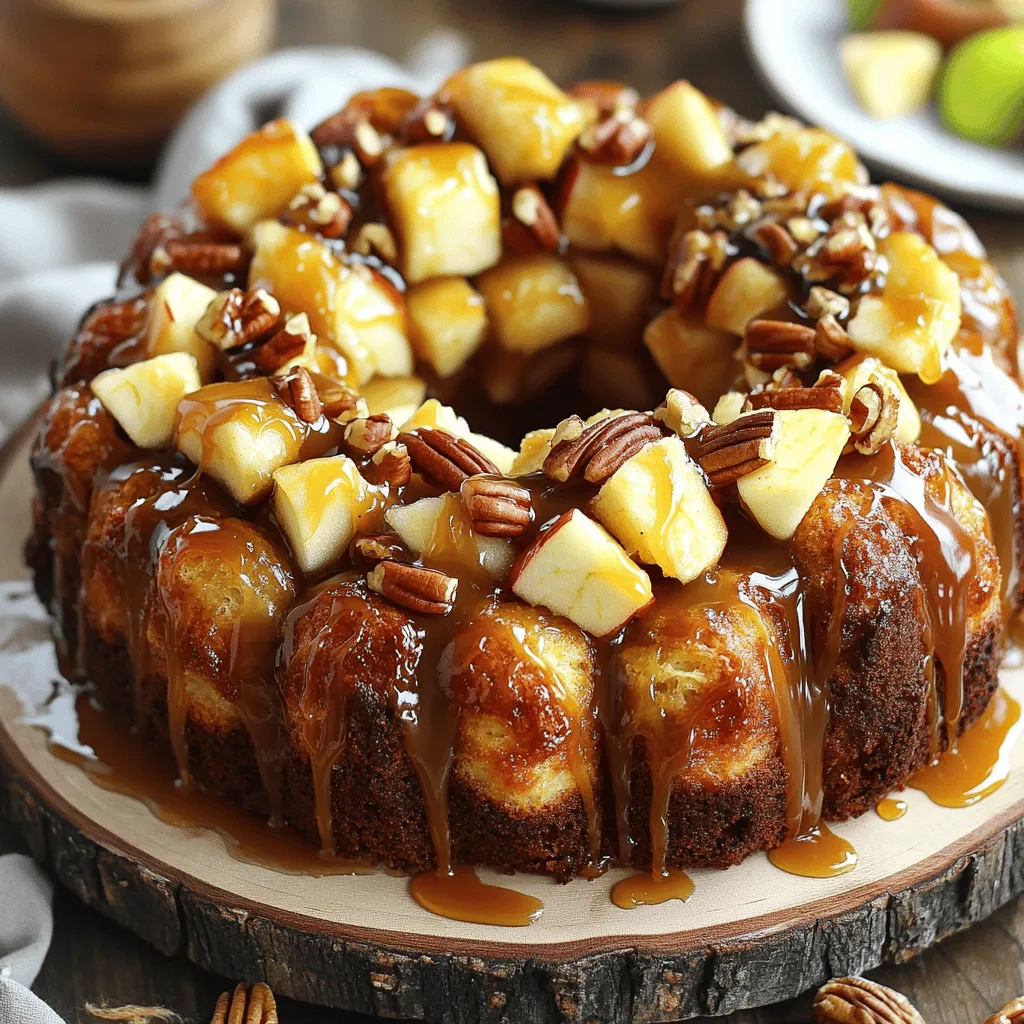
Caramel Apple Monkey Bread Irresistible Sweet Delight
Get ready to indulge in a mouthwatering treat with my Caramel Apple Monkey Bread! This sweet delight is packed with Read Full Recipe -
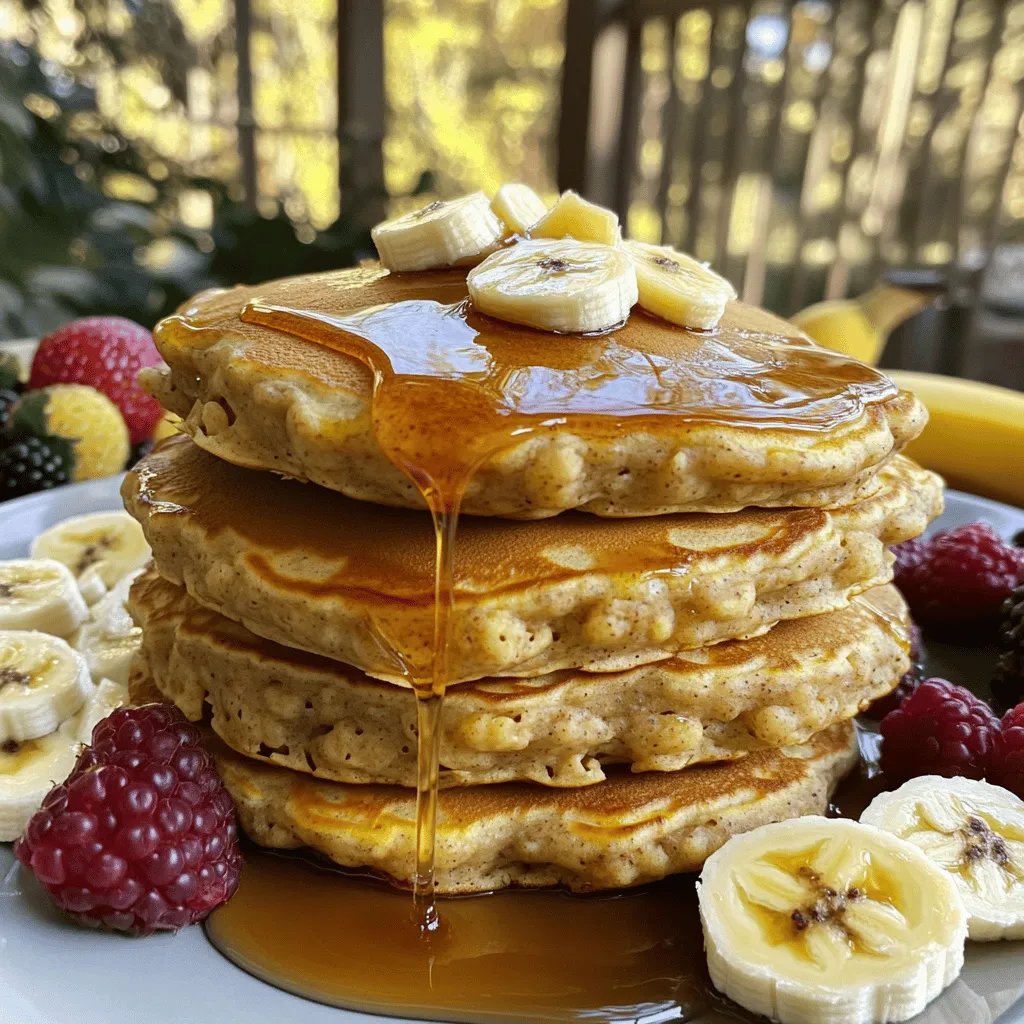
Banana Oatmeal Pancakes Simple and Nutritious Recipe
If you love pancakes but want a healthy twist, you’ll enjoy my Banana Oatmeal Pancakes! This simple recipe combines ripe Read Full Recipe -

No-Bake Chocolate Oatmeal Cookies Simple Delight
Are you ready to indulge in a sweet and easy treat? My No-Bake Chocolate Oatmeal Cookies are simple to make Read Full Recipe -
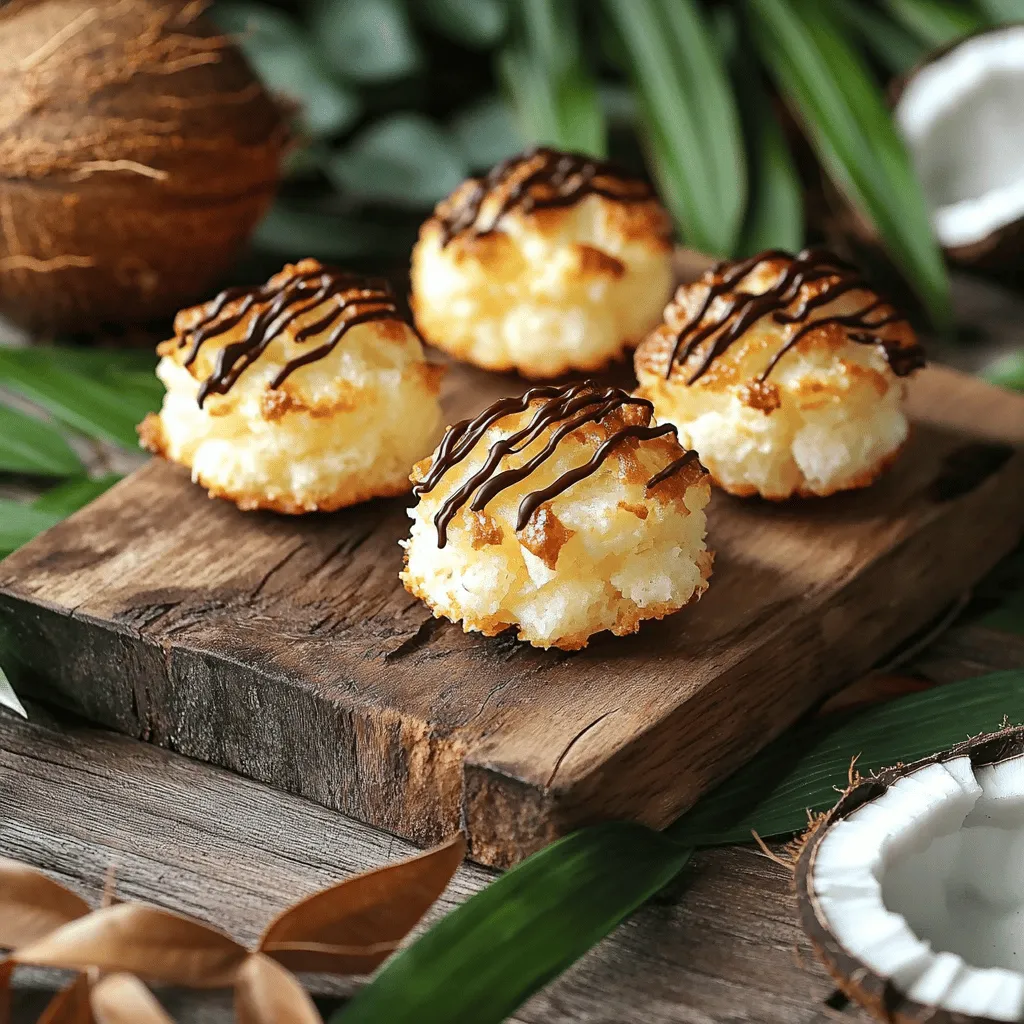
Coconut Macaroons Irresistible Sweet Treat Recipe
Are you ready to indulge in a sweet treat that is both simple and delicious? Coconut macaroons are the perfect Read Full Recipe -

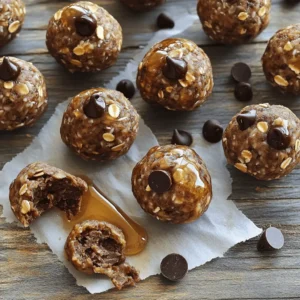
Chocolate Peanut Butter Protein Balls Simple and Easy
If you’re looking for a quick snack loaded with flavor and nutrition, you’re in the right place! Chocolate Peanut Butter Read Full Recipe -
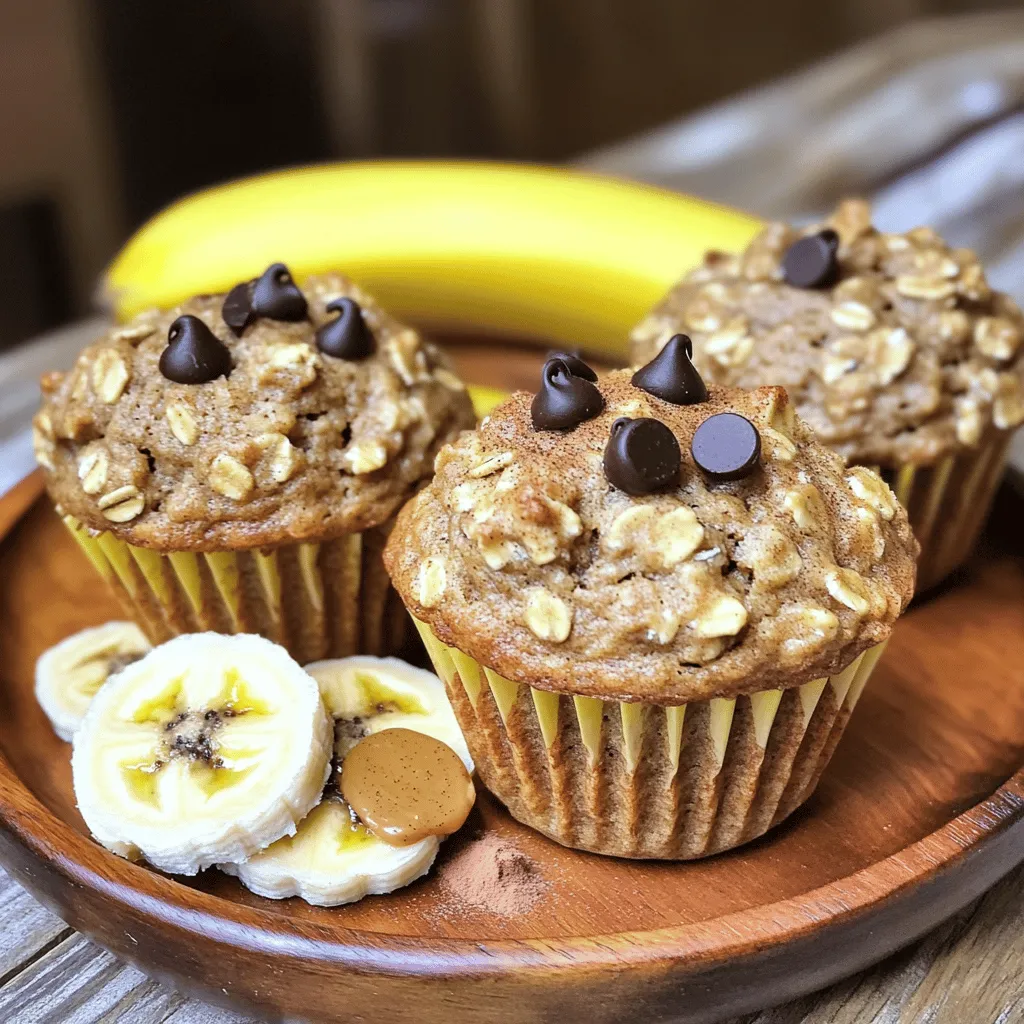
Banana Oatmeal Muffins Tasty and Simple Recipe
Looking for a tasty and easy treat? These Banana Oatmeal Muffins fit the bill! Made with ripe bananas, rolled oats, Read Full Recipe -
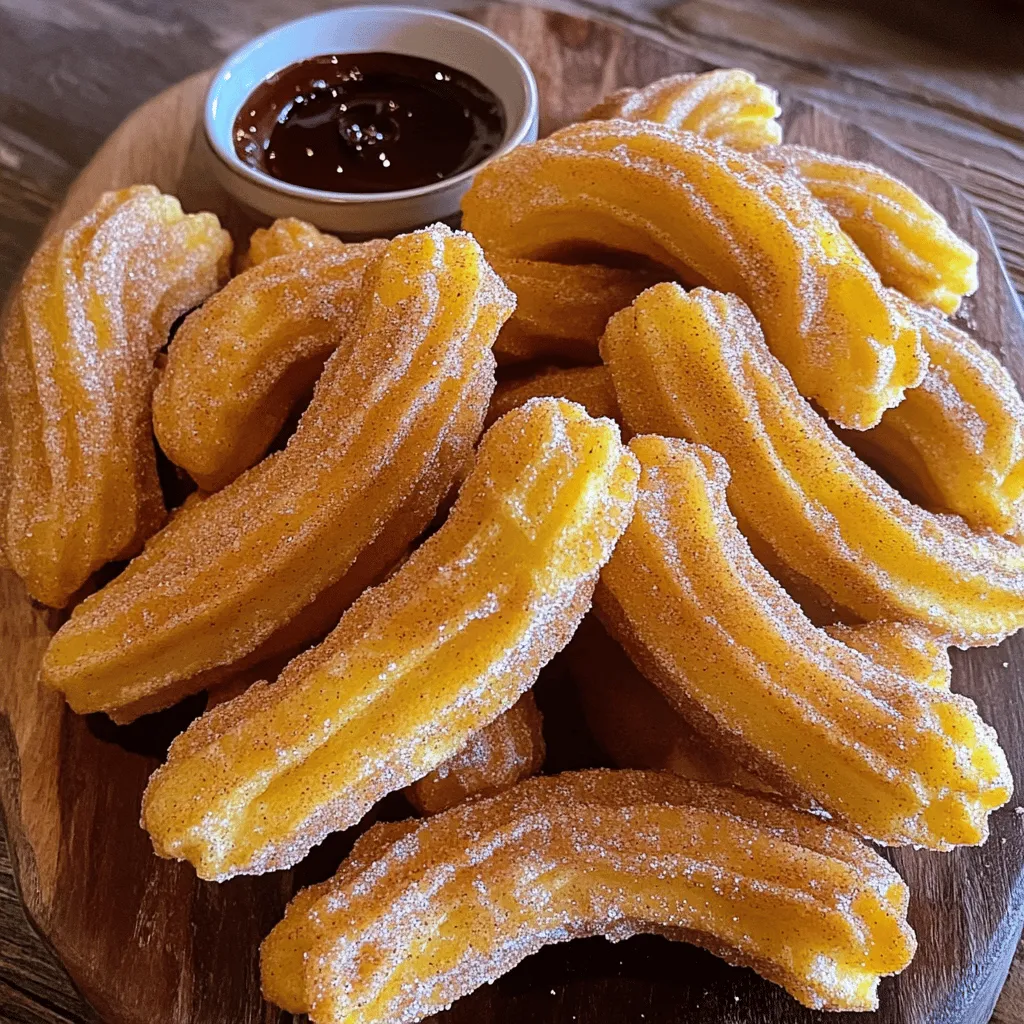
Cinnamon Sugar Churros Irresistible Sweet Treats
Are you ready to indulge in the warm and delicious world of cinnamon sugar churros? These sweet treats are crispy Read Full Recipe
My Latest Recipes

hey,
i’m !
I’m so happy you’re here!
From my kitchen to your table, each dish is a labor of love. May they delight your palate and warm your heart. Let’s savor the beauty of cooking together.
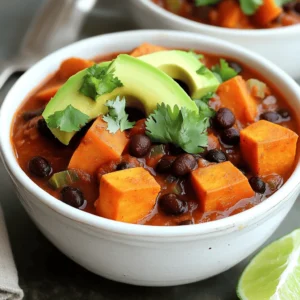


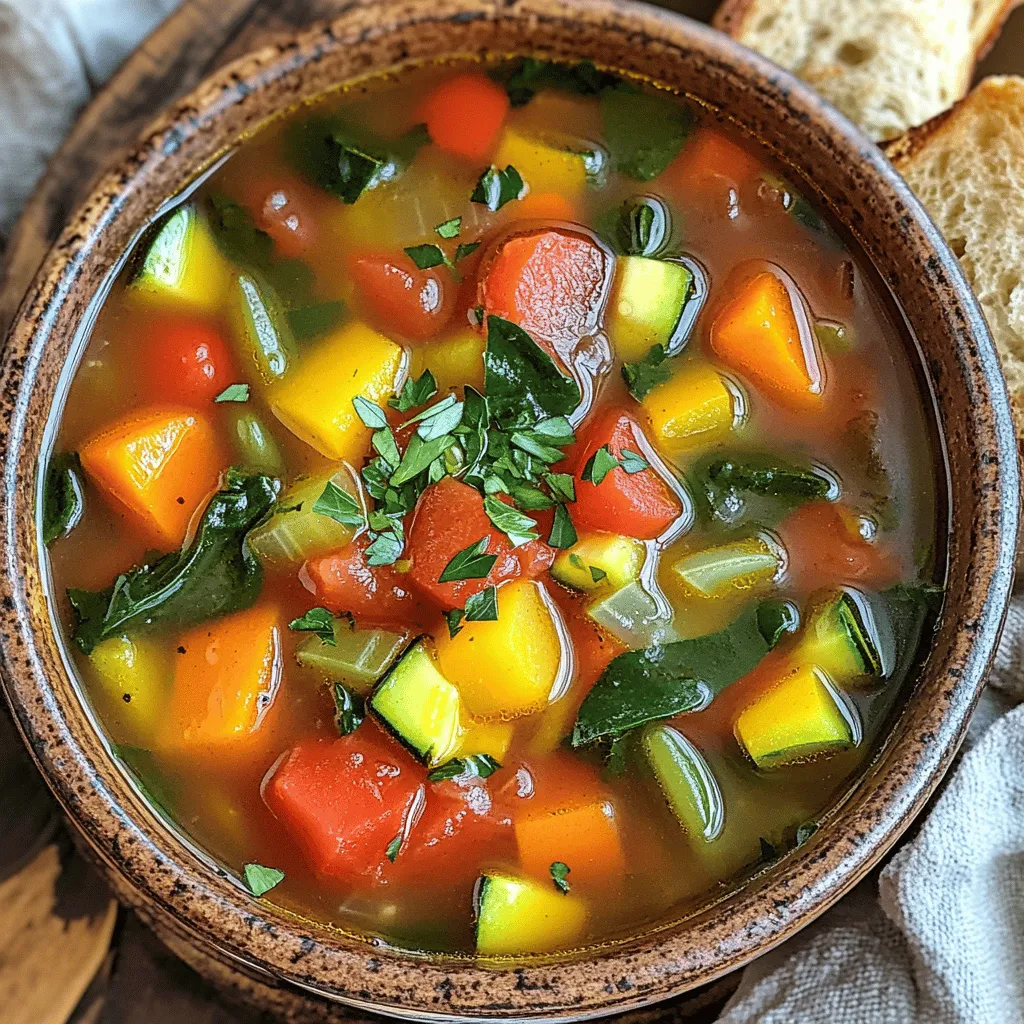
Instant Pot Vegetable Soup Simple and Flavorful Recipe
Looking for a quick, healthy meal? My Instant Pot Vegetable Soup is your answer! This tasty recipe is simple to make and packed with…