


Latest & Greatest
Zesty Lemon Garlic Shrimp Tacos Flavorful and Fresh
Do you crave a dish that bursts with flavor? Zesty Lemon Garlic Shrimp Tacos are just what you need. This
Read more…
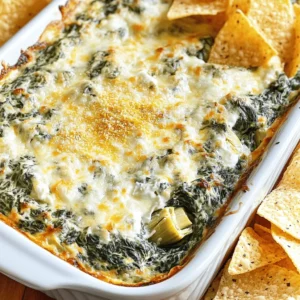
Easy Spinach Artichoke Dip Simple and Tasty Recipe
Looking for a crowd-pleasing snack that’s easy to make? You’ve landed in the right spot! My Easy Spinach Artichoke Dip
Read more…
Creamy Garlic Chicken Skillet Savory Weeknight Meal
Looking for a quick and tasty meal for your busy weeknights? This Creamy Garlic Chicken Skillet is your answer! In
Read more…
Loaded Potato Meatloaf Delightful and Hearty Dish
Imagine a dish that combines comfort, flavor, and heartiness all in one bite. That’s what you get with Loaded Potato
Read more…
The Best Mac & Cheese Creamy Comfort Recipe Guide
Are you ready to dive into the world of creamy comfort? In this guide, I’ll show you how to make
Read more…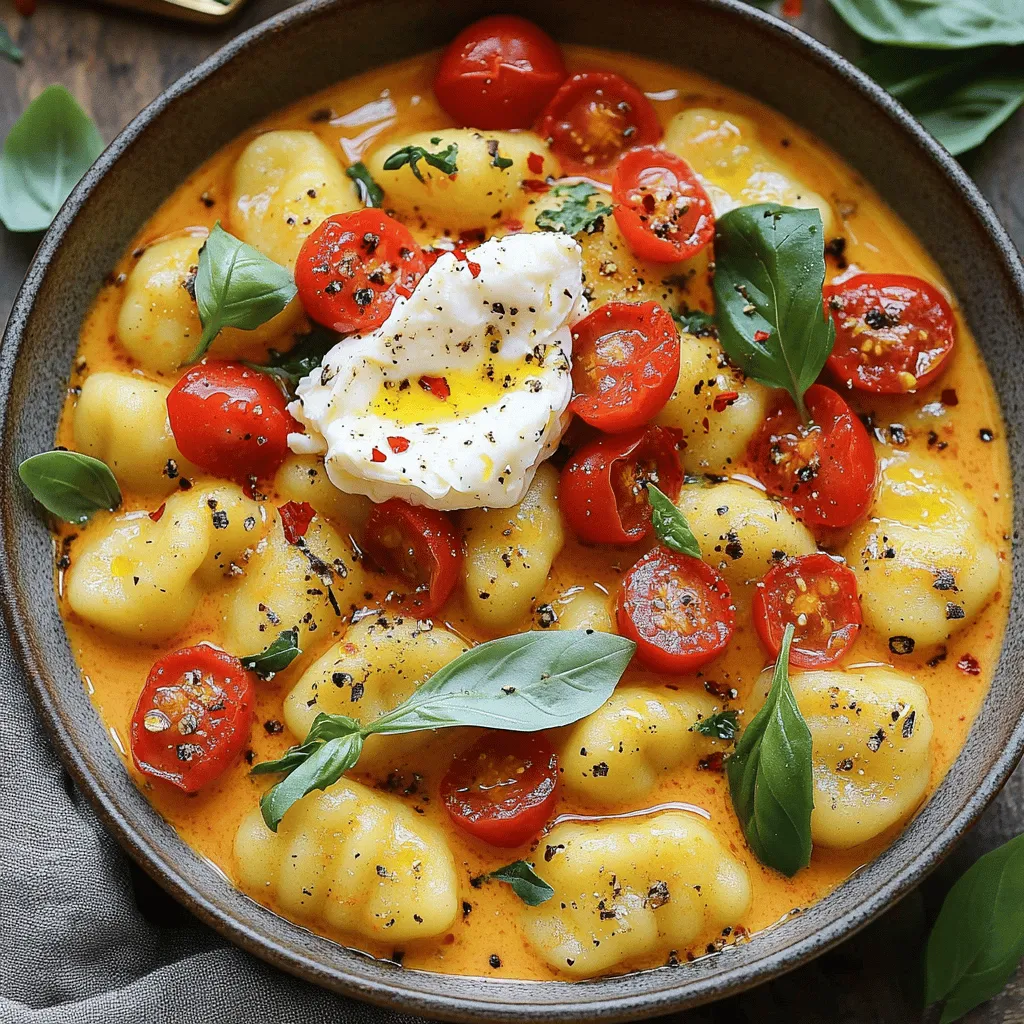
30 Minute Tomato Gnocchi with Burrata Delight
Ready for a delicious meal in just 30 minutes? This Tomato Gnocchi with Burrata is both quick and bursting with
Read more…
Crockpot Loaded Steak and Potato Bake Easy Dinner Delight
Looking for an easy dinner that packs a punch? You’ve come to the right place! My Crockpot Loaded Steak and
Read more…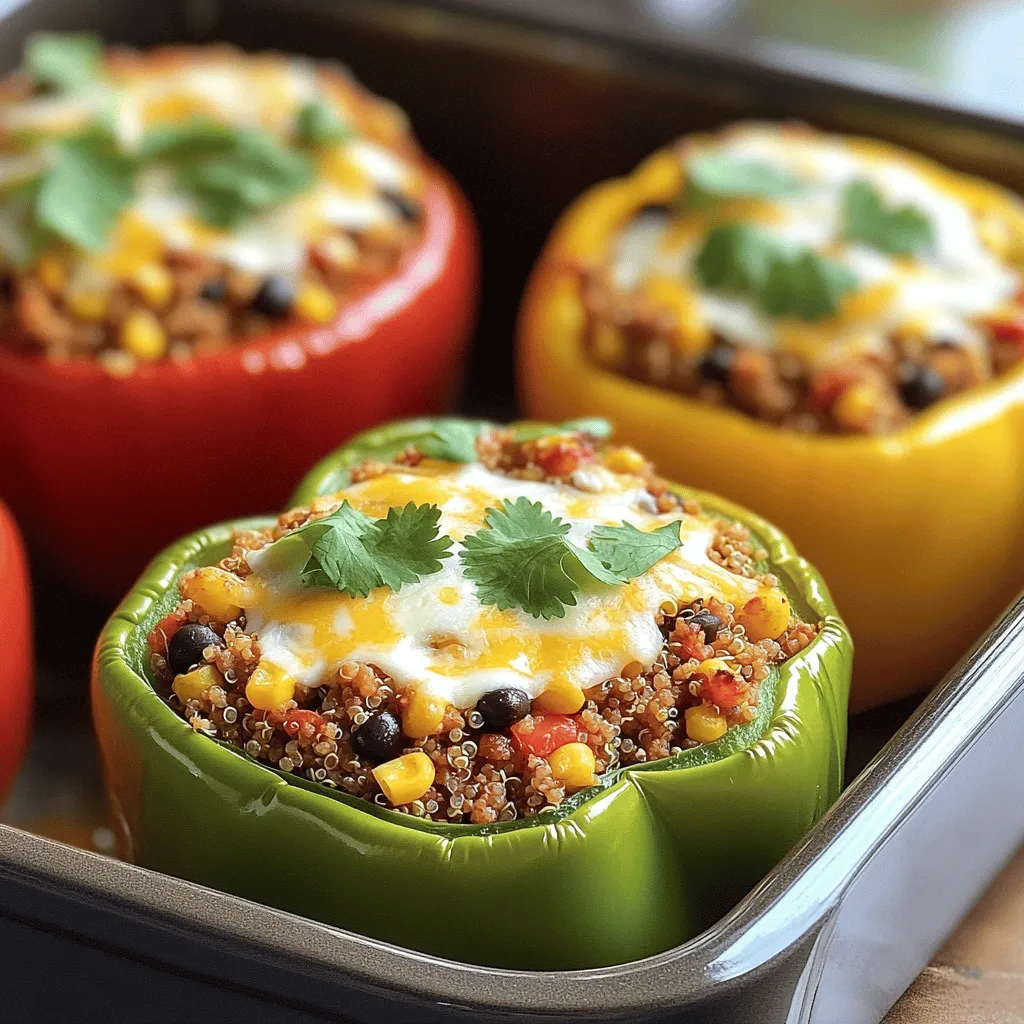
Stuffed Bell Peppers with Ground Turkey Delight
Looking for a tasty dinner idea? Stuffed Bell Peppers with Ground Turkey Delight is your answer! These colorful, healthy peppers
Read more…browse recipes


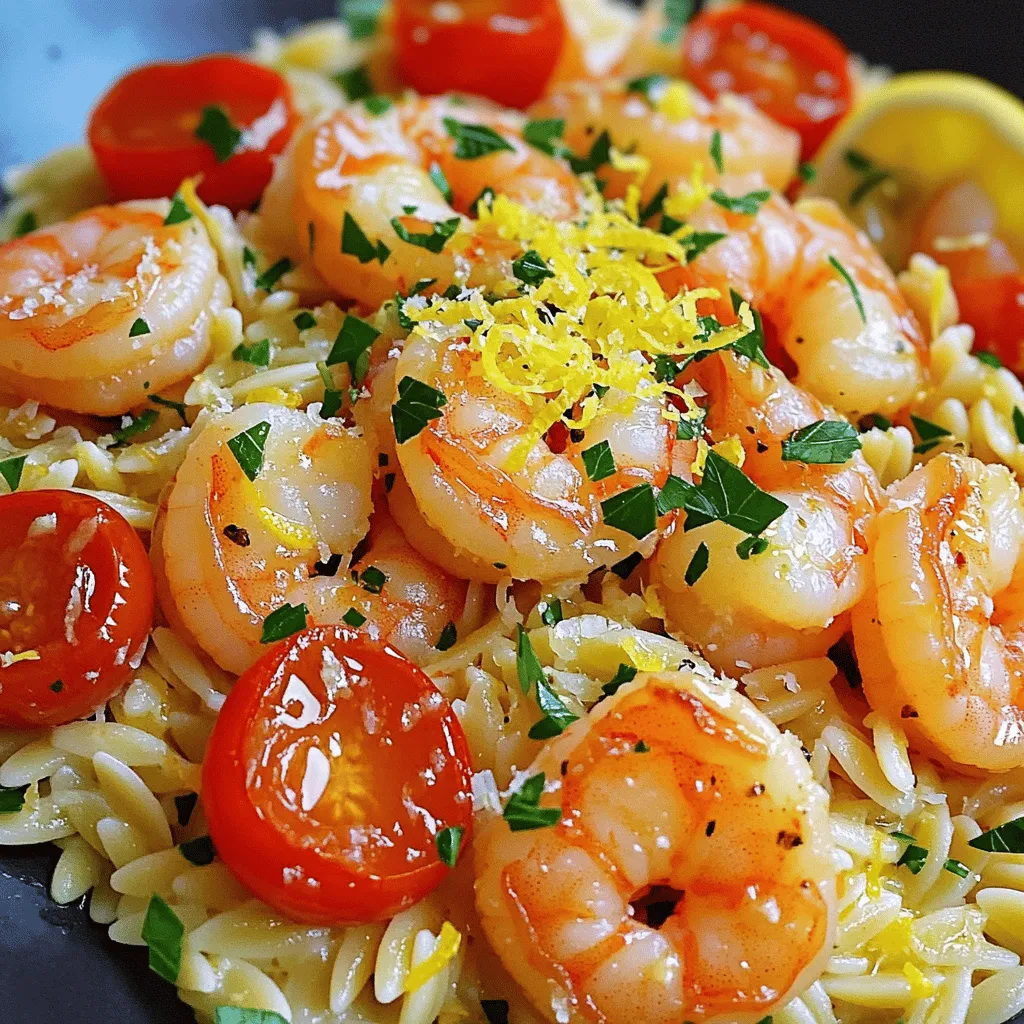
Lemon Garlic Shrimp Orzo Flavorful and Easy Meal
Looking for a quick, tasty meal? Lemon Garlic Shrimp Orzo is your answer! This dish combines juicy shrimp, zesty lemon, and tender orzo for…
My Latest Desserts
-

Coconut Cream Pie Bars Delightfully Creamy Treat
If you’re craving something sweet and creamy, Coconut Cream Pie Bars are your answer. These bars combine rich coconut flavor Read Full Recipe -

Caramel Apple Nachos Delightful Sweet Snack Idea
Get ready to indulge in a sweet twist with Caramel Apple Nachos! This fun snack combines crisp apples, gooey caramel, Read Full Recipe -

Chocolate Chip Banana Bread Simple and Tasty Recipe
Do you love warm, sweet treats? If so, you’ll adore this simple and tasty Chocolate Chip Banana Bread recipe! With Read Full Recipe -

Cinnamon Sugar Donut Muffins Soft and Tasty Treat
Get ready to satisfy your sweet tooth with these Cinnamon Sugar Donut Muffins! They’re soft, tasty, and perfect for any Read Full Recipe -

Chocolate Chip Cookie Dough Brownies Delightful Treat
Do you love brownies and cookie dough? Then, you’ll adore Chocolate Chip Cookie Dough Brownies! This delightful treat combines rich, Read Full Recipe -
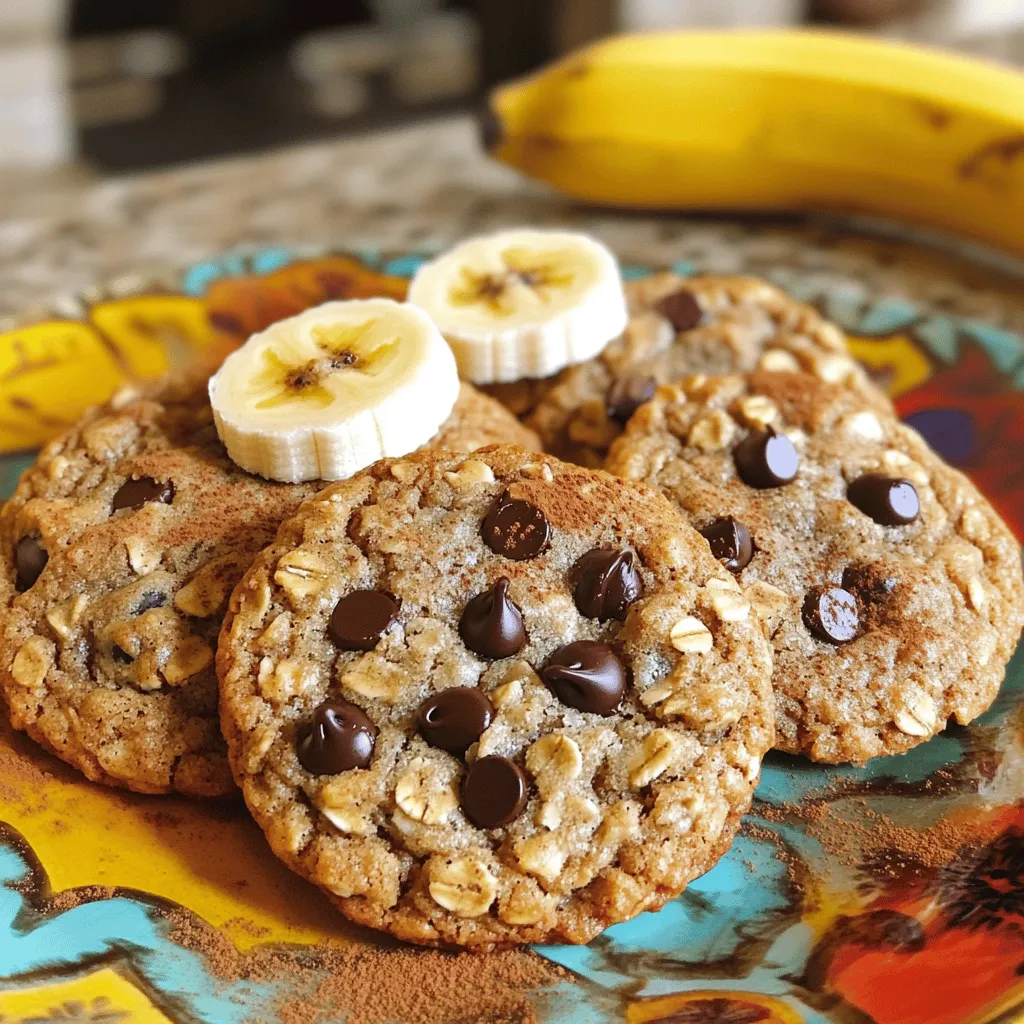
Banana Oatmeal Cookies Simple and Tasty Recipe
Looking for a quick and delicious treat? These Banana Oatmeal Cookies are the answer! With just a few simple ingredients, Read Full Recipe -

Pumpkin Spice Energy Balls Simple and Tasty Snack
Fall is here, and what better way to celebrate than with delicious Pumpkin Spice Energy Balls? These tasty snacks are Read Full Recipe -

Lemon Blueberry Muffins Delightful and Easy Recipe
Are you ready to enjoy the perfect treat that blends sweet and tangy? My Lemon Blueberry Muffins are simple to Read Full Recipe -

Peach Cobbler with Biscuit Topping Simple Delight
If you crave a warm, sweet dessert, you’ll love my Peach Cobbler with Biscuit Topping. This simple delight combines juicy Read Full Recipe -

Vegan Chocolate Mug Cake Simple and Delicious Treat
Craving something sweet and easy? You’re in the right place! My vegan chocolate mug cake is quick to make and Read Full Recipe
My Latest Recipes

hey,
i’m !
I’m so happy you’re here!
From my kitchen to your table, each dish is a labor of love. May they delight your palate and warm your heart. Let’s savor the beauty of cooking together.


![To make creamy avocado pasta, you need a few key ingredients. These ingredients create a rich and flavorful dish. Here’s what you will need: - 2 ripe avocados, pitted and peeled - 2 cloves garlic, minced - 1 cup fresh basil leaves - 2 tablespoons lemon juice - 1/4 cup Greek yogurt or vegan yogurt - 3 tablespoons olive oil - Salt and black pepper to taste - 12 oz spaghetti or your choice of pasta These ingredients blend together to form a smooth and creamy sauce. The avocados give it richness, while the garlic adds a nice bite. The basil brings freshness, and the lemon juice brightens the flavors. Greek yogurt adds creaminess without too many calories. You can make this dish even better with tasty toppings. Here are some ideas to try: - Cherry tomatoes, halved (for topping) - Pine nuts, toasted (for garnish) Cherry tomatoes add sweetness and color. Toasted pine nuts provide a nice crunch. You can mix and match toppings based on what you like! If you don’t have all the ingredients, don’t worry! Here are some easy swaps you can make: - Use lime juice instead of lemon juice for a zesty twist. - Swap Greek yogurt for sour cream if you like that flavor. - For a nut-free option, skip the pine nuts or use sunflower seeds. These substitutions keep the dish tasty while fitting your pantry. You can adjust it based on what you have. Don't forget to check the [Full Recipe] for all the details! Start by boiling a large pot of salted water. Once it boils, add 12 oz of spaghetti. Stir it gently to prevent sticking. Cook according to the package instructions until the pasta is al dente. This usually takes about 8 to 10 minutes. Remember to reserve 1 cup of the pasta water before draining. This water will help later with the sauce. Drain the pasta and set it aside. Now, let’s make the creamy avocado sauce. Grab a food processor and add the following: - 2 ripe avocados, pitted and peeled - 2 cloves garlic, minced - 1 cup fresh basil leaves - 2 tablespoons lemon juice - 1/4 cup Greek yogurt or vegan yogurt - 3 tablespoons olive oil Blend all these ingredients until the mixture is smooth and creamy. If the sauce feels too thick, add a bit of the reserved pasta water. Blend again until you reach the right consistency. In a large mixing bowl, combine the drained pasta with the creamy avocado sauce. Toss the pasta gently until every strand gets coated with the sauce. Taste the mixture and add salt and black pepper to your liking. Make sure the flavors shine through. Serve your creamy avocado pasta right away. Top it with halved cherry tomatoes and toasted pine nuts for crunch. Enjoy this quick and delicious dish! For the full recipe, check out the detailed instructions provided above. To pick the best avocados, look for a dark green color. Gently squeeze the avocado in your palm. It should feel slightly soft but not mushy. If it feels hard, it’s not ready. If it’s too soft, it may be overripe. You can also check the stem. If it pops off easily and you see green, it’s ripe! The key to a smooth sauce is blending. Use a food processor for the best results. Start with all ingredients at room temperature. If the sauce is too thick, add a bit of the reserved pasta water. Blend again until you reach the desired creaminess. A perfect sauce should coat the pasta nicely without being watery. Serve your creamy avocado pasta in a big bowl. Add halved cherry tomatoes on top for color and flavor. Sprinkle toasted pine nuts for a nice crunch. You can also add fresh basil leaves for an extra pop. Pair it with a light salad or garlic bread for a full meal. Don't forget to check out the Full Recipe for more details! {{image_2}} For a vegan and dairy-free version, swap Greek yogurt for a plant-based yogurt. Look for coconut or almond-based options. You can also skip the yogurt altogether and add more avocado for creaminess. Add a bit of nutritional yeast for a cheesy flavor. This keeps the dish rich and satisfying without animal products. You can boost protein in creamy avocado pasta easily. Great options include grilled chicken, shrimp, or chickpeas. If you want a plant-based choice, try adding lentils or tofu. Simply cook them separately and mix them in with the pasta. This adds flavor and makes it a more filling meal. You have many choices for pasta in this recipe. Spaghetti is classic, but you can use any type you like. Try penne, fusilli, or even zucchini noodles for a lighter option. Whole wheat or gluten-free pasta works well too. Just be sure to adjust cooking times based on the type you choose. For the full recipe, check the previous section. Store your leftover creamy avocado pasta in an airtight container. This keeps the pasta fresh. Avoid leaving it at room temperature for too long. If you plan to eat it later, refrigerate it right away. To prevent browning, you can drizzle a bit of lemon juice on top before sealing the container. Creamy avocado pasta lasts about 2 to 3 days in the fridge. After that, the quality may decline. The avocado can turn brown, which affects the look but not the taste. Always check for any off smells or changes in texture before eating leftovers. Reheat your creamy avocado pasta gently. Use a microwave or a skillet on low heat. If the sauce seems thick, add a splash of reserved pasta water to loosen it. Stir well to ensure even heating. Avoid overheating, as this can change the creamy texture of the sauce. Yes, you can! You can make the avocado sauce a day ahead. Just store it in an airtight container. Keep it in the fridge. The lemon juice helps to keep it fresh. When you are ready to eat, cook the pasta and mix it in. This dish is best served fresh, so make the sauce close to serving if possible. Creamy avocado pasta pairs well with many sides. Here are some ideas: - A fresh green salad with lemon vinaigrette - Garlic bread or crusty bread for dipping - Grilled vegetables for a healthy touch - Roasted chicken or shrimp for added protein These sides will balance the creamy pasta nicely. Absolutely! This recipe works well for meal prep. You can cook the pasta and store it separately. The sauce can also be stored in the fridge. Just keep them in separate containers. This way, you can mix them when you're ready to eat. Add toppings like tomatoes and nuts just before serving for the best taste. For the full recipe, check out the detailed instructions. Creamy avocado pasta is simple and tasty. We discussed key ingredients, cooking steps, and tips to perfect your dish. You can experiment with toppings and make it vegan or add protein. Storing leftovers and reheating properly keeps your meal fresh. Remember, this pasta is great for meal prep. Enjoy making it your own! Your kitchen can shine with this easy recipe.](https://homecookingstyle.com/wp-content/uploads/2025/05/cc86bf99-b8d2-43bb-b83e-e00b1593cea1-300x300.webp)
Peach Cobbler with Biscuit Topping Simple Delight
If you crave a warm, sweet dessert, you’ll love my Peach Cobbler with Biscuit Topping. This simple delight combines juicy peaches with a light,…
