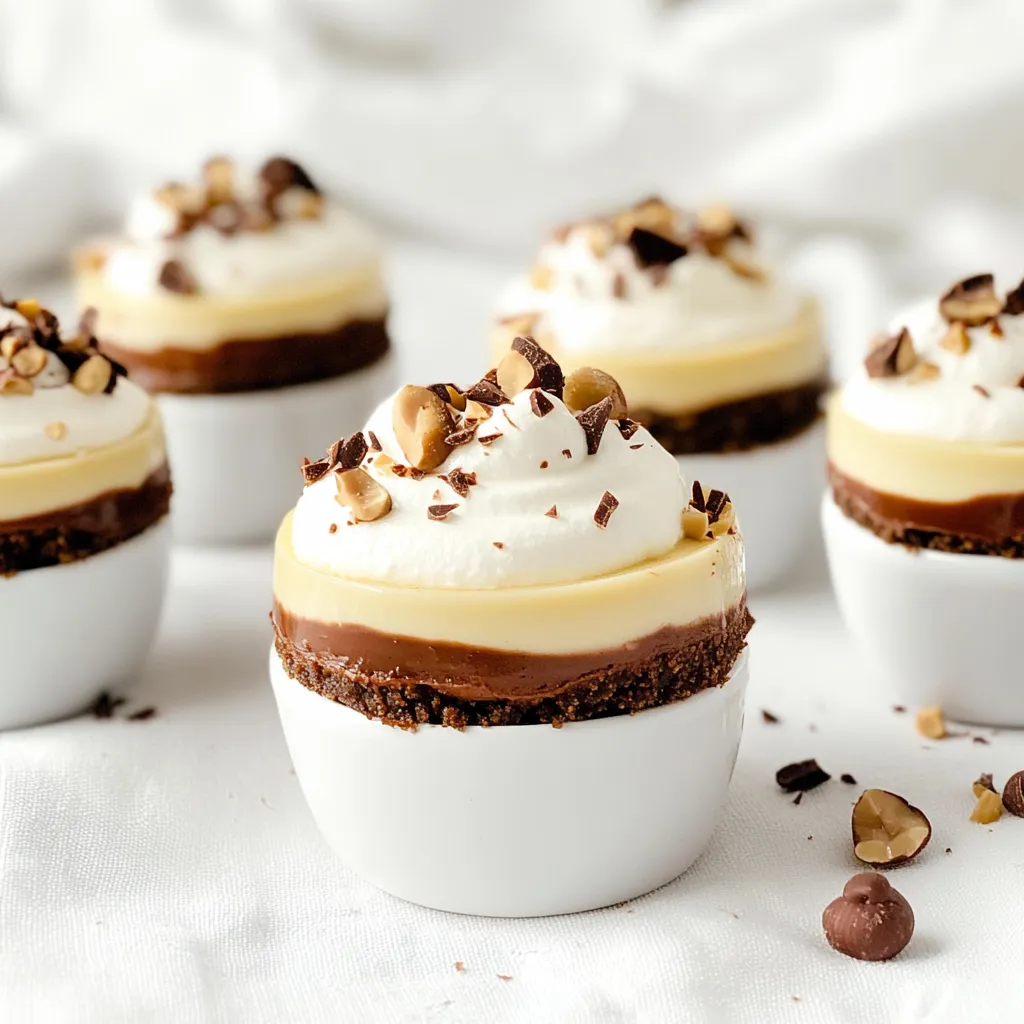
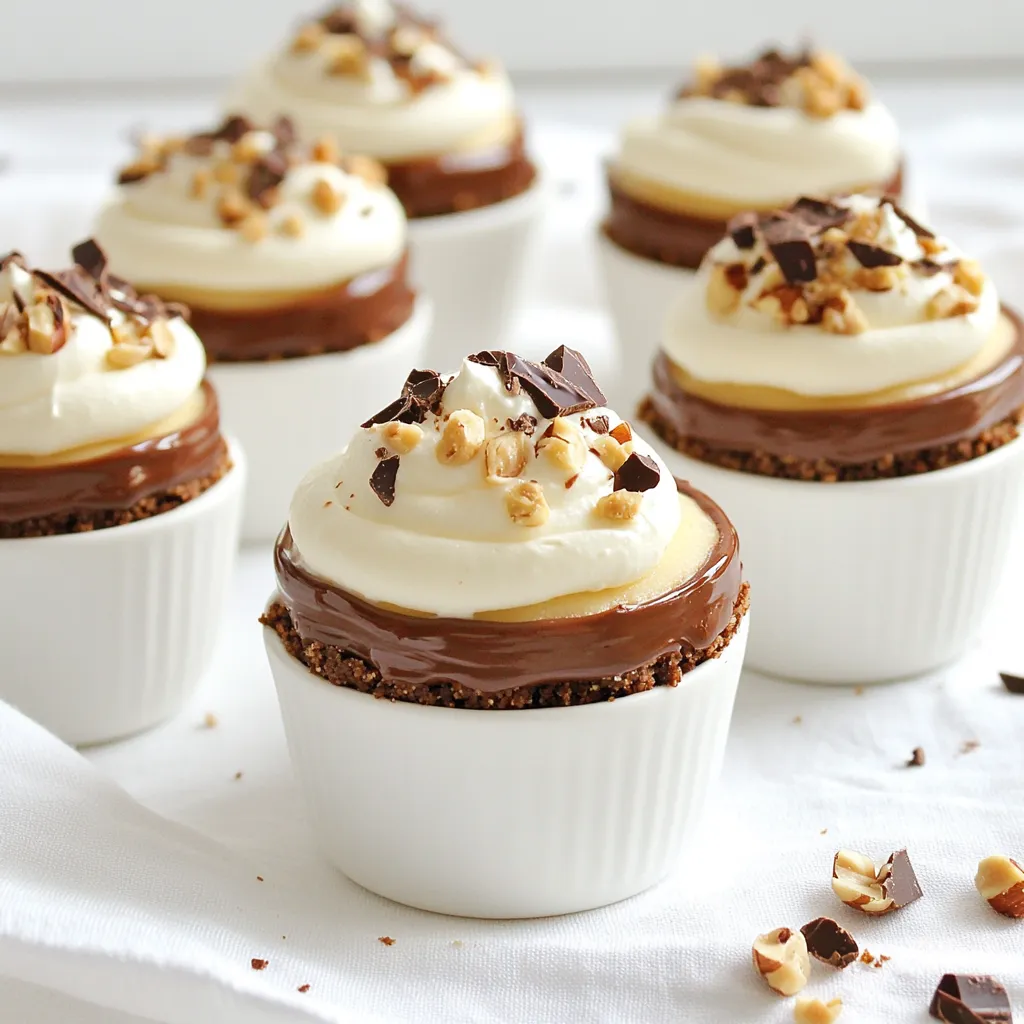
Craving a sweet treat that’s easy and delicious? Look no further! My No Bake Nutella Cheesecake Cups are the perfect dessert for any occasion. With creamy Nutella, rich cheese, and crunchy cookie layers, every spoonful delivers pure bliss. In this post, I’ll guide you through each step, share tips, and excite your taste buds with variations. Let’s dive in and make this irresistible dessert together!
Ingredients
Full list of ingredients
– 1 cup cream cheese, softened
– 1 cup Nutella
– 1 cup heavy whipping cream
– 1/2 cup powdered sugar
– 1 teaspoon vanilla extract
– 1 cup crushed chocolate cookies (like Oreo or chocolate graham crackers)
– 2 tablespoons unsalted butter, melted
– Optional toppings: chopped hazelnuts, chocolate shavings, or whipped cream
Key ingredient explanations
Cream cheese adds a rich and creamy base. It makes the cheesecake smooth and thick. Nutella gives a sweet, chocolate-hazelnut flavor that makes this dessert special. Heavy whipping cream lightens the mixture. It helps create that fluffy texture. Powdered sugar adds sweetness and blends well into the cream. Vanilla extract enhances the overall taste. Finally, crushed chocolate cookies form the crust. They provide a crunchy texture to each bite.
Tips for selecting the best ingredients
When choosing cream cheese, look for full-fat options. It yields a creamier texture. Use Nutella that is fresh and well-mixed for the best flavor. For whipping cream, choose heavy cream. This gives the best volume and body. Look for pure vanilla extract. It has a stronger flavor than imitation. When picking chocolate cookies, find ones with a rich flavor. This will make your crust taste even better.
Step-by-Step Instructions
Detailed preparation steps
1. Make the crust. In a medium bowl, mix the crushed chocolate cookies and melted butter. Stir well to coat the cookie crumbs completely.
2. Layer the crust. Take your serving cups or small jars. Add about 2 tablespoons of the cookie mix to the bottom of each cup. Press down gently to form a nice crust.
3. Prepare the filling. In a new bowl, beat the softened cream cheese and Nutella until smooth. Make sure there are no lumps.
4. Whip the cream. In another bowl, whip the heavy cream until you see soft peaks. Gradually add the powdered sugar and vanilla while whipping. Keep going until stiff peaks form.
5. Combine mixtures. Gently fold the whipped cream into the Nutella mixture. Do this slowly to keep the air in the whipped cream.
6. Fill the cups. Spoon the Nutella cheesecake filling over the crust in each cup. Fill them almost to the top for a rich bite.
7. Chill the cups. Place the cups in the fridge for at least 2 hours. This helps the cheesecake to set properly.
8. Add toppings. After chilling, garnish each cup with toppings like chopped hazelnuts, chocolate shavings, or a dollop of whipped cream.
Important notes during each stage
– When mixing the crust, ensure crumbs are wet but not soggy. This helps the crust hold its shape.
– Don’t over-mix the filling. Gently folding keeps it light and fluffy.
– Let the cups chill for the full 2 hours. This is key for the best texture.
Suggested serving methods
– Serve the cups cold straight from the fridge. They are a perfect treat on a warm day.
– For a more festive touch, arrange the cups on a large plate. Add some fresh berries around them for color.
– If you have guests, offer a variety of toppings. This allows everyone to customize their dessert.
Tips & Tricks
Common mistakes to avoid
When making No Bake Nutella Cheesecake Cups, it’s easy to make a few key mistakes. Here are some to watch for:
– Not softening the cream cheese: If your cream cheese is cold, it won’t mix well. Make sure you let it sit out for at least 30 minutes.
– Overmixing the whipped cream: Be gentle when folding it into the Nutella mixture. Overmixing can lead to a dense texture.
– Skipping the chilling step: This dessert needs time to set. Don’t rush it; refrigerate for at least 2 hours.
How to achieve the perfect texture
To get the right texture in your cheesecake cups, follow these steps:
– Use room temperature ingredients: Soft cream cheese blends easier. Whipped cream should be cold but not frozen.
– Fold gently: When you mix the whipped cream with the Nutella mixture, use a spatula and fold slowly. This keeps air in the whipped cream, making it light and fluffy.
– Check for peaks: When whipping the cream, look for soft peaks first, then add the sugar and vanilla. Whip again until you see stiff peaks.
Storage tips for optimal freshness
Storing your No Bake Nutella Cheesecake Cups correctly keeps them fresh and tasty. Here’s how:
– Use airtight containers: If you have leftovers, place the cups in airtight containers. This keeps them from drying out.
– Store in the fridge: These cups last well in the fridge for about 3 days. Make sure they stay cool.
– Avoid freezing: Freezing can change the texture. If you must freeze, separate the crust and filling, and assemble when ready to eat.
Variations
Ingredient swaps for different flavors
You can easily change the flavor of your cheesecake cups. Try using cream cheese with different flavors. For example, swap Nutella for peanut butter for a nutty twist. You can also use white chocolate instead of Nutella for a sweeter taste. If you want a fruity option, add fresh berries or berry puree to the cream cheese mix. These swaps will give you new fun flavors to enjoy.
Themed decorations for special occasions
For a birthday party, decorate the cups with colorful sprinkles or edible glitter. You can use mini candles on top for a festive touch. For a holiday theme, add crushed peppermint or candy canes for a winter treat. You can also use seasonal fruit like strawberries in summer or caramel sauce in fall. These fun decorations will make your dessert stand out at any event.
Serving suggestions for events
Serve these cheesecake cups at parties, picnics, or family gatherings. They are easy to grab and eat. You can place them on a dessert table for guests to choose. For a more fun touch, serve them in mason jars. This adds a rustic feel and keeps everything tidy. If you want to impress, layer the ingredients in clear cups to show off the beautiful colors.
Storage Info
Best practices for refrigerating
To keep your No Bake Nutella Cheesecake Cups fresh, store them in the fridge. Use an airtight container or cover each cup with plastic wrap. This helps prevent any odors from other foods. Make sure they stay at a cool temperature. They will taste best when served cold.
How to freeze for later use
You can freeze these cheesecake cups if you want to save some for later. Place them in a freezer-safe container. Leave some space at the top of each cup, as the filling may expand. When you are ready to eat, transfer them to the fridge. Let them thaw overnight before serving.
Shelf life and expiration tips
These cheesecake cups last about 3-5 days in the fridge. After that, they may lose flavor and texture. If you freeze them, they can last up to 2 months. Always check for any signs of spoilage before eating. If they smell off or look different, it’s best to toss them out.
FAQs
Can I use a different type of chocolate cookie?
Yes, you can. Many cookies work well for the crust. Try using chocolate graham crackers or even chocolate wafer cookies. Each type gives a unique taste. Just crush them well before mixing with butter. The key is to keep the chocolate flavor strong.
How long does the cheesecake need to set?
The cheesecake needs at least 2 hours to set. This time helps it firm up and hold its shape. If you can wait longer, let it chill for 4 hours or even overnight. The longer it sits, the better the flavors meld.
Can I make this recipe ahead of time?
Absolutely! This recipe is great for making ahead. You can prepare it a day or two in advance. Just cover the cups and keep them in the fridge. This makes it perfect for parties or when you want a quick dessert.
This article covered ingredients, preparation steps, tips, variations, and storage. Each part helps you create a great dish. Remember, the right ingredients make all the difference. Avoid common mistakes for the best texture. Lastly, try different flavors and themes to keep it fun. With these tips, you can impress anyone with your cooking skills. Happy cooking!