You’ll love making these No-Bake Chocolate Coconut Energy Bites. Packed with healthy ingredients, they’re quick and easy to prepare. In just a few steps, you’ll enjoy a tasty treat that fuels your day. With options for different diets and fun mix-ins, you can tailor them to your taste. Ready to get started? Let’s dive into this delicious recipe that will become your new go-to snack!
Ingredients
Key Ingredients Overview
– Rolled oats: These give your bites a hearty base and add fiber.
– Almond butter or peanut butter: This adds creaminess and healthy fats, making it rich.
– Honey or maple syrup: These sweeteners bind the mixture and provide a touch of sweetness.
– Unsweetened cocoa powder: This brings a deep chocolate flavor, making them delicious.
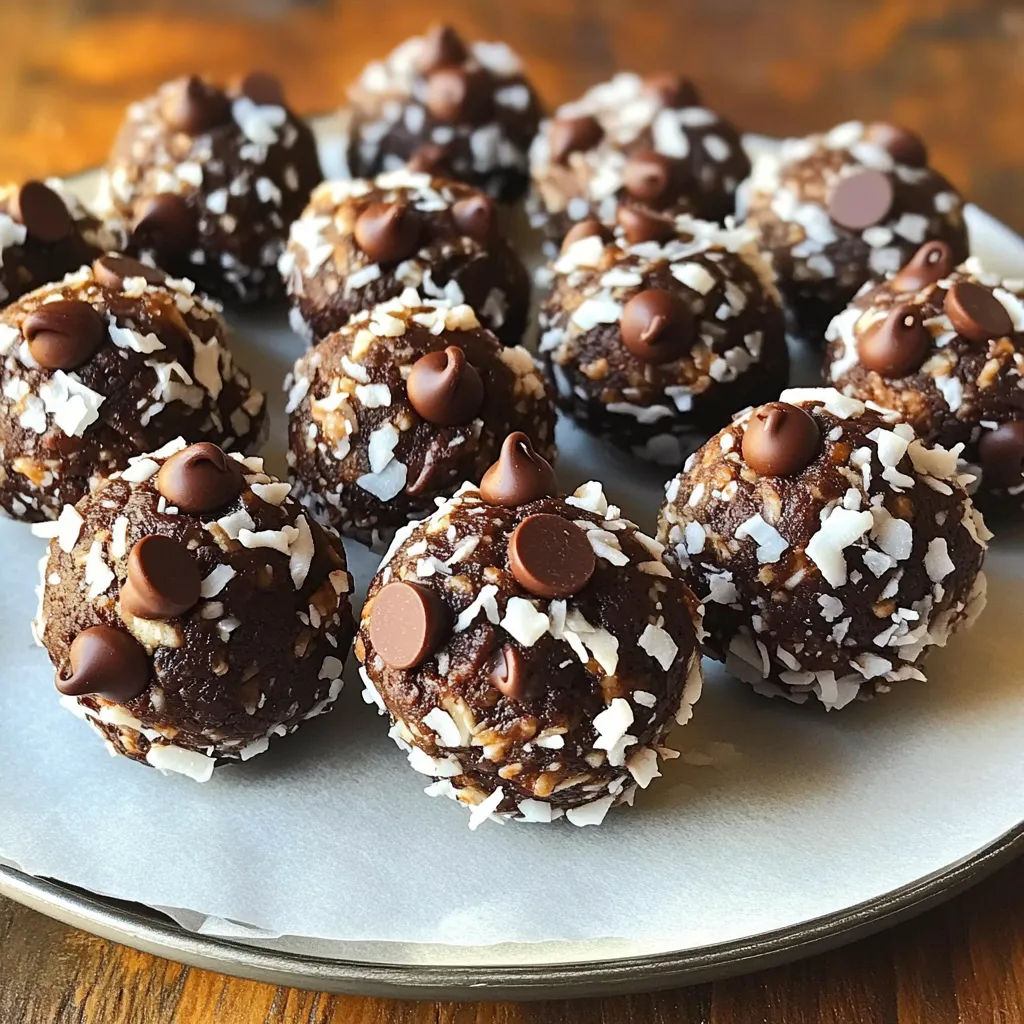
– Shredded unsweetened coconut: This adds texture and a hint of tropical flavor.
– Mini chocolate chips: These little bits of chocolate make every bite special and sweet.
– Vanilla extract: This enhances the overall flavor, adding warmth.
– Salt: Just a pinch balances the sweetness and boosts flavor.
Each ingredient plays a key role. Rolled oats keep your energy bites chewy and filling. The nut butter adds healthy fats and protein, while honey or maple syrup provides natural sweetness. The cocoa powder brings rich chocolate flavor. Shredded coconut adds texture, and mini chocolate chips give a delightful surprise. A touch of vanilla and salt rounds out the taste, making these bites simply irresistible!
Step-by-Step Instructions
Preparing the Mixture
First, grab a medium mixing bowl. In it, combine the rolled oats, almond butter, and honey. Use a spatula or spoon to mix until they blend well. This creates a solid base for your energy bites.
Next, add in the unsweetened cocoa powder, shredded coconut, mini chocolate chips, vanilla extract, and a pinch of salt. Mix everything again until it forms a sticky dough. You want all parts to stick together well.
Forming the Energy Bites
Now comes the fun part! With your hands, scoop out small portions of the mixture. Aim for about one tablespoon for each bite. Roll these portions into balls. They should be about the size of a golf ball.
Once you have rolled all the mixture into balls, place them on a parchment-lined baking sheet. This keeps them from sticking and makes clean-up easier.
Chilling the Bites
After placing the energy bites on the sheet, put them in the refrigerator. Let them chill for at least 30 minutes. This helps them firm up nicely.
Once chilled, your energy bites are ready to eat! If you have extra bites, store them in an airtight container. Keep them in the fridge for up to one week. Enjoy your tasty, no-bake treats!
Tips & Tricks
Achieving the Perfect Texture
To get the right texture in your energy bites, focus on the mixture’s consistency. You want it to be sticky enough to hold together but not too wet. If your mixture is too dry, add a little more honey or almond butter. If it’s too wet, add more oats or shredded coconut.
You can also adjust the stickiness while mixing. Use your hands to knead the mixture gently. This helps blend the ingredients well. Make sure to mix until you have a uniform, sticky dough.
Variations for Dietary Needs
If you follow a vegan diet, you can easily swap honey for maple syrup. This keeps the bites sweet while making them vegan-friendly. Almond butter is often a favorite, but you can use any nut butter you like.
For gluten-free options, ensure you use certified gluten-free rolled oats. Most nut butters are naturally gluten-free too. This way, everyone can enjoy these tasty energy bites without worry!
Variations
Flavor Enhancements
You can change the taste of your energy bites easily. Adding spices can give them a new twist. For a warm flavor, try cinnamon. A pinch of nutmeg can add a nice touch too. These spices blend well with chocolate and coconut.
You can also swap nut butters. Almond butter gives a nutty taste. Peanut butter adds a rich flavor. If you want a different nut butter, try cashew or sunflower seed butter. Each one will change the taste and make your bites unique.
Mix-Ins Suggestions
Mix-ins can make your energy bites even better. Consider adding seeds like chia or flaxseed. They bring extra nutrition and crunch. Plus, they can help bind the mixture together.
Dried fruits are another great option. You can use cranberries or apricots. These fruits add sweetness and chewiness. They also provide a pop of color, making your bites more fun to eat. Mix and match these ideas to create your perfect energy bite!
Storage Info
Best Storage Practices
To keep your No-Bake Chocolate Coconut Energy Bites fresh, use an airtight container. This helps prevent air from making them dry or stale. I recommend placing a piece of parchment paper between layers if you stack them. Store these bites in the refrigerator. They stay good for about one week when stored this way.
Freezing for Long-Term Use
If you want to save some bites for later, freezing is a great option. To freeze the energy bites, first, let them chill in the fridge for about 30 minutes. This will help them hold their shape. Once chilled, place them in a single layer on a baking sheet. Freeze until solid, about one hour. After that, transfer them to an airtight container or a freezer bag. Be sure to label the bag with the date.
To thaw your frozen energy bites, take them out of the freezer and leave them in the fridge overnight. If you’re in a hurry, you can also let them sit at room temperature for about 15-20 minutes. Enjoy them as a quick snack anytime!
FAQs
How long do No-Bake Chocolate Coconut Energy Bites last?
These energy bites can last up to one week in the refrigerator. Store them in an airtight container. This keeps them fresh and tasty. Make sure you seal the container well. You can also check for any signs of spoilage before enjoying them again.
Can I substitute ingredients in this recipe?
Yes, you can easily swap ingredients! If you have nut allergies, use sun butter instead of almond or peanut butter. You can also use agave syrup if you prefer. For a gluten-free option, ensure that your oats are certified gluten-free. These changes keep the bites safe and still delicious.
Are these energy bites suitable for kids?
Absolutely! These energy bites are great for kids. They pack protein, fiber, and healthy fats. They are also easy to make and fun to eat. You can serve them as a snack or a treat after school. Kids love the chocolate flavor, and they can help make them too!
You now know how to make delicious no-bake chocolate coconut energy bites. We covered key ingredients like oats and almond butter. I shared step-by-step instructions for preparing and forming the bites. You learned tips for the perfect texture and ways to adapt the recipe for different diets. Storage info ensures your bites stay fresh.
These tasty bites are simple, healthy, and fun for everyone. Enjoy making them!