Are you ready for a sweet treat that’s both easy and delicious? No Bake Almond Joy Bars are the perfect snack for chocolate lovers everywhere. Packed with almond flour, coconut, and dark chocolate, these bars offer a tasty twist on your favorite candy. Plus, with just a few simple steps, you can whip them up in no time. Let’s dive into ingredients and get baking—without using the oven!
Ingredients
To make No Bake Almond Joy Bars, you need simple and tasty ingredients. Here’s what you’ll need:
– 1 cup almond flour
– 1 cup shredded unsweetened coconut
– 1/2 cup creamy almond butter
– 1/4 cup maple syrup
– 1 teaspoon vanilla extract
– 1/2 teaspoon sea salt
– 1 cup dark chocolate chips
– 1/4 cup whole almonds
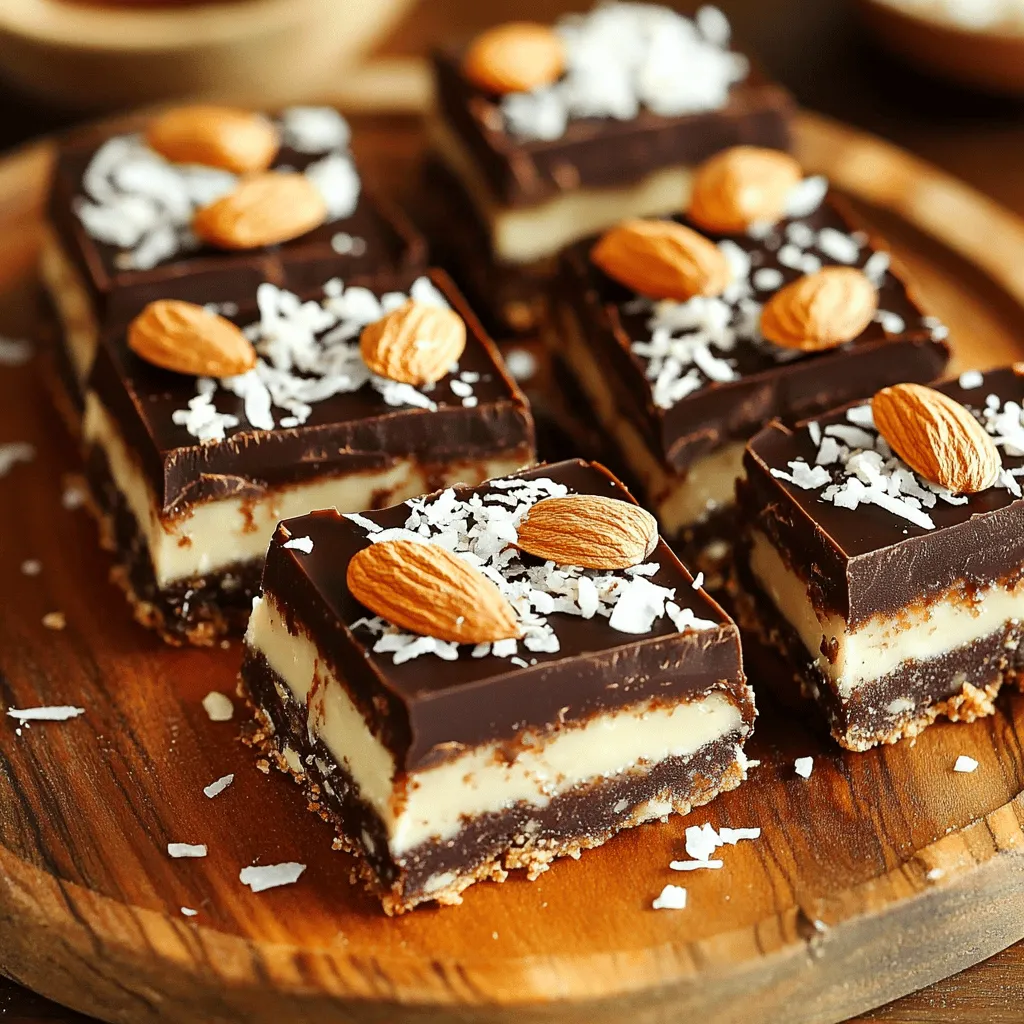
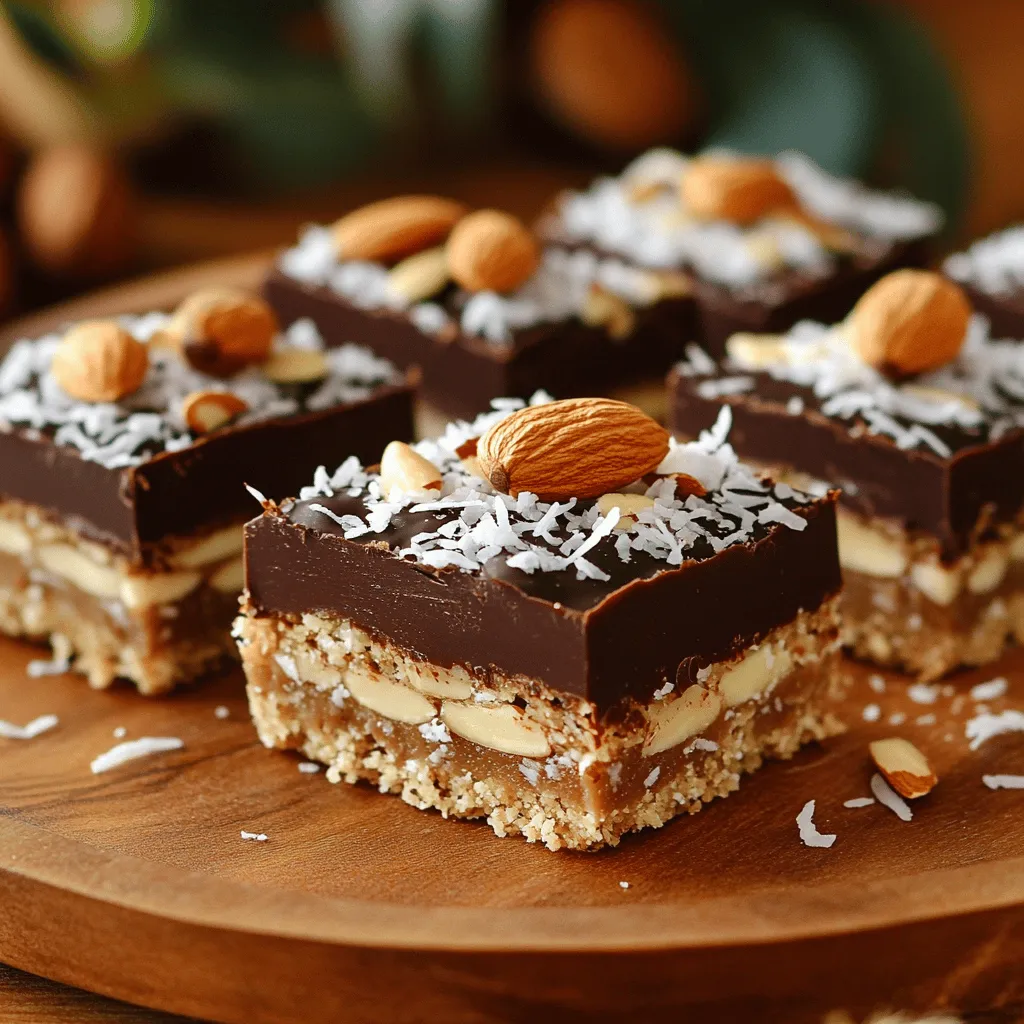
These ingredients come together to create a delightful treat. Almond flour gives the bars a nice texture. The shredded coconut adds a sweet, chewy bite. Creamy almond butter binds everything and brings flavor. Maple syrup sweetens the mix naturally. Vanilla extract enhances the taste, while sea salt balances the sweetness.
Dark chocolate chips top the bars, creating a rich layer. Whole almonds add crunch and a nutty flavor. This combination forms a delicious snack that is easy to make.Enjoy mixing these ingredients for a fun kitchen experience!
Step-by-Step Instructions
Preparation of the Base
Start by gathering all your dry ingredients. In a large mixing bowl, combine:
– 1 cup almond flour
– 1 cup shredded unsweetened coconut
– 1/2 cup creamy almond butter
– 1/4 cup maple syrup
– 1 teaspoon vanilla extract
– 1/2 teaspoon sea salt
Mix them together. You want to form a sticky dough. This dough will be the base of your bars. Once mixed, line an 8×8 inch baking dish with parchment paper. Make sure you leave some paper hanging over the sides for easy removal later. Press the dough evenly into the bottom of the dish. This step is key for a firm base.
Creating the Chocolate Layer
Next, it’s time for the chocolate layer. In a small microwave-safe bowl, melt the dark chocolate chips. Do this in 20-second intervals. Stir after each interval until the chocolate is smooth.
When it’s ready, pour the melted chocolate over the pressed base. Use a spatula to spread it evenly. This layer makes the bars rich and sweet.
Finalizing and Setting the Bars
Now we need to finish the bars. Gently press whole almonds into the chocolate layer. Spread them out evenly. This adds a nice crunch and looks great.
Now, refrigerate the bars for at least 2 hours. This allows the chocolate to harden and the bars to set. Once set, lift the bars out using the parchment paper. Cut them into squares or rectangles for serving.
You now have delicious No Bake Almond Joy Bars!
Tips & Tricks
Enhancing Flavor and Texture
To make these bars even better, try different nut butters. Cashew or peanut butter can add a new twist. Also, consider using homemade chocolate. It gives a richer taste and adds a personal touch.
Common Mistakes to Avoid
One common mistake is not chilling the bars long enough. This step is key for a good set. If they are too soft, they won’t hold their shape. Another mistake is over-mixing the dough. Mix just until combined to keep it from being tough.
Serving Suggestions
When serving the bars, arrange them on a nice platter. You can sprinkle extra shredded coconut on top for a pretty look. For drinks, pair them with almond milk or a hot cup of coffee. These options enhance the flavor and make for a delightful treat.
Variations
Alternative Ingredients
You can easily switch up the ingredients in No Bake Almond Joy Bars. For a nut-free option, use sunbutter instead of almond butter. Sunbutter adds a rich, nutty flavor without any tree nuts. This works great for those with nut allergies.
If you want a vegan version, choose vegan chocolate chips. Many brands offer dairy-free options that taste just as good. This small change keeps the bars plant-based and delicious.
Sweetness Adjustments
Do you want to adjust the sweetness? You can use honey or agave syrup instead of maple syrup. Both options add a nice touch of sweetness. If you prefer less sweetness, you can reduce the amount of chocolate. This makes the bars less rich while still tasty.
Add-ins for Extra Flavor
For extra flavor, get creative with add-ins. You can mix in dried fruits like cranberries or raisins. They add a nice chewiness and a burst of sweetness. You can also try adding other nuts, like walnuts or pecans, for a crunchy texture.
Finally, sprinkle a little sea salt on top before serving. It enhances the flavors and adds a nice contrast to the sweet chocolate. Enjoy these fun variations to make the bars your own!
Storage Info
Proper Storage Techniques
To keep your No Bake Almond Joy Bars fresh, store them in an airtight container. Glass or plastic containers work well. You can also wrap each bar in parchment paper and place them in a bag. This helps keep the bars from sticking together. Make sure to store them in the fridge. This keeps the chocolate layer firm and the bars tasty.
Freezing Instructions
If you want to enjoy these bars later, freezing is a great option. Place the bars in a single layer on a tray. Freeze them for about 1 hour until they are solid. After that, you can stack them in a container or bag. To serve, remove a bar from the freezer and let it thaw in the fridge. This helps keep the texture smooth and yummy.
Shelf Life Information
In the fridge, your No Bake Almond Joy Bars can last about one week. If they start to smell off or look dry, it’s time to toss them. Always check for any signs of spoilage before eating. Fresh bars taste best, so enjoy them while they are still at their peak!
FAQs
What are No Bake Almond Joy Bars made of?
No Bake Almond Joy Bars are made of simple, wholesome ingredients. Here’s what you need:
– 1 cup almond flour
– 1 cup shredded unsweetened coconut
– 1/2 cup creamy almond butter
– 1/4 cup maple syrup
– 1 teaspoon vanilla extract
– 1/2 teaspoon sea salt
– 1 cup dark chocolate chips
– 1/4 cup whole almonds
These ingredients work together to create a tasty, chewy treat. The almond flour gives a nice base, while coconut adds texture and flavor. Almond butter brings creaminess, and maple syrup adds sweetness. Dark chocolate on top enriches every bite. Whole almonds add crunch and make the bars look pretty.
Can I make these bars ahead of time?
Yes, you can make these bars ahead of time! They last well in the fridge. I suggest making them up to a week in advance. Simply store them in an airtight container. If you want to keep them longer, freeze them. They can last for a couple of months in the freezer. Just thaw them overnight in the fridge before serving.
Are No Bake Almond Joy Bars gluten-free?
Yes, No Bake Almond Joy Bars are gluten-free! Each ingredient is naturally free from gluten. Almond flour is a great alternative to wheat flour. Shredded coconut, almond butter, and dark chocolate chips are also gluten-free. This makes the bars a perfect treat for anyone avoiding gluten in their diet. Enjoy them without worry!
No Bake Almond Joy Bars are easy to make and fun to enjoy. We covered ingredients, step-by-step instructions, and tips for best results. You can use nut butters, change sweeteners, or add extra flavors. Storing the bars correctly helps keep them fresh. You can also freeze them for longer use. With just a little time, you can create a tasty treat that fits your needs. Enjoy these bars as a satisfying snack or dessert anytime!