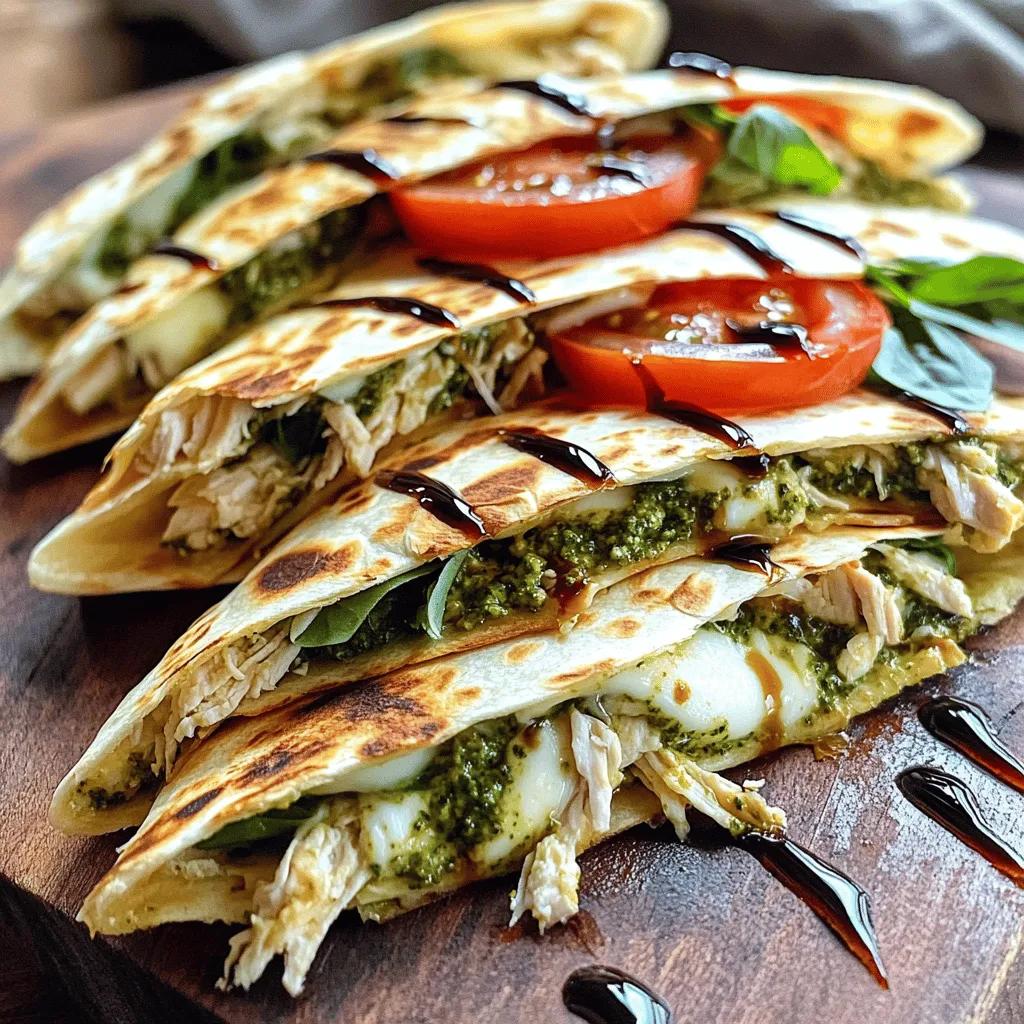
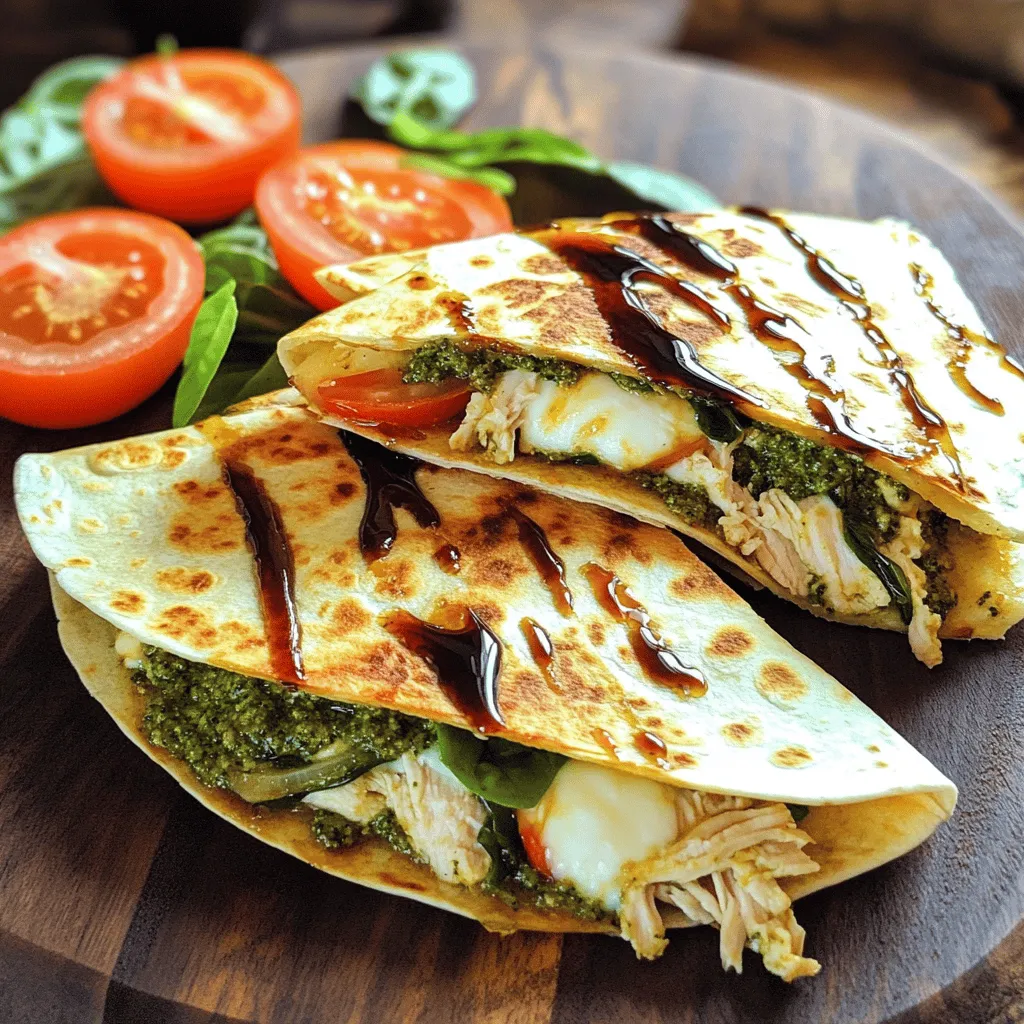
If you’re in the mood for a quick and tasty meal, you’ll love my Minute Pesto Chicken Caprese Quesadillas! This dish combines the bold flavors of basil pesto, fresh mozzarella, and juicy tomatoes, all wrapped in crispy tortillas. It’s perfect for busy weeknights or a simple lunch. Let’s dive into the easy steps and tasty tips to make this delicious dish shine on your plate!
Ingredients
Main Ingredients
– 2 cups cooked chicken, shredded
– 1 cup basil pesto
– 1 cup fresh mozzarella cheese, shredded
– 1 large tomato, sliced
Additional Ingredients
– 1 cup fresh spinach leaves
– 4 large flour tortillas
– 2 tablespoons olive oil
– Salt and pepper to taste
– Balsamic glaze (optional)
Gathering the right ingredients is key to making these quesadillas shine. Start with cooked chicken and shred it into fine pieces. You can use leftover chicken or quickly cook some fresh. Next, grab a jar of basil pesto. This adds a rich flavor that makes the dish special. Fresh mozzarella cheese is a must for that gooey texture. Slice up a large tomato for freshness.
For the extra crunch and color, include fresh spinach leaves. You will need large flour tortillas to hold all the fillings together. Olive oil helps in cooking the quesadillas to golden perfection. Don’t forget to season with salt and pepper for taste. If you want to add a sweet touch, balsamic glaze is a nice option for drizzling on top.
With these ingredients, you are ready to make a delicious meal.
Step-by-Step Instructions
Preparing the Chicken Mixture
Start by mixing the shredded chicken with basil pesto in a large bowl. I like to use my hands to ensure the chicken gets an even coat of pesto. This step is key for flavor. You want every bite to taste great with that fresh basil.
Assembling the Quesadillas
Next, lay out two large tortillas on your counter. Spread half of the pesto chicken mixture on each tortilla. Then, layer half of the shredded mozzarella on top. Add sliced tomatoes and fresh spinach leaves. Don’t forget to season with salt and pepper. Finally, sprinkle the rest of the mozzarella over the top. Place a second tortilla on each filled tortilla.
Cooking Instructions
Now, heat one tablespoon of olive oil in a large skillet over medium heat. Once the oil is hot, carefully place one quesadilla in the skillet. Cook for about 3-4 minutes until the bottom is golden and crispy. Flip the quesadilla with a spatula. If needed, add another tablespoon of olive oil. Cook for another 3-4 minutes until golden and the cheese is melted. Remove from the skillet and let cool slightly before cutting into wedges. Repeat with the second quesadilla. Enjoy your warm, tasty creation!
Tips & Tricks
Perfecting the Quesadillas
To make your quesadillas crispy, use a hot skillet. Heat it well before adding oil. This helps the tortillas crisp up quickly. Use enough olive oil to coat the pan lightly. Flip the quesadilla only when the bottom is golden.
To prevent cheese from leaking, spread the filling evenly. Keep the cheese towards the center of the tortilla. This way, it stays in place as it melts. Press the quesadilla gently, sealing the edges.
Serving Suggestions
For the best dipping experience, serve your quesadillas with salsa or guacamole. These dips add flavor and freshness. A creamy ranch dip also works well.
Pair your quesadillas with a simple salad. A light side of mixed greens complements the dish. You can also serve fresh fruit, like watermelon or grapes, for a sweet touch.
Variations
Ingredient Substitutions
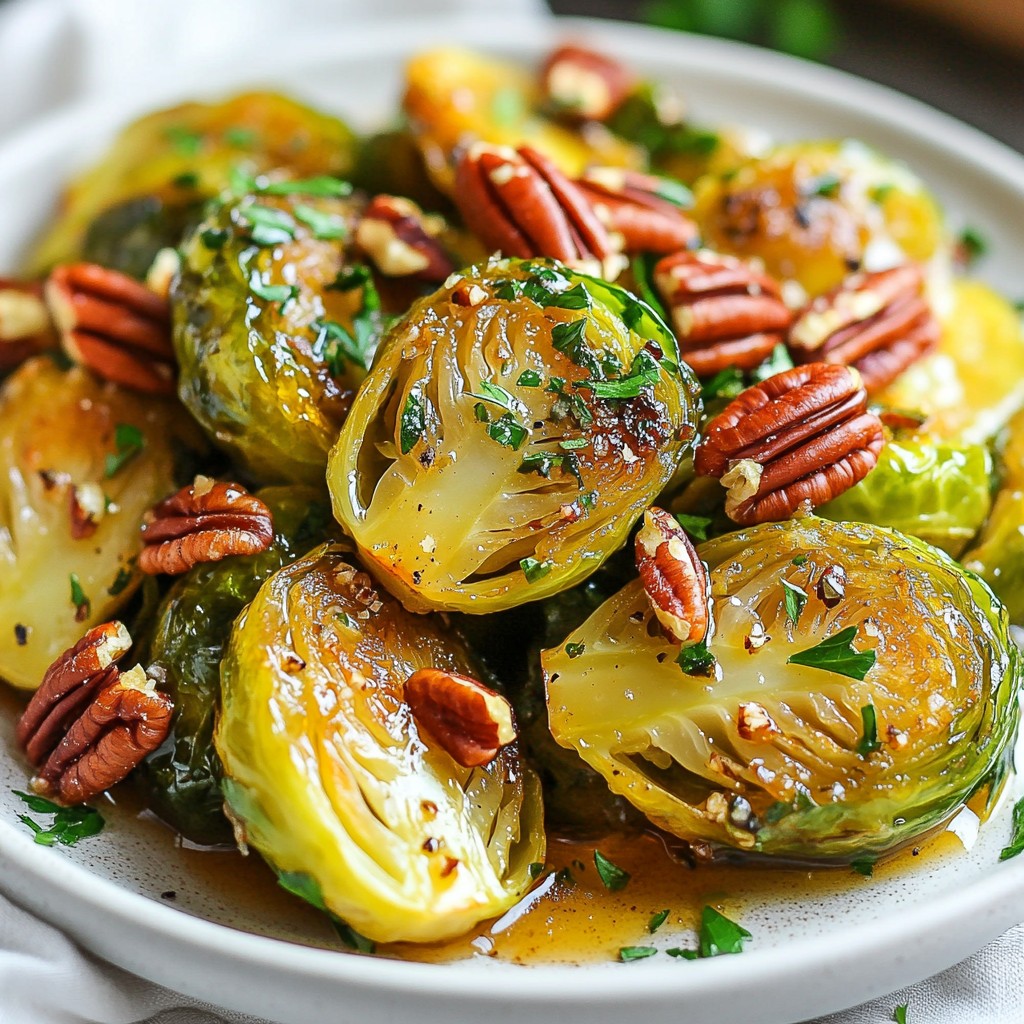
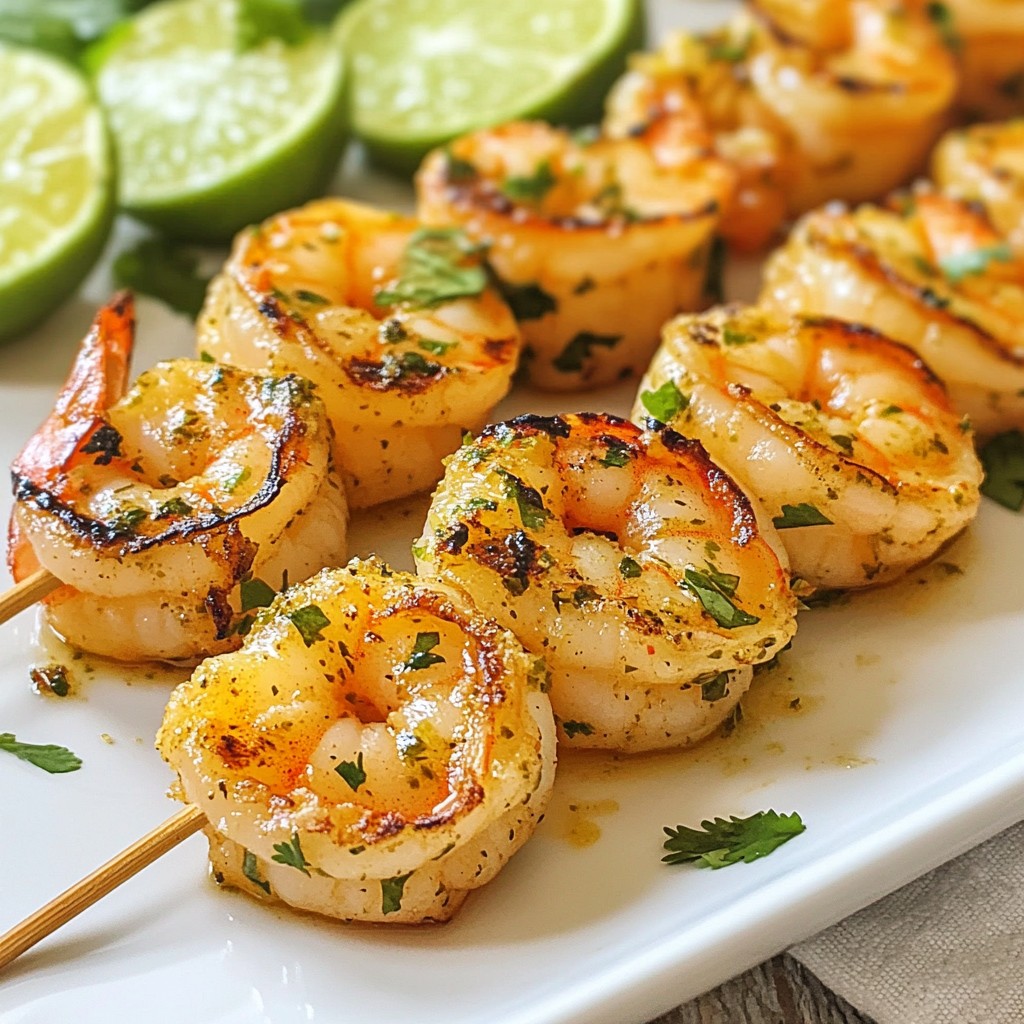
You can switch out the chicken for shrimp or veggies. Shrimp adds a nice taste. For veggies, try bell peppers or mushrooms. These options keep your dish fresh and fun.
Cheese is also flexible. While fresh mozzarella is classic, you can use cheddar or pepper jack for a different flavor. Each cheese brings its own twist to the quesadilla.
Flavor Additions
Want to boost the flavor? Add fresh herbs like basil or oregano. These herbs enhance the taste without overpowering the dish. You can also sprinkle in a bit of garlic powder for extra zest.
Adding more vegetables can make your quesadillas even better. Try adding sliced bell peppers or zucchini. These veggies add crunch and color, making your meal more exciting.
Storage Info
How to Store Leftovers
To keep your Minute Pesto Chicken Caprese Quesadillas fresh, place them in an airtight container. This helps avoid moisture loss and keeps flavors strong. Let the quesadillas cool before storing. In the fridge, they last about 3 to 4 days. If you want to store them longer, consider freezing. Wrap each quesadilla in plastic wrap, then place them in a freezer bag. They can stay fresh in the freezer for up to 2 months.
Reheating Instructions
When it’s time to enjoy your leftovers, reheating can make a big difference. The best method is to use a skillet. Heat it over medium heat and add a bit of olive oil. Place the quesadilla in the skillet. Cook for about 2-3 minutes on each side. This keeps the quesadilla crispy and warm. If you prefer, you can also use an oven. Preheat it to 350°F (175°C) and bake for about 10-15 minutes. Just be sure to cover them with foil to avoid drying out.
FAQs
How long does it take to make Minute Pesto Chicken Caprese Quesadillas?
It takes just 20 minutes to make these quesadillas. You spend about 10 minutes prepping your ingredients. The cooking time is the other 10 minutes. This quick dish is perfect for busy nights.
Can I make quesadillas ahead of time?
Yes, you can prepare quesadillas in advance. Make your quesadillas, but do not cook them yet. Wrap them in plastic wrap. Store them in the fridge for up to 24 hours. When you are ready, just cook them as usual. This saves time during busy meals.
What can I substitute for basil pesto?
If you need to swap basil pesto, try these options:
– Spinach pesto for a mild flavor
– Sun-dried tomato pesto for a rich taste
– Homemade avocado spread for creaminess
These choices cater to different diets and tastes. Enjoy exploring new flavors!
This blog post shared a simple recipe for Minute Pesto Chicken Caprese Quesadillas. You learned about the main and additional ingredients needed, along with step-by-step instructions for cooking. I shared tips on perfecting your quesadillas, variations for different tastes, and how to store and reheat leftovers.
In the end, these quesadillas offer a quick and tasty option for any meal. Make them your own by adding your favorite flavors! Enjoy creating and sharing them with others.