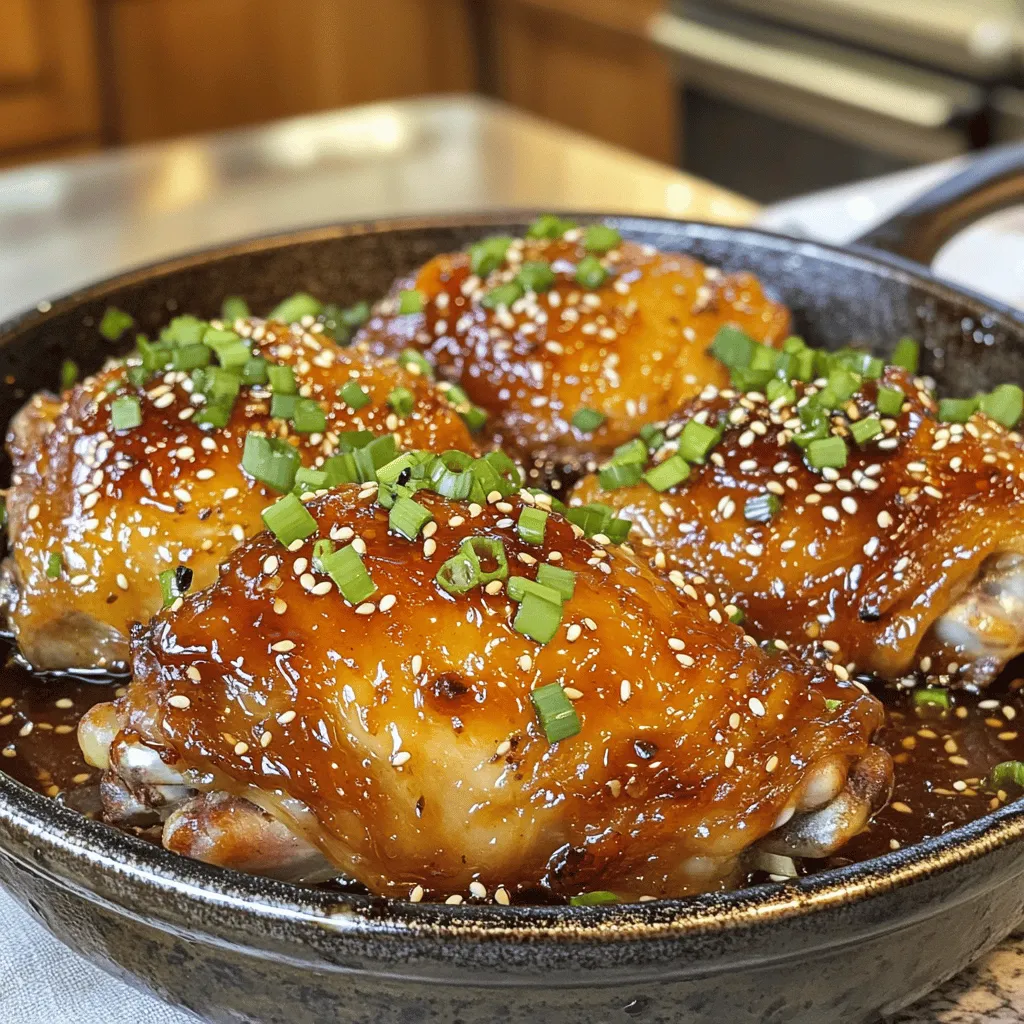
Welcome to the savory world of Honey Garlic Chicken Thighs! If you crave a quick, tasty dinner that bursts with flavor, you’re in the right spot. This dish combines juicy chicken with a sweet and garlicky sauce, promising happiness at your dinner table. Join me as we gather simple ingredients and whip up this delicious meal that’s perfect for any weeknight. Trust me; your taste buds will thank you!
Ingredients
Main Ingredients
– 4 bone-in, skin-on chicken thighs
– 2 tablespoons honey
– 4 cloves garlic, minced
Additional Ingredients
– 3 tablespoons low sodium soy sauce
– 2 tablespoons olive oil
– 1 teaspoon grated ginger
– 1 tablespoon apple cider vinegar
Seasoning & Garnishing
– Salt and black pepper, to taste
– Sesame seeds for garnish
– Chopped green onions for garnish
To make honey garlic chicken thighs, you need a mix of simple, fresh ingredients. The main ingredients are chicken thighs, honey, and garlic. Those three items create a rich flavor that shines through.
To enhance this dish, use low sodium soy sauce, olive oil, and ginger. The soy sauce adds a savory note, while olive oil helps seal in moisture. Ginger gives a nice kick, balancing the sweetness of the honey. Apple cider vinegar rounds out the flavor with a tangy touch.
Don’t forget seasoning! A pinch of salt and black pepper brings out the taste of the chicken. Finally, sesame seeds and chopped green onions make great garnishes, adding color and crunch.This recipe is great for easy dinners that impress. Enjoy cooking!
Step-by-Step Instructions
Prepping the Chicken
To start, you need to dry your chicken thighs well. Use paper towels to pat them dry. This step helps them get crispy when cooked. Next, season each thigh with salt and black pepper on both sides. This simple touch adds flavor.
Now, let’s make the honey garlic sauce. In a medium bowl, combine the honey, minced garlic, soy sauce, olive oil, grated ginger, and apple cider vinegar. Whisk the mix until it’s smooth. This sauce will bring a sweet and savory taste to your chicken.
Cooking Process
Heat a large, oven-safe skillet over medium-high heat. If needed, add a teaspoon of olive oil. Once the skillet is hot, place the chicken thighs skin-side down. Sear them for about 5-7 minutes until the skin turns golden brown and crispy. This step locks in moisture and flavor.
After searing, flip the chicken thighs over. Pour the honey garlic sauce over them. Make sure each piece is well coated. Then, transfer the skillet to your preheated oven. Bake for 25-30 minutes, or until the internal temperature reaches 165°F (74°C). This ensures the chicken is safe to eat.
Finishing Touches
Check the chicken for doneness using a meat thermometer. If it reads 165°F (74°C), you’re good to go. Remove the skillet from the oven and let the chicken rest for about 5 minutes. This resting time allows the juices to settle, making the chicken juicy.
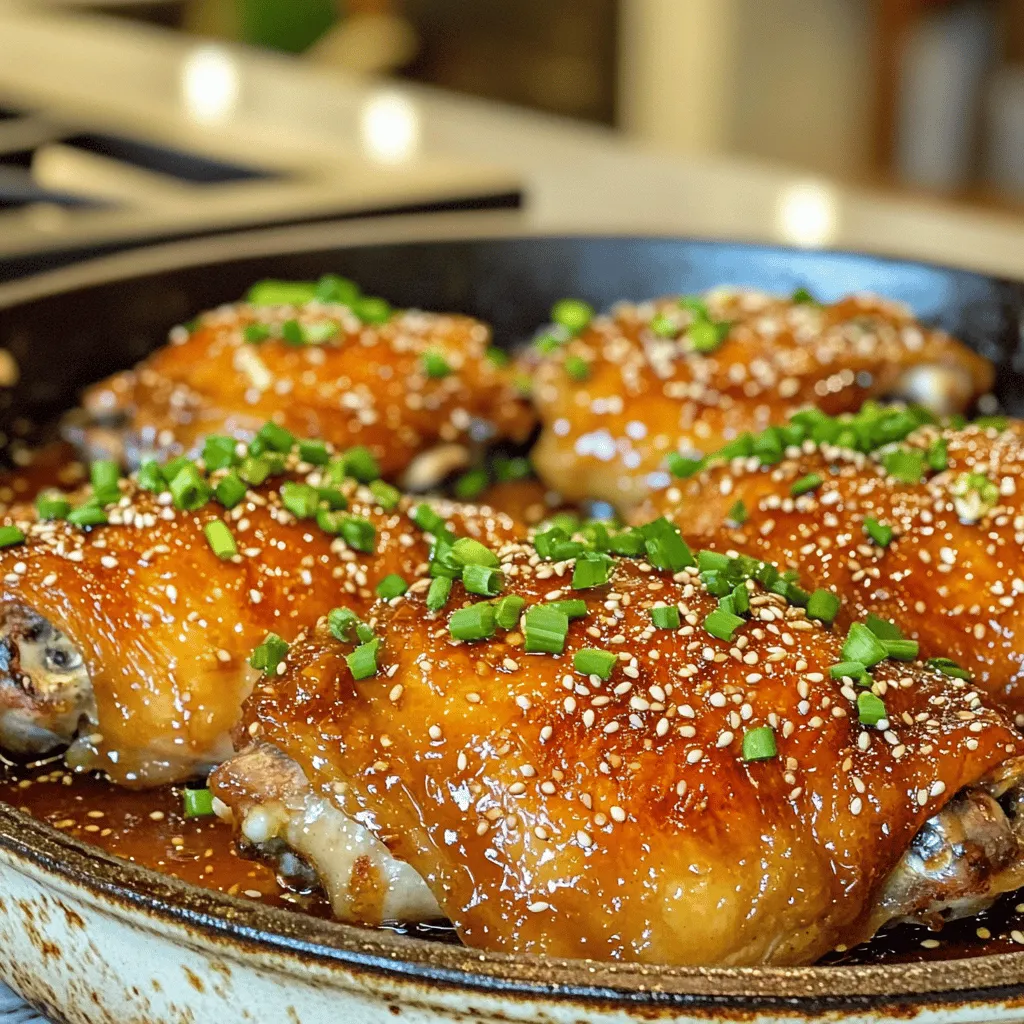
During this time, spoon some sauce from the skillet over the chicken. This extra sauce keeps the chicken moist and adds flavor. Serve the chicken thighs hot, garnished with sesame seeds and chopped green onions for a fresh crunch. Enjoy your meal!
Tips & Tricks
Ensuring Crispy Skin
To get that perfect crispy skin, start by drying the chicken thighs well. Use paper towels to pat them dry. Removing moisture helps the skin crisp up nicely. When you sear the thighs, heat your skillet over medium-high heat. The pan must be hot before adding the chicken. Place the thighs skin-side down and let them sear for 5 to 7 minutes. This will give you that beautiful golden color.
Enhancing Flavor
For a deeper flavor, consider marinating the chicken for a few hours or overnight. Letting the chicken soak in the honey garlic sauce makes each bite more tasty. You can pair the chicken with rice, steamed veggies, or a fresh salad. These sides balance the sweet and savory notes of the dish.
Common Mistakes to Avoid
One common mistake is overcooking the chicken. Always check for an internal temperature of 165°F (74°C). Use a meat thermometer for accuracy. Another mistake is not using low sodium soy sauce. Regular soy sauce can make the dish too salty. Stick to low sodium for a balanced flavor.
Variations
Cooking Method Alternatives
You can cook honey garlic chicken thighs in different ways to suit your needs. One great option is using a slow cooker. Simply season the chicken and add the honey garlic sauce. Cook on low for about six hours. The chicken will be tender and full of flavor.
Another method is the Instant Pot. This cooks the chicken fast. Season as usual, then add the sauce. Cook on high pressure for about 10 minutes. This method keeps it juicy and flavorful.
Flavor Variations
To change the flavor, consider adding spices. A pinch of chili flakes gives a nice kick. You can also use five-spice powder for a unique twist.
If you want a different sweetness, swap honey for maple syrup. This adds a rich flavor that pairs well with garlic. Experimenting with flavors makes cooking fun and creative!
Dietary Adjustments
If you need a gluten-free version, use tamari instead of soy sauce. This keeps the rich taste without gluten.
For a low-carb option, skip the honey and use a sugar substitute. This keeps the dish tasty while cutting carbs. You can enjoy the meal while sticking to your dietary needs.
Storage Information
Storing Leftovers
To store cooked honey garlic chicken thighs, let them cool first. Place the thighs in an airtight container. You can keep them in the fridge for up to four days. If you want to keep them longer, consider freezing them.
Freezing Recommendations
For longer shelf life, freeze the chicken thighs within two hours of cooking. Wrap them tightly in plastic wrap before putting them in a freezer-safe bag. They will stay good for up to three months. When you’re ready to eat, just thaw them in the fridge overnight.
Reheating Instructions
To reheat, use your oven or stovetop for the best results. Preheat the oven to 350°F (175°C). Place the chicken thighs in a baking dish and cover with foil. Bake for about 20 minutes or until heated through. If using a stovetop, heat a skillet over medium heat. Add a little oil, then gently warm the chicken, turning it often. This keeps the chicken juicy and delicious.
FAQs
Can I use boneless chicken thighs instead?
Yes, you can use boneless thighs. They cook faster than bone-in thighs. Reduce the baking time to about 20 minutes. Always check for an internal temperature of 165°F (74°C). This ensures they are fully cooked.
What can I serve with honey garlic chicken thighs?
Pair this dish with simple sides. Here are some options:
– Steamed rice or jasmine rice
– Roasted vegetables like broccoli or carrots
– Fresh salad with a light dressing
– Mashed potatoes for a comfort touch
These sides add color and flavor to your meal.
How can I make this recipe healthier?
To lighten this dish, try these tweaks:
– Use skinless chicken thighs for less fat.
– Swap honey for a low-calorie sweetener.
– Add extra veggies to your sides for fiber.
These changes keep the taste while making it healthier.
This blog post covered a delicious honey garlic chicken thigh recipe. We explored key ingredients, cooking steps, tips for success, and storage advice. You can enjoy flavorful chicken with crispy skin and tasty sides. Remember to avoid common mistakes, and try the variations for new flavors. With these tools, you’ll create meals that impress. Dive into your kitchen and bring this recipe to life! Happy cooking!