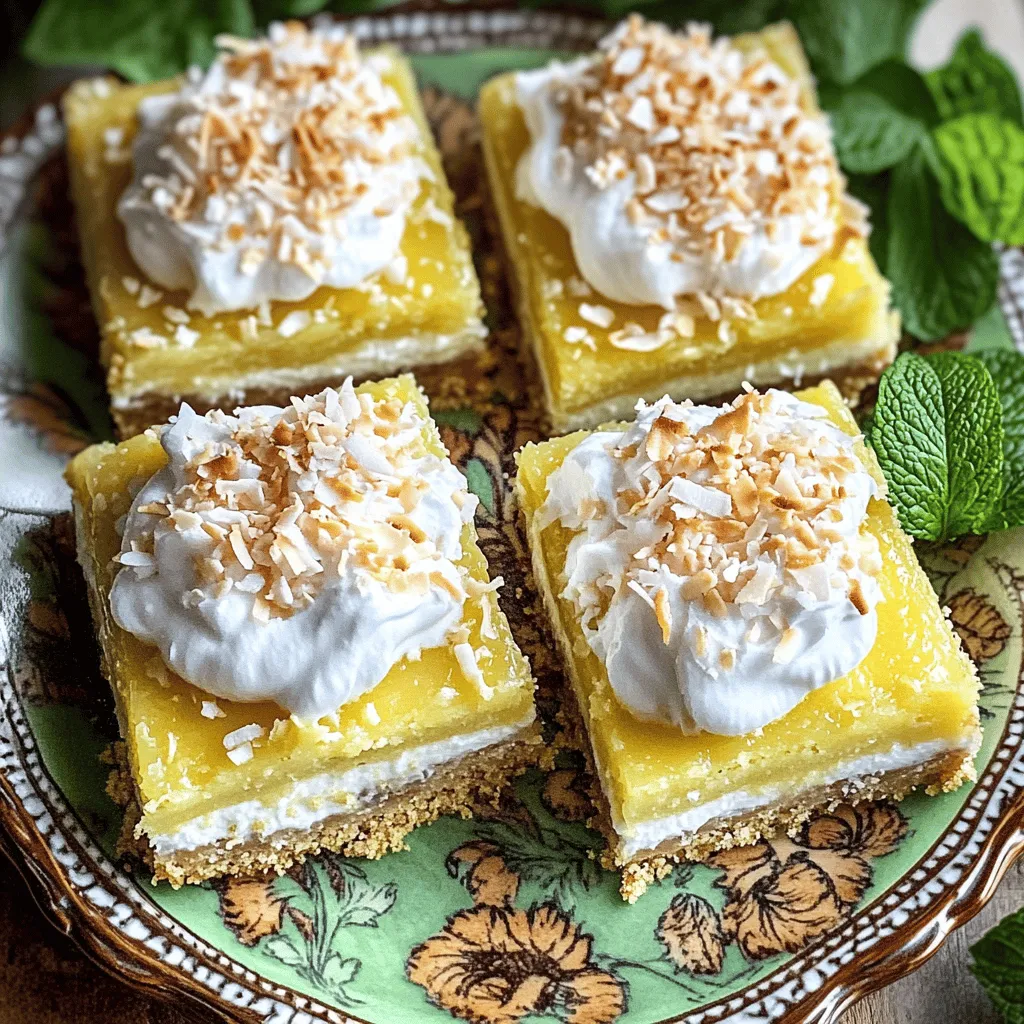
If you’re craving something sweet and creamy, Coconut Cream Pie Bars are your answer. These bars combine rich coconut flavor with a smooth texture that melts in your mouth. In this post, I’ll guide you through simple recipes and tips to create this delightful treat. Whether you’re gluten-free or want a new dessert twist, you’ll find helpful options right here. Let’s make some delicious magic in the kitchen!
Ingredients
Key Ingredients
To make Coconut Cream Pie Bars, you need simple but key ingredients. Here’s what you will need:
– 1 cup all-purpose flour
– 1/2 cup unsweetened shredded coconut
– 1/4 cup powdered sugar
– 1/2 cup unsalted butter, melted
– 1 can (14 oz) sweetened condensed milk
– 1/2 cup coconut milk
– 2 large eggs
– 1 tablespoon vanilla extract
– 1/2 teaspoon salt
– 1/4 cup unsweetened shredded coconut, toasted (for topping)
– 1 cup whipped cream (for serving)
Each ingredient plays a big role in the final flavor and texture. The flour creates a sturdy base. The unsweetened coconut gives that coconut flavor without being too sweet. Powdered sugar adds just the right amount of sweetness. Melted butter helps bind the crust together. Sweetened condensed milk is key for a creamy filling. Coconut milk adds richness. Eggs provide structure. Vanilla extract boosts flavor. Salt balances sweetness. Toasted coconut adds a crunchy finish, and whipped cream makes it indulgent.
Substitutions
You can swap some ingredients if you have dietary needs. Here are some options:
– Flour: Use almond flour or oat flour for gluten-free bars.
– Butter: Substitute with coconut oil for a vegan option.
– Sweetened condensed milk: Try a dairy-free version made with coconut milk and sugar.
– Eggs: Use flax eggs (1 tablespoon ground flaxseed + 2.5 tablespoons water) for vegan bars.
These substitutions keep the bars tasty while meeting your needs.
Tools and Equipment
To prepare your Coconut Cream Pie Bars, you will need some basic tools:
– 8×8 inch baking dish: A glass or metal dish works well.
– Mixing bowls: Use medium and large bowls for mixing ingredients.
– Whisk: A whisk helps blend wet ingredients smoothly.
– Spatula: Use it to spread the crust and filling evenly.
– Measuring cups and spoons: Accuracy is key for the best results.
Having the right tools makes baking much easier and more fun.
Step-by-Step Instructions
Preparation Steps
To start, we will make the crust. First, preheat your oven to 350°F (175°C). Grease an 8×8 inch baking dish or use parchment paper for easy removal later. In a medium bowl, combine:
– 1 cup all-purpose flour
– 1/2 cup unsweetened shredded coconut
– 1/4 cup powdered sugar
– 1/2 cup unsalted butter, melted
Mix these ingredients until they resemble a crumbly texture. Then, press this mixture evenly into the bottom of your prepared dish. Bake for 10-12 minutes, until the crust is lightly golden.
While the crust is baking, it’s time to make the coconut filling. In another bowl, whisk together:
– 1 can (14 oz) sweetened condensed milk
– 1/2 cup coconut milk
– 2 large eggs
– 1 tablespoon vanilla extract
– 1/2 teaspoon salt
Ensure this mixture is smooth and well combined.
Baking Process
Once the crust is done, remove it from the oven. Pour the coconut filling over the hot crust evenly. Return the dish to the oven and bake for an additional 25-30 minutes. You want the filling to be set and the edges to turn lightly brown.
To check if it is done, gently shake the dish. If the center jiggles slightly but is mostly firm, it’s ready.
Cooling and Serving
Cooling is crucial before slicing. Let the bars cool to room temperature first. Then, refrigerate for at least 2 hours to chill completely. This helps the bars hold their shape when you cut them.
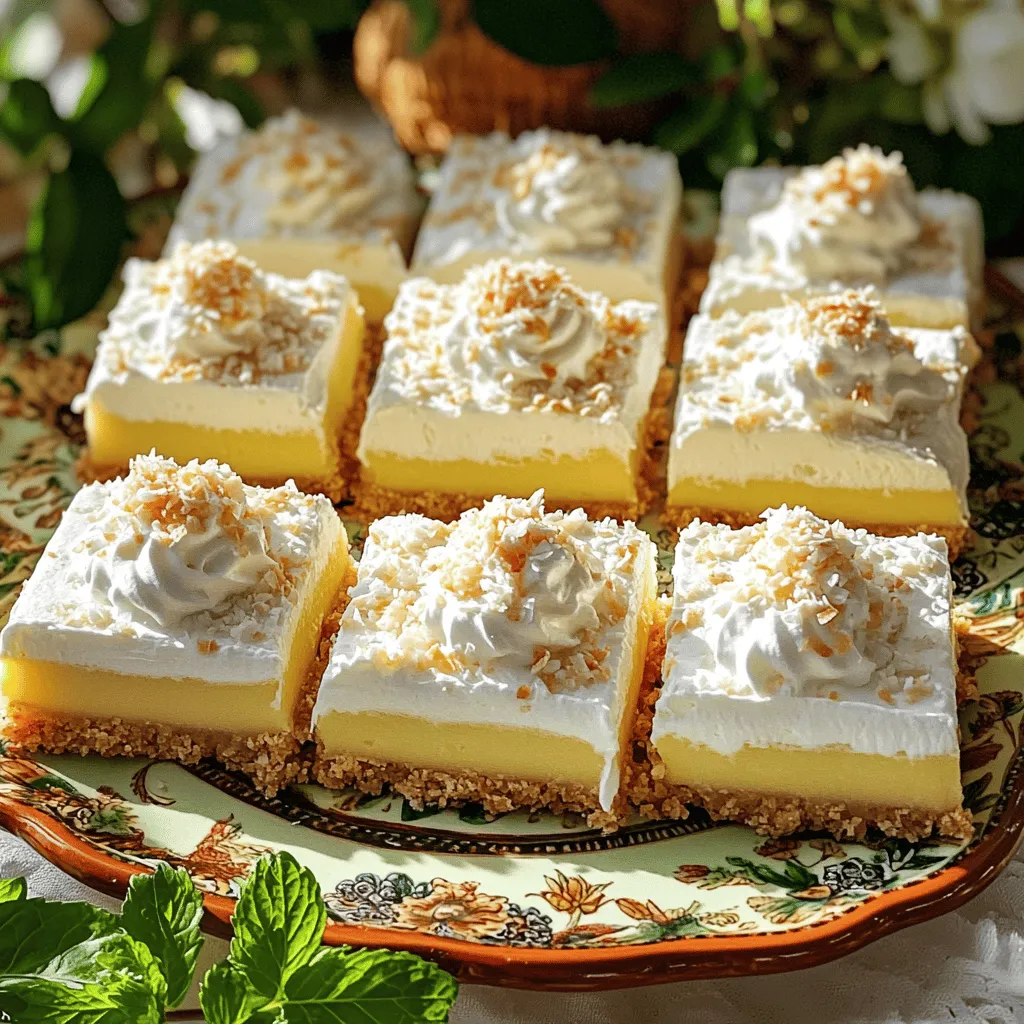
To serve, cut the bars into squares. Top each one with whipped cream and sprinkle with toasted shredded coconut for extra flavor and crunch. Store any leftovers in the fridge to keep them fresh.
Tips & Tricks
Baking Tips
To get a perfect crust, use cold butter. Cut it into the flour mix until it looks crumbly. This keeps the crust flaky. Bake it until it turns light golden brown. For the filling, whisk the sweetened condensed milk and eggs well. This helps the filling set just right. You want it smooth and creamy without lumps.
Presentation Tips
Garnishing the Coconut Cream Pie Bars is fun. Top each bar with a dollop of whipped cream. Sprinkle toasted coconut on top for crunch. Add a mint leaf for color. Serve them on a pretty platter. You can even arrange them with fresh fruit to make them pop.
Common Mistakes
One big mistake is overbaking the crust. Keep an eye on it to avoid burning. Another error? Not letting the bars cool before slicing. This can make them fall apart. If your filling is too runny, it might need more baking time. Always check the edges for a light brown color.
Variations
Flavor Variations
You can easily change the flavor of your Coconut Cream Pie Bars. Try adding chocolate for a rich twist. Just melt some chocolate and mix it into the coconut filling. You can also use citrus zest. Lemon or lime zest adds a bright, fresh taste. If you want to explore coconut flavors, try flavored extracts. Use coconut extract for a stronger coconut taste. You can also mix in different types of coconut, like coconut flakes or cream. These small changes make a big impact.
Dietary Variations
You can adapt this recipe to fit different diets. To make it low-sugar, use a sugar substitute like stevia. For a low-fat version, substitute coconut milk with a light version or almond milk. If you want to make it gluten-free, swap all-purpose flour for almond flour or gluten-free flour. It’s simple to make it nut-free too. Just make sure you check your ingredient labels. These adjustments let everyone enjoy these tasty bars.
Serving Variations
Coconut Cream Pie Bars pair well with many desserts. Try serving them with fresh fruit, like strawberries or mango. You can also add a scoop of vanilla ice cream for a delicious contrast. Get creative when serving at parties. Cut the bars into smaller, bite-sized pieces. Arrange them on a colorful platter. You can even add edible flowers for a fun touch. For a tropical theme, serve with little umbrellas or coconut shells. The options are endless!
Storage Info
Short-term Storage
To store Coconut Cream Pie Bars in the refrigerator, follow these steps. First, place the bars in an airtight container. This keeps them fresh and safe from other food odors. If you do not have an airtight container, wrap them tightly in plastic wrap. It’s best to keep them in the fridge for up to one week.
To keep the crust from getting soggy, make sure the bars are completely cool before storing. If possible, place a paper towel between the bars and the lid of the container. This helps absorb any moisture that might make the crust soft.
Long-term Storage
Freezing Coconut Cream Pie Bars is simple and effective. Slice the bars into portions and wrap each piece in plastic wrap. Then, place the wrapped bars in a freezer-safe container or bag. You can freeze them for up to three months without losing flavor.
When thawing, move the bars to the fridge for a few hours or overnight. This method keeps the texture nice. Avoid thawing at room temperature. It may cause them to become too soft or soggy.
Shelf Life
Coconut Cream Pie Bars can last in storage for about a week in the fridge. If you freeze them, they can stay fresh for about three months.
Look out for signs that the bars have gone bad. If you see mold or if the bars smell off, it’s time to toss them. A change in texture can also mean they are no longer good to eat. Always trust your senses when checking food freshness.
FAQs
What can I substitute for sweetened condensed milk in this recipe?
You can replace sweetened condensed milk with several options. For a dairy-free choice, use coconut cream mixed with a bit of maple syrup. This gives you a creamy texture and sweetness. You can also blend silken tofu with honey or agave syrup. This mix works well for a homemade version. If you prefer a store-bought option, look for dairy-free condensed milk at the store. Each choice adds its unique taste but keeps the bars creamy.
Can I make this recipe ahead of time?
Yes, you can make these bars ahead of time. Prepare them up to two days in advance. After baking, let the bars cool completely. Then, cover them well and store them in the fridge. This helps the flavors blend and set perfectly. For best taste, enjoy them within a few days. You can also slice them before serving for easy sharing.
How do I know when the bars are properly baked?
To check if the bars are done, look for a few signs. The edges should be lightly browned, and the filling should be set, not jiggly. You can insert a toothpick in the center. If it comes out clean, your bars are ready. Remember, the crust should be golden brown, too. This shows that your Coconut Cream Pie Bars are baked just right.
Coconut Cream Pie Bars bring together rich flavors and smooth textures. You learned the crucial ingredients and substitutions for dietary needs. The step-by-step instructions guide you from crust to cooling. Utilize tips to achieve perfect baking and presentation. Explore variations to keep the dessert exciting. Lastly, proper storage ensures maximum enjoyment. With these insights, you’re ready to whip up a delicious treat that delights everyone. Enjoy showcasing your skills and sharing these bars with friends and family.