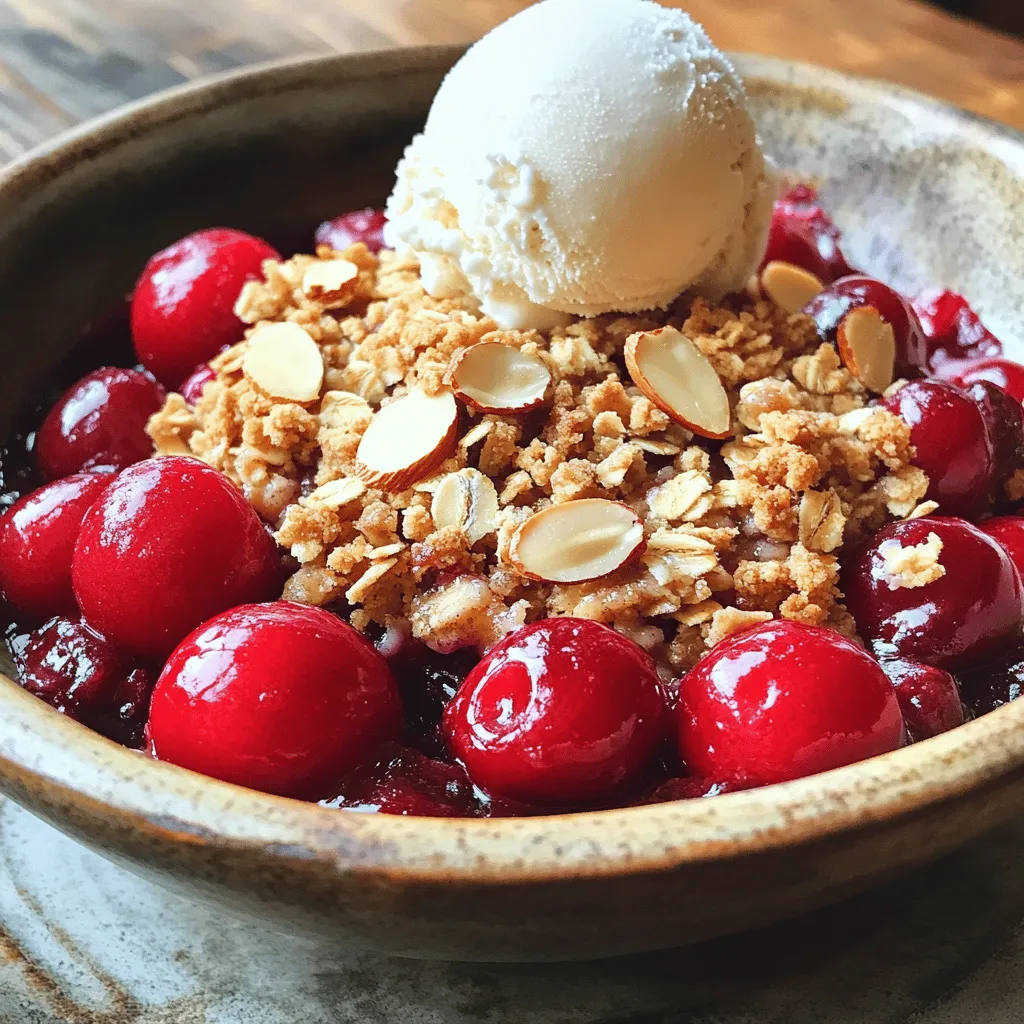
Indulge in a delightful treat with my Cherry Almond Crisp recipe! This dish combines juicy cherries and nutty almond flavors for a perfect dessert. Whether you’re sharing with friends or enjoying a cozy night in, this easy step-by-step guide will help you whip up a crisp that hits the spot. Let’s dive into the ingredients and get started on your delicious adventure!
Ingredients
Main Ingredients
– 4 cups fresh cherries, pitted and halved
– 1 cup almond flour
– 1 cup rolled oats
– 1/2 cup brown sugar
– 1/2 cup cold unsalted butter, cubed
– 1/4 teaspoon salt
– 2 tablespoons cornstarch
– 1 tablespoon lemon juice
Fresh cherries are the star. Their sweet, tart flavor shines in this dish. Almond flour adds a nutty taste and a nice texture. Rolled oats give a hearty crunch that complements the fruit perfectly.
Optional Add-ins
– 1/4 cup sliced almonds
– 1 teaspoon vanilla extract
– 1 teaspoon cinnamon
Consider adding sliced almonds for extra crunch. A dash of vanilla extract enhances the cherry flavor. Cinnamon brings warmth and depth to the dish.
Equipment Needed
– Mixing bowls
– Baking dish
– Pastry cutter
You will need mixing bowls for combining ingredients. A baking dish helps cook the crisp evenly. A pastry cutter makes blending butter into the dry mix easy.
Step-by-Step Instructions
Preparation Steps
1. Preheat the oven
First, set your oven to 350°F (175°C). This helps the crisp bake evenly.
2. Prepare the cherry filling
In a bowl, mix 4 cups of pitted and halved cherries with 1 tablespoon of lemon juice and 2 tablespoons of cornstarch. Toss until the cherries are well coated. Transfer this mixture to a 9×13 inch baking dish.
3. Mix dry ingredients
In another bowl, combine 1 cup of almond flour, 1 cup of rolled oats, 1/2 cup of brown sugar, 1 teaspoon of cinnamon, and 1/4 teaspoon of salt. Stir until well mixed.
Forming the Crisp
1. Combine wet and dry ingredients
Add 1/2 cup of cold cubed unsalted butter to the dry mix. Use a pastry cutter or your fingers to blend the butter in until you have coarse crumbs.
2. Fold in sliced almonds
Gently mix in 1/4 cup of sliced almonds into the crumb mixture. This adds a nice crunch.
3. Assemble in baking dish
Sprinkle the crumb topping evenly over the cherry filling in the baking dish.
Baking Process
1. Bake the crisp
Place the baking dish in the preheated oven. Bake for 35-40 minutes, or until the topping is golden brown and the cherries are bubbling.
2. Check for doneness
Look for a golden top and bubbling filling. This means your crisp is ready.
3. Cooling time
Once baked, remove it from the oven and let it cool for about 10 minutes. This makes it easier to serve.
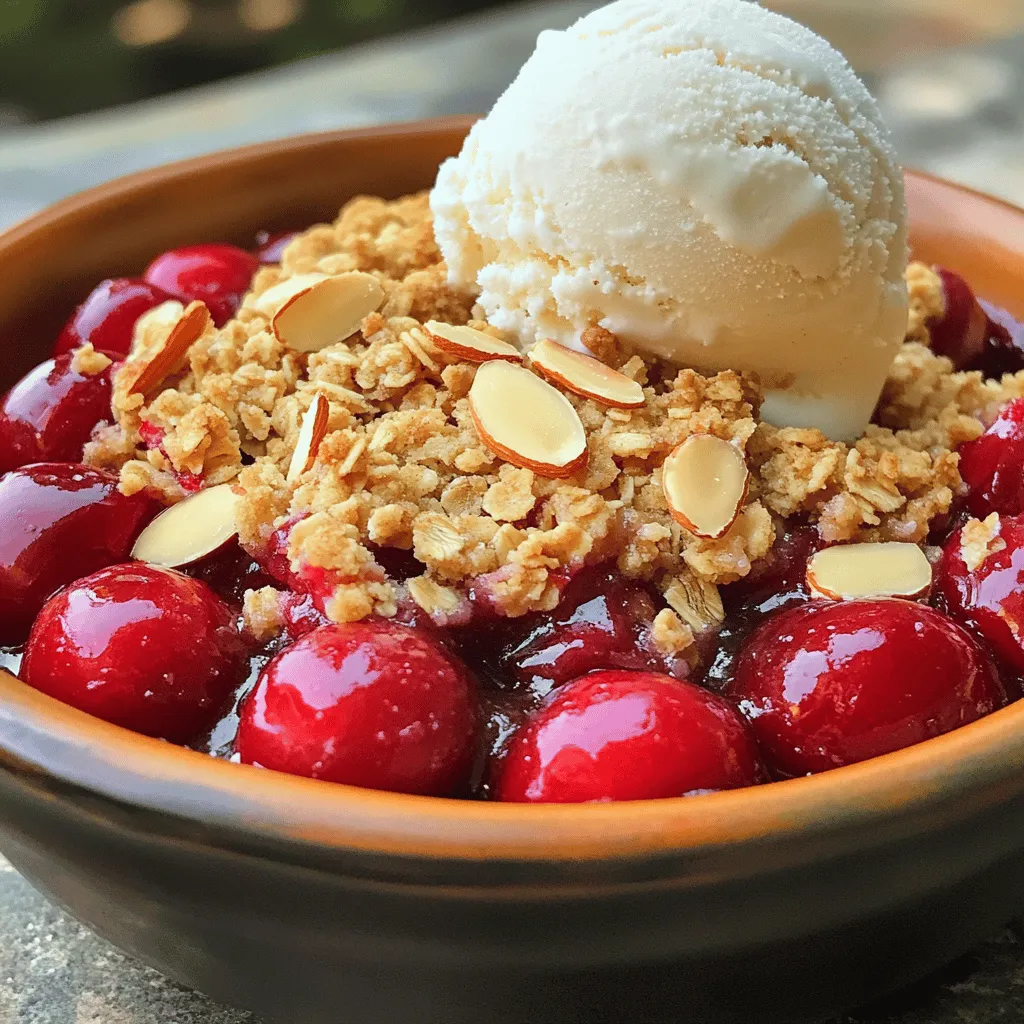
Enjoy the warm Cherry Almond Crisp with a scoop of vanilla ice cream for a delightful treat!
Tips & Tricks
Best Practices
– Choosing ripe cherries: Look for cherries that are dark red and firm. They should smell sweet and not be mushy. Fresh cherries make a big difference in taste.
– How to measure almond flour: Scoop almond flour into your measuring cup with a spoon. Do not pack it down. Level off the top with a knife for an accurate measure.
– Avoiding sogginess in the filling: Use cornstarch to help thicken the cherry juices. This keeps the filling from being too runny.
Serving Suggestions
– Pairing with ice cream: A scoop of vanilla ice cream on top of warm cherry almond crisp is pure bliss. The cold ice cream melts slightly and adds creaminess.
– Garnishing tips: Sprinkle sliced almonds and a dusting of powdered sugar on top before serving. This adds a nice crunch and looks pretty.
– Ideal serving temperature: Serve the crisp warm but not too hot. It should be just cool enough to enjoy without burning your mouth.
Common Mistakes
– Over-mixing the topping: Mixing too much can make the topping tough. Just blend until you see crumbs.
– Underbaking the crisp: If you take it out too early, the topping will not be crispy. Bake until it is golden brown.
– Using excessive sugar: Too much sugar can mask the cherry flavor. Stick to the recipe for the best taste.
Variations
Flavor Swaps
You can change the fruit in your cherry almond crisp. Blueberries, apples, and peaches work great. Just keep the same amount as the cherries. You can also play with spices. If you want a warm taste, add a pinch of nutmeg. This will give your crisp a cozy, sweet flavor.
Dietary Alternatives
For gluten-free options, swap almond flour for a gluten-free blend. It works well in this recipe. You can also make this dessert vegan. Use coconut oil instead of butter. It gives a nice flavor and texture. Use maple syrup or coconut sugar instead of brown sugar for sweetness.
Presentation Variations
Serving your crisp in individual bowls makes it special. Each person gets their own treat! You can also use fun dishes like mason jars or ramekins. This adds a nice touch to your dessert. Top each serving with a scoop of ice cream. A sprinkle of sliced almonds will make it even better.
Storage Info
Leftover Storage
To keep your cherry almond crisp fresh, refrigerate it in an airtight container. This helps maintain its flavor and texture. You can store leftovers for up to three days in the fridge. If you want to keep it longer, freezing is a great option. To freeze, wrap the crisp tightly in plastic wrap, then place it in a freezer bag. It stays fresh for about three months in the freezer.
Reheating Instructions
When you are ready to enjoy your cherry almond crisp again, the best way to reheat it is in the oven. Preheat your oven to 350°F (175°C). Place the crisp in an oven-safe dish and cover it with foil. Heat for about 15-20 minutes until it is warm throughout. For keeping the topping crispy, remove the foil for the last 5 minutes of reheating.
Shelf Life
In the refrigerator, your cherry almond crisp lasts up to three days. If you freeze it, it can last up to three months. Always label your containers with the date to keep track of freshness. Enjoy your delicious dessert knowing it will stay tasty for days!
FAQs
What can I substitute for almond flour?
If you need a substitute for almond flour, try these options:
– Oat flour: Great for gluten allergies.
– Coconut flour: Adds a unique taste.
– Sunflower seed flour: Good for nut-free diets.
These flours work well in most recipes.
Can I make this ahead of time?
Yes, you can prepare this crisp in advance.
– Make the cherry filling and topping separately.
– Store them in the fridge for up to two days.
When you are ready, combine and bake.
For reheating, put it back in the oven at 350°F (175°C) for about 10 minutes.
How do I know when the crisp is done?
Look for these signs of perfect crispiness:
– The topping turns golden brown.
– The cherries bubble around the edges.
To check the cherries, poke them; they should feel soft and juicy.
Where can I find pre-made cherry almond crisps?
You might find pre-made cherry almond crisps at local bakeries.
Ask for seasonal pies or desserts.
Online, check delivery services like Goldbelly or local grocery stores.
These options save time and still satisfy your sweet tooth.
This blog post covers how to make a delicious cherry almond crisp. It highlights key ingredients like fresh cherries and almond flour. You’ve learned how to prepare, bake, and store your crisp properly. I shared tips for serving and avoiding common mistakes. Remember, you can customize flavors and follow dietary needs too. Whether you serve it warm or cold, this dessert will impress. Enjoy your baking adventure and share the joy of this tasty treat!