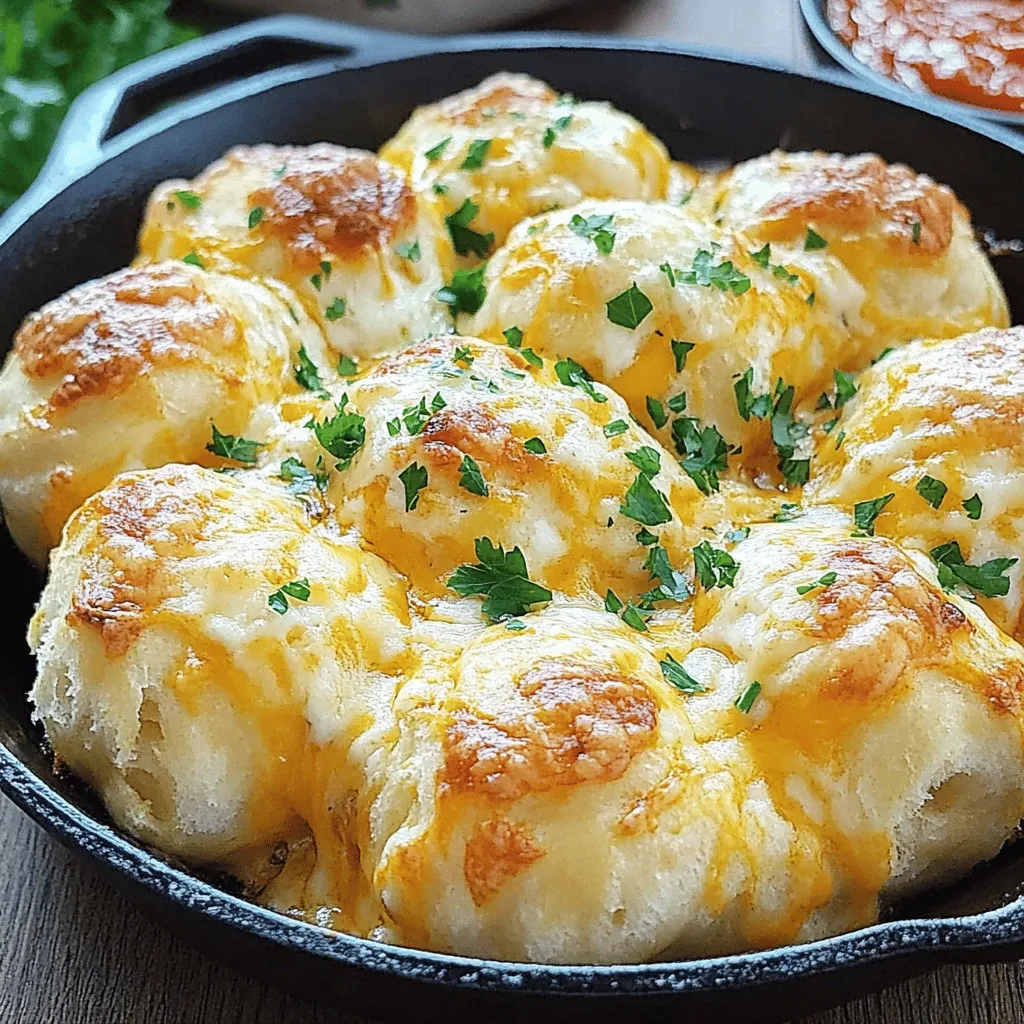
If you love warm, gooey cheese and buttery garlic bread, you’re in for a treat! My Cheesy Garlic Pull-Apart Skillet Bread is a simple yet delightful dish that brings friends and family together. Imagine tearing into this warm, cheesy goodness, perfect for any occasion. In this article, I’ll share step-by-step instructions, tips for the best dough, and delicious variations to make it your own. Let’s dive in and create a cheesy masterpiece!
Ingredients
Main Ingredients List
– 3 cups all-purpose flour
– 1 packet (2 1/4 tsp) instant yeast
– 2 tablespoons sugar
– 1 teaspoon salt
– 1 cup warm milk (110°F)
– 1/4 cup unsalted butter, melted
– 1 cup cheddar cheese, shredded
– 1/2 cup mozzarella cheese, shredded
– 4 cloves garlic, minced
– 2 tablespoons fresh parsley, chopped
– 1/4 teaspoon red pepper flakes (optional)
– 1 tablespoon olive oil
For my cheesy garlic pull-apart skillet bread, I focus on fresh, high-quality ingredients. Each one plays a key role in the flavor and texture.
– All-purpose flour forms the base of the bread. It gives a soft and fluffy texture.
– Instant yeast makes the dough rise quickly, so you can enjoy your bread sooner.
– Sugar helps activate the yeast and adds a hint of sweetness.
– Salt enhances all the flavors and balances the sweetness.
– Warm milk is crucial for activating the yeast and adding moisture.
– Unsalted butter gives richness and flavor to the bread.
– Cheddar cheese provides a sharp and creamy taste.
– Mozzarella cheese adds stretch and gooeyness when baked.
– Garlic gives that strong, savory flavor we all love.
– Fresh parsley adds a bright touch and a bit of color.
– Red pepper flakes can give a slight kick. It’s optional but fun!
– Olive oil helps crisp the bread and adds richness.
Optional Add-ins
– Additional herbs or spices can add more flavor. Think thyme, oregano, or even some Italian seasoning.
– You can switch up the cheese. Try using pepper jack for heat or a blend of your favorites.
– For dipping, marinara sauce is classic. You could also try garlic butter or a spicy aioli for a twist.
These ingredients make my cheesy garlic pull-apart skillet bread special. Each bite is flavorful and satisfying. You can adjust based on your tastes and what you have at home. Happy baking!
Step-by-Step Instructions
Preparation Steps
1. Activating the yeast:
Start by mixing warm milk, sugar, and instant yeast in a large bowl. Let it sit for about 5 minutes. This allows the yeast to foam and get active.
2. Mixing dough ingredients:
Add melted butter, flour, and salt to the yeast mix. Stir until you see a soft dough form. This mixture should feel smooth and slightly sticky.
3. Kneading the dough:
Place the dough on a floured surface. Knead it for about 5-7 minutes. You want it to be smooth and elastic. This step builds the dough’s strength and texture.
Rising and Shaping
1. First rise time:
Put the dough in a greased bowl. Cover it with a clean towel and set it in a warm spot. Let it rise for 1 hour or until it doubles in size.
2. Dividing the dough:
After it has risen, punch the dough down. Divide it into 20-25 small pieces. This makes it easier to fill each piece with cheese.
3. Filling with cheese mixture:
In a bowl, combine cheddar, mozzarella, minced garlic, parsley, and red pepper flakes. Take each dough piece, flatten it, and place a spoonful of this cheese mix in the center. Pinch the dough closed to form a ball.
Final Assembly and Baking
1. Arranging in the skillet:
Grease a cast-iron skillet or oven-safe pan. Arrange the cheese-filled dough balls in the skillet, stacking them up. Drizzle olive oil over the top for extra flavor.
2. Second rise time:
Cover the skillet with a kitchen towel. Let the dough rise again for 30 minutes. This helps the bread become fluffy.
3. Baking instructions:
Preheat your oven to 350°F (175°C). Bake the bread for 25-30 minutes. Look for a golden color and bubbly cheese. Let it cool a bit before serving. Use a fork or your hands to pull apart the pieces.
Tips & Tricks
Dough Consistency
To get the perfect dough texture, use warm milk around 110°F. This helps the yeast rise. Mix until the dough is soft, not sticky. If it’s too dry, add a bit more milk. If it’s too wet, add a little flour. Knead the dough for 5-7 minutes until it feels smooth.
Common dough issues include not rising or being too tough. If your dough does not rise, check your yeast. It may be old or too cold. A tough dough often means over-kneading. Try kneading less next time.
Enhancements
For flavor profile adjustments, mix in herbs like rosemary or thyme. You can also add spices like garlic powder for depth. If you want extra garlicky goodness, increase the minced garlic to six cloves or add garlic powder to the dough.
Serving Suggestions
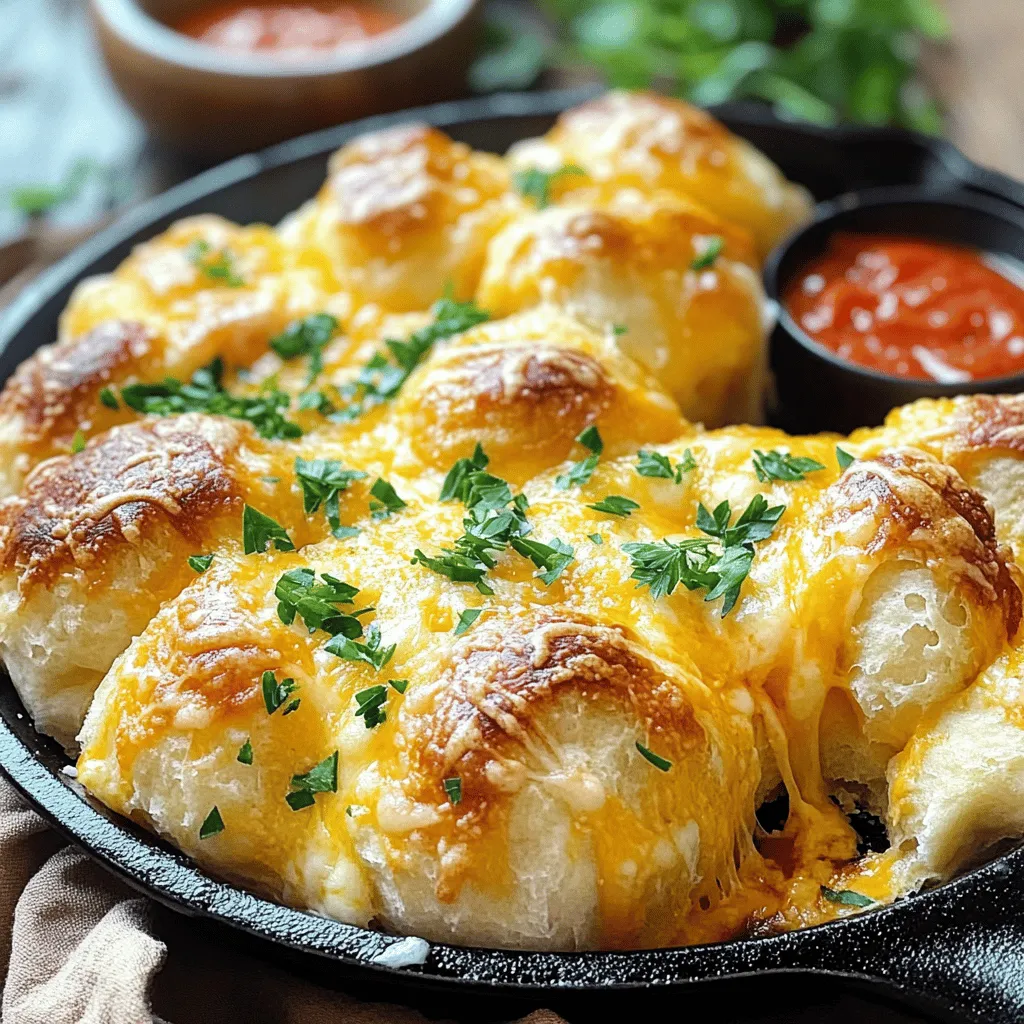
Serve this garlic bread directly from the skillet. It looks great and stays warm. Pair it with marinara sauce for dipping. This bread works well for parties, game nights, or family dinners. It’s also a fun treat for movie nights at home.
Variations
Cheese Variations
You can switch up the cheese for more fun. Try using gouda or pepper jack for a kick. Mixing in different cheeses adds depth to the flavor. You can also add spices or herbs to the cheese mix. Try Italian seasoning or a pinch of garlic powder for extra zest.
Flavor Twists
Adding vegetables can really boost the taste. Chopped spinach or sun-dried tomatoes work well. They add color and nutrients too. If you want a sweet version, mix in cinnamon sugar. This twist gives a nice contrast to the savory bread.
Dietary Adjustments
For gluten-free bread, swap all-purpose flour with a gluten-free blend. Make sure it is designed for baking. If you want vegan options, use plant-based milk and butter. You can also choose vegan cheese for a creamy texture. These adjustments make the recipe friendly for all diets.
Storage Info
Proper Storage Methods
– Short-term storage tips: Before storing, let the bread cool completely. Wrap it in plastic wrap or foil. You can also place it in an airtight container. Store it at room temperature for up to 3 days.
– Long-term storage tips: For longer storage, freeze the bread. Wrap it tightly in plastic wrap and then in foil. This keeps it fresh for up to 2 months. When ready to eat, thaw it in the fridge overnight.
Reheating Instructions
– Best practices for reheating pulling apart bread: To reheat, preheat your oven to 350°F. Place the bread in the oven for about 10-15 minutes. This warms it evenly and keeps it nice.
– Avoiding sogginess: Avoid using the microwave, as it can make the bread soggy. If you must use it, keep the time short and check often to prevent moisture buildup.
Serving Leftovers
– Creative ways to use leftovers: You can turn leftover bread into croutons. Cut it into small cubes, toss with olive oil, and bake until crispy. Use these in salads or soups for added flavor.
– Reimagining bread in other recipes: Try using leftover bread for a savory bread pudding. Mix it with eggs, milk, cheese, and your favorite veggies. Bake until set for a hearty meal.
FAQs
What is the best way to serve Cheesy Garlic Pull-Apart Skillet Bread?
You can serve this bread right from the skillet. It looks great and keeps it warm. For dips, marinara sauce works well. You can also try ranch dressing or garlic butter. Pair this bread with a fresh salad or a hearty soup. These sides will make your meal even better.
Can I make this recipe ahead of time?
Yes, you can make this dish ahead. Prepare the dough and shape it into balls. Place them in the skillet and cover it. You can store it in the fridge overnight. When ready to bake, let it sit at room temperature for 30 minutes. This way, you save time on busy days.
How do I know when the bread is fully baked?
Look for a golden brown color on the top. The cheese should be bubbly and melted. If you tap the bottom of the skillet, it should sound hollow. A toothpick inserted into the bread should come out clean. These signs mean your pull-apart bread is perfect and ready to eat.
In this post, we explored how to make Cheesy Garlic Pull-Apart Skillet Bread. You learned the key ingredients and step-by-step instructions for preparing, rising, and baking. I shared tips for getting the right dough texture and enhancing flavors. We discussed variations that suit different diets and preferences and how to store leftovers. Now, you can create this delicious bread at home with ease. Enjoy your tasty creation and share it with others!