Are you ready to enjoy the warm, gooey goodness of Cheesy Garlic Breadsticks? With just a few simple ingredients and some easy steps, you can create this delightful treat at home. Whether you want them as a side or a tasty snack, these breadsticks will be your new favorite. Join me as we explore flavors, tips, and variations to make every bite irresistible! Let’s get cooking!
Ingredients
List of Ingredients for Cheesy Garlic Breadsticks
– 1 cup warm water (110°F)
– 2 teaspoons active dry yeast
– 1 tablespoon sugar
– 2 ½ cups all-purpose flour
– 1 teaspoon salt
– 3 tablespoons olive oil
– 2 teaspoons garlic powder
– 1 teaspoon Italian seasoning
– 1 cup shredded mozzarella cheese
– ¼ cup grated Parmesan cheese
– Fresh parsley, chopped (for garnish)
Key Ingredients and Their Roles
The warm water wakes up the yeast. This step is vital for the dough to rise. Yeast helps the breadsticks become light and fluffy. The sugar feeds the yeast, helping it grow and activate. All-purpose flour provides structure and texture to the breadsticks. Salt adds flavor and balances the other ingredients.
Olive oil keeps the dough moist and adds a rich taste. Garlic powder and Italian seasoning give the breadsticks their signature flavor. Mozzarella cheese melts beautifully, making the breadsticks cheesy and gooey. Parmesan cheese adds a sharp taste, enhancing the overall flavor.
Optional Toppings and Flavor Enhancements
Feel free to get creative! You can add toppings like crushed red pepper flakes for heat or extra garlic powder for more flavor. Fresh herbs like basil or oregano can brighten the taste. Consider a sprinkle of sesame seeds or poppy seeds for crunch. You can also serve the breadsticks with marinara sauce or garlic butter for dipping.Enjoy making these tasty cheesy garlic breadsticks!
Step-by-Step Instructions
Initial Preparation of the Dough
To start, gather your ingredients. Mix warm water, yeast, and sugar in a bowl. Let it sit for five minutes until it froths. This shows the yeast is alive. In a large bowl, combine flour and salt. Create a well in the center. Pour in the frothy yeast mix and olive oil. Stir until a dough forms.
Knead the dough on a floured surface for five to seven minutes. You want it smooth and elastic. This step develops the gluten, which gives the breadsticks structure.
Steps for Rising and Shaping the Breadsticks
After kneading, place the dough in a greased bowl. Cover it with a kitchen towel. Let it rise in a warm spot for about one hour. The dough should double in size during this time. This rising process adds airiness to the breadsticks.
Once it has risen, punch the dough down to release air. Roll it out into a rectangle, about half an inch thick. Sprinkle garlic powder and Italian seasoning evenly over the surface. Then, cover it with mozzarella and Parmesan cheese. Cut the dough into strips, about one inch wide.
Baking Process for Perfect Texture
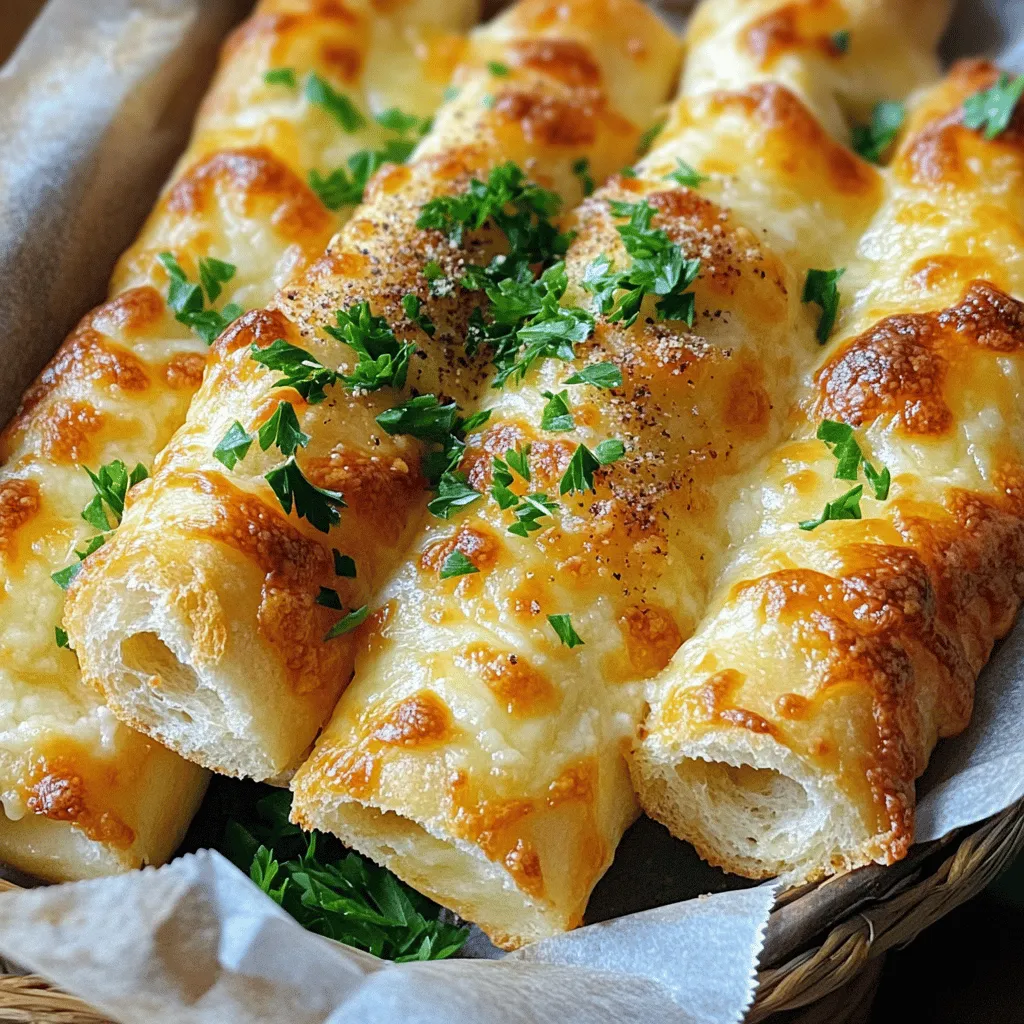
Now, preheat your oven to 400°F (200°C). Place the strips on a parchment-lined baking sheet, leaving space between them. Bake for 15 to 20 minutes. The breadsticks should turn golden brown, and the cheese will bubble.
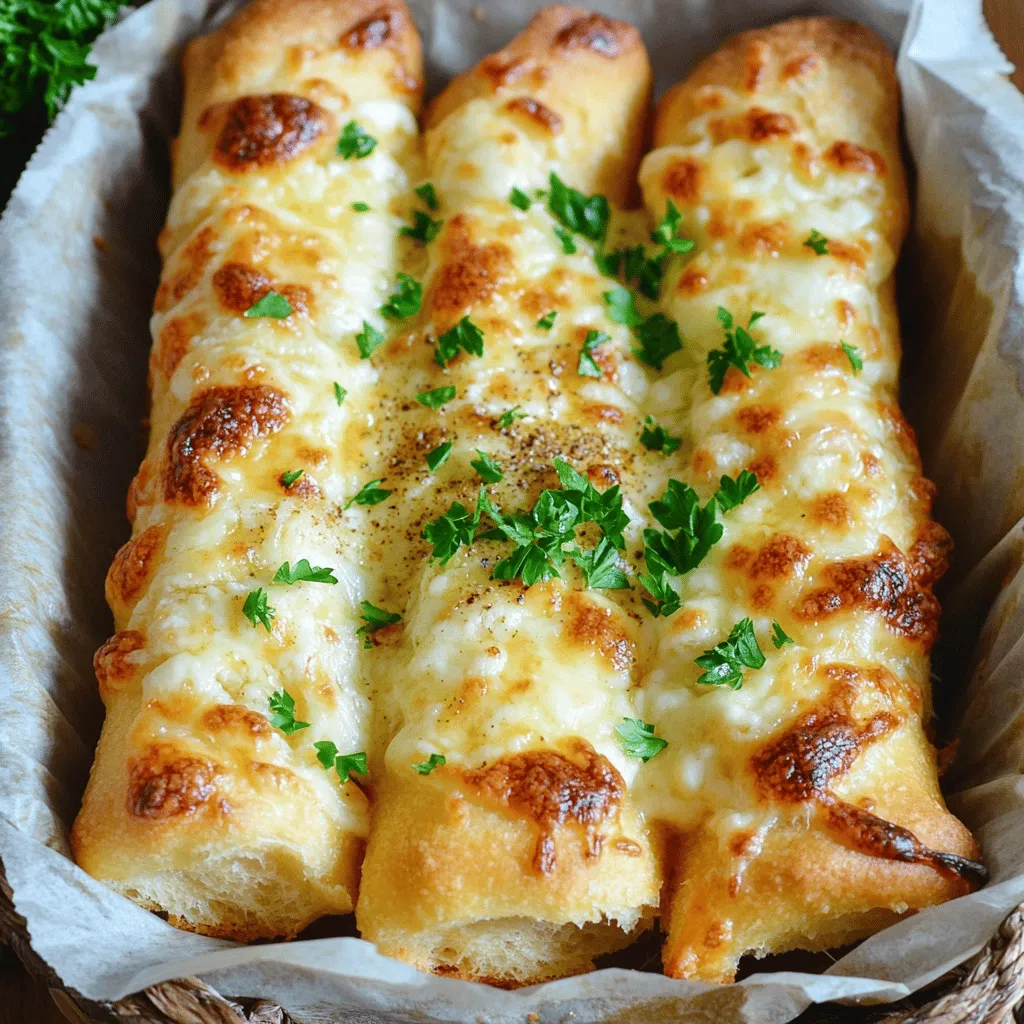
Once done, take them out and let them cool slightly. Garnish with fresh parsley for a pop of color. For a special touch, serve with marinara sauce or garlic butter on the side. Enjoy your delicious cheesy garlic breadsticks!
Tips & Tricks
How to Achieve the Best Flavor
To make the best cheesy garlic breadsticks, use fresh ingredients. Fresh garlic gives a strong flavor. If you can, try roasting garlic before adding it to the dough. This makes it sweet and rich. Use high-quality cheese for a better taste. Mozzarella melts nicely, while Parmesan adds a nice sharpness. Mix the garlic powder and Italian seasoning well into the dough. This helps to spread the flavor evenly.
Common Mistakes to Avoid
One common mistake is over-kneading the dough. Knead just enough to make it smooth and elastic. If it’s too tough, the breadsticks will be dense. Another mistake is not letting the dough rise enough. This step is key for fluffy breadsticks. Make sure your water is not too hot when activating the yeast. If it is, the yeast will die and the dough won’t rise. Lastly, don’t skip the baking time. Keep an eye on them to avoid burning.
Serving Suggestions for Cheesy Garlic Breadsticks
Cheesy garlic breadsticks pair well with many dishes. Serve them alongside pasta, pizza, or salad. They also shine as an appetizer. Set them in a basket lined with parchment paper for a nice touch. Consider adding a small bowl of marinara sauce or garlic butter for dipping. This adds extra flavor and fun to your meal. For a fresh twist, sprinkle chopped herbs on top before serving. Enjoy these breadsticks warm for the best experience!
Variations
Cheesy Garlic Breadsticks with Herbs
You can easily add herbs to your cheesy garlic breadsticks. Fresh or dried herbs enhance flavor. Try mixing in oregano, basil, or thyme. Sprinkle them on top before baking. This adds a nice touch and aroma. You can also mix herbs in the dough. This gives every bite a burst of flavor.
Stuffed Cheesy Garlic Breadsticks
Stuffed cheesy garlic breadsticks are a fun twist. You can fill them with your favorite ingredients. Consider using cooked spinach and ricotta cheese. Or try pepperoni and mozzarella for a savory bite. To make stuffed breadsticks, roll out the dough thinly. Add the filling, then fold and seal the edges. This keeps all the cheesy goodness inside.
Gluten-Free Cheesy Garlic Breadsticks
If you need a gluten-free option, it’s simple to adapt. Use gluten-free flour instead of all-purpose flour. Look for a blend that mimics regular flour.You might need to adjust the water slightly. Gluten-free dough can be a bit different. Don’t worry, they’ll still be tasty and cheesy!
Storage Info
How to Store Leftover Breadsticks
To keep your cheesy garlic breadsticks fresh, place them in a sealed bag. You can also use an airtight container. Make sure to store them at room temperature. They can last for about 2 to 3 days this way. If you want to keep them longer, consider freezing them.
Reheating Instructions for Best Results
When it’s time to enjoy your leftover breadsticks, preheat your oven to 350°F (175°C). Place the breadsticks on a baking sheet. Heat them for about 5 to 10 minutes. This method keeps them crispy and warm. You can also use a microwave, but they might get soft. Heat them for about 20-30 seconds if using the microwave.
Freezing Options for Long-Term Storage
If you want to save your cheesy garlic breadsticks for later, freezing is a great option. Allow the breadsticks to cool completely first. Wrap them in plastic wrap, then place them in a freezer bag. They can last in the freezer for up to 3 months. When you’re ready to eat them, thaw in the fridge overnight or bake straight from the freezer for a few extra minutes.
FAQs
How can I make these Cheesy Garlic Breadsticks ahead of time?
You can make these Cheesy Garlic Breadsticks ahead of time. First, prepare the dough as the recipe shows. After kneading, let it rise once, then punch it down. Wrap the dough tightly in plastic wrap and store it in the fridge for up to 24 hours. When you are ready, let it come to room temperature. Roll it out, add toppings, and bake as usual. This makes meal prep easy!
What are the best dipping sauces for Cheesy Garlic Breadsticks?
You have many choices for dipping sauces. Here are my favorites:
– Marinara sauce
– Garlic butter
– Ranch dressing
– Pesto sauce
Each sauce pairs well with the cheesy flavor of the breadsticks. Feel free to try your own favorite sauces too!
Can I use other types of cheese for this recipe?
Yes, you can use other types of cheese. While mozzarella and Parmesan are classic, you can mix it up! Try using cheddar for a sharp taste. Gouda or provolone also work well for added creaminess. Blend different cheeses to create your perfect flavor. Get creative with your cheese choices!
Cheesy garlic breadsticks are easy to make and very tasty. We covered ingredients, step-by-step instructions, and tips for flavor. Try new variations to keep things fun. Store them well to enjoy later. Remember, these breadsticks can be made ahead of time, and various sauces enhance their taste. With these ideas, you can impress family and friends at your next meal. Happy baking!