Looking for a tasty snack that’s both cheesy and healthy? Try my Cheesy Cauliflower Breadsticks! These easy-to-make delights use fresh cauliflower and gooey cheeses to create a flavorful dish you’ll love. Perfect for dipping or serving alongside your favorite meals, these breadsticks are low-carb and packed with flavor. Let’s dive into the simple ingredients and steps to make this delicious treat!
Ingredients
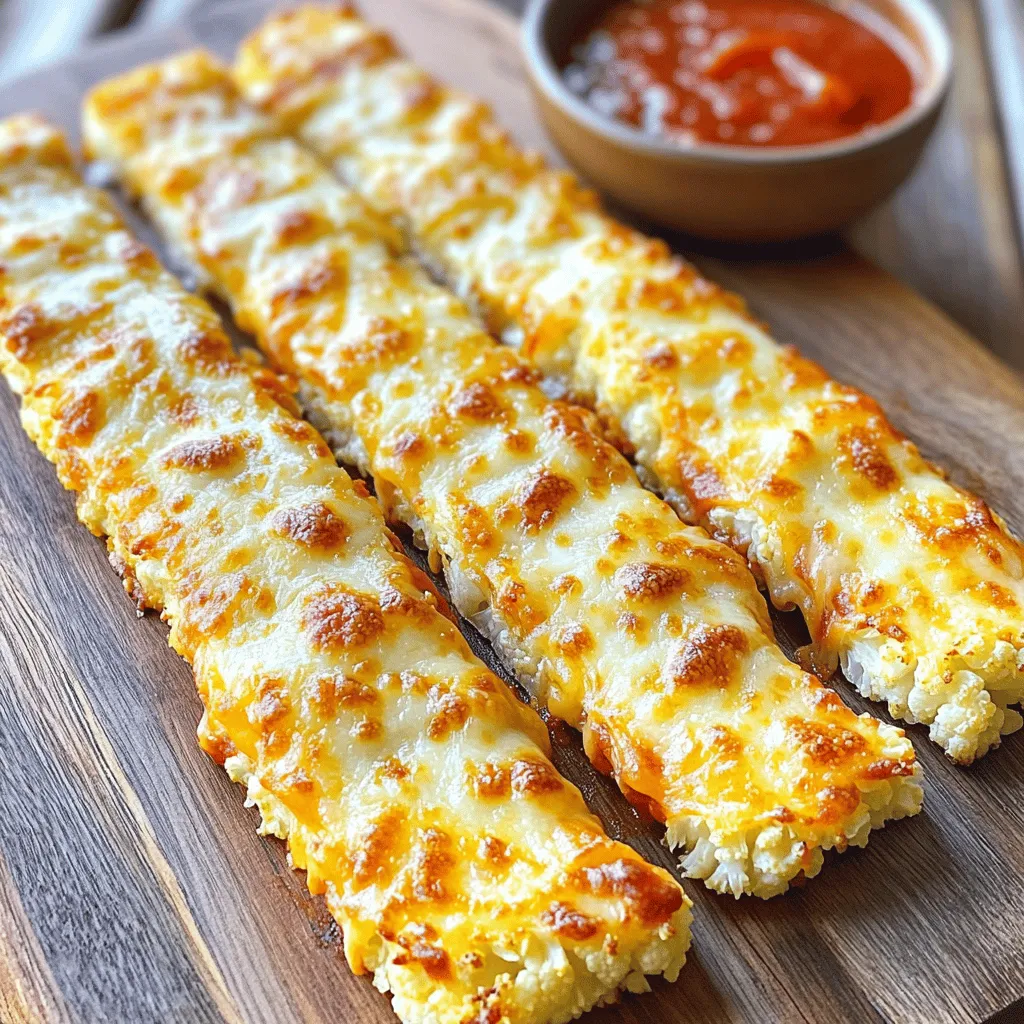
To make cheesy cauliflower breadsticks, gather the following simple ingredients:
– 1 large cauliflower head, cut into florets
– 1 cup shredded mozzarella cheese
– 1/2 cup grated Parmesan cheese
– 2 large eggs
– 1 teaspoon garlic powder
– 1 teaspoon Italian seasoning
– Salt and pepper to taste
– 1/2 cup marinara sauce (for dipping)
These ingredients are easy to find at any grocery store. The cauliflower serves as a great base, making this snack low-carb and healthy. The cheeses add richness and flavor, while the eggs help bind everything together. Garlic powder and Italian seasoning bring a tasty kick, enhancing the overall taste. Don’t forget the marinara sauce for dipping!
Step-by-Step Instructions
Preparation Steps
1. Preheat the oven and prepare the baking sheet
Start by preheating your oven to 425°F (220°C). While the oven heats, line a baking sheet with parchment paper. This step helps the breadsticks not stick and makes cleanup easy.
2. Steam cauliflower florets until tender
Next, take your cauliflower head and cut it into small florets. Steam these florets for about 10 minutes. You want them soft enough to mash easily. Once they are tender, drain them well and let them cool a bit.
Mixing the Ingredients
1. Drain and dry cauliflower
After cooling, place the steamed cauliflower in a clean kitchen towel. Twist the towel and squeeze out as much moisture as you can. This step is key! Too much water will make your breadsticks soggy.
2. Combine ingredients in a large bowl
Now, put the drained cauliflower in a large bowl. Add the mozzarella cheese, Parmesan cheese, eggs, garlic powder, Italian seasoning, salt, and pepper. Mix everything well until it’s fully combined. You should have a thick, cheesy mixture.
Baking Process
1. Spread mixture on the baking sheet and bake
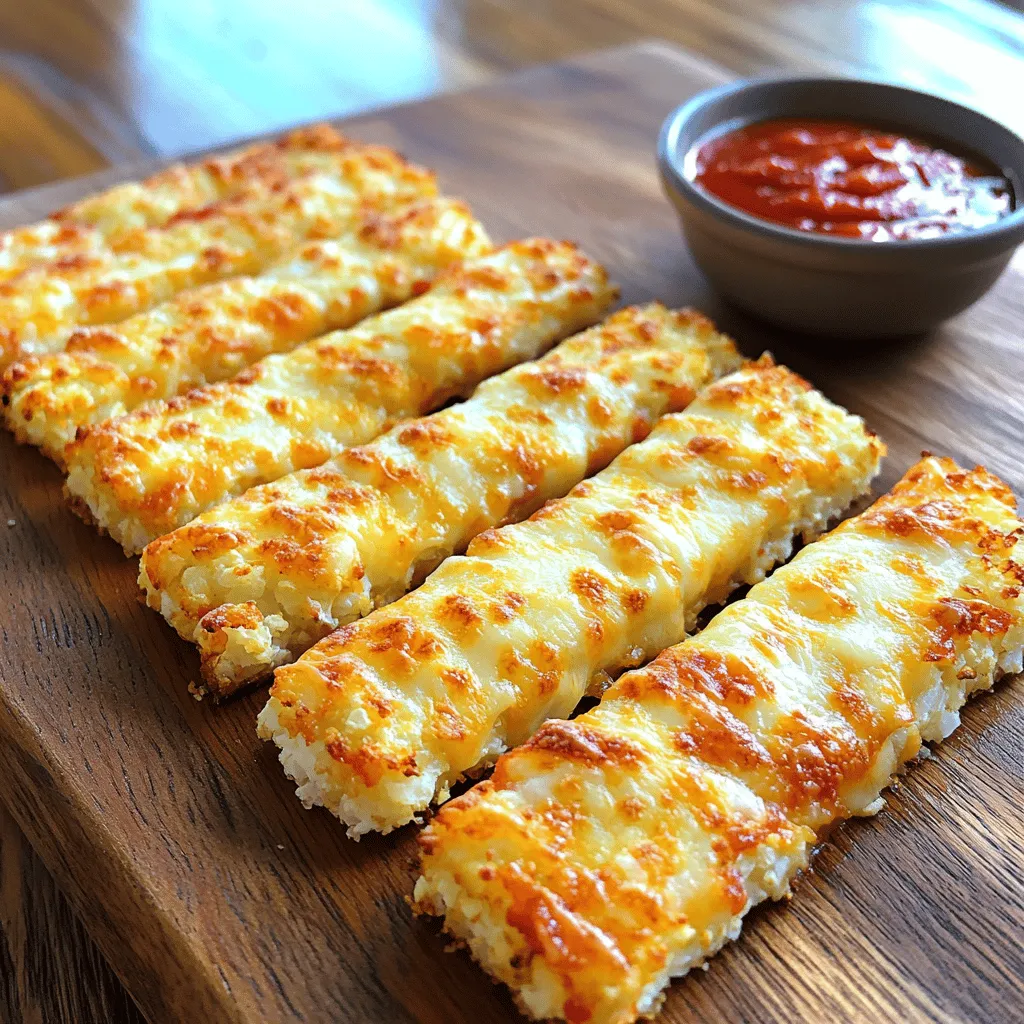
With your mixture ready, spread it onto the prepared baking sheet. Shape it into a rectangle about half an inch thick. Bake in the oven for 25 to 30 minutes. Look for golden edges and a firm top.
2. Optional: adding extra cheese at the end
For an extra cheesy treat, remove the breadsticks from the oven after the first bake. If you want, sprinkle more mozzarella cheese on top. Return to the oven for 5 more minutes until the cheese melts beautifully.
Enjoy your cheesy cauliflower breadsticks fresh out of the oven!
Tips & Tricks
Perfecting the Recipe
When making cheesy cauliflower breadsticks, choosing the right cauliflower is key. Look for a head that is firm and free of brown spots. Fresh cauliflower will give you the best taste and texture.
Draining moisture thoroughly is also important. After steaming, let the cauliflower cool. Then, use a clean kitchen towel to squeeze out as much water as possible. This prevents soggy breadsticks. A dry mixture forms a better base for baking.
Serving Suggestions
For dipping, marinara sauce is a classic choice. It pairs well with the cheesy flavors of the breadsticks. You can also try ranch or a spicy aioli for a twist.
These breadsticks are great with soups or salads. They add a crunchy element to a soft soup. Serve them with a fresh salad for a balanced meal.
Common Mistakes to Avoid
One common mistake is overcooking the cauliflower. Overcooked cauliflower becomes mushy. Steam it just until tender, about 10 minutes.
Another mistake is not measuring cheese and eggs correctly. Too much or too little can change the breadstick’s texture. Stick to the recipe for balanced flavors and consistency.
Variations
Flavor Variants
You can make cheesy cauliflower breadsticks even more tasty. Adding herbs and spices can change the flavor a lot. Try adding:
– 1 teaspoon of paprika for a smoky touch.
– Fresh herbs like basil or parsley for freshness.
– Red pepper flakes for a spicy kick.
You can also add vegetables or meats to the mix. Chopped spinach, bell peppers, or cooked bacon can add great texture and flavor.
Dietary Adjustments
If you need a gluten-free option, this recipe is perfect. Cauliflower is naturally gluten-free, so you can enjoy these breadsticks without worry. For vegetarian options, simply skip any meat and load up on your favorite veggies.
Cheese Alternatives
Not everyone can eat mozzarella or Parmesan. You can use other cheeses that melt well, like provolone or gouda. For dairy-free options, try nut-based cheeses or vegan cheese that melts. These can taste just as good and keep your dish creamy.
Feel free to experiment with these variations. Each change can make your cheesy cauliflower breadsticks a new delight!
Storage Info
How to Store Leftovers
To keep your cheesy cauliflower breadsticks fresh, place them in an airtight container. Make sure they cool before sealing. This helps prevent moisture build-up. Store the breadsticks in the fridge for up to four days. If you have a lot left, consider slicing them for easy access later.
Reheating Instructions
When it’s time to enjoy your leftovers, reheating is key. The best method is using the oven. Preheat it to 350°F (175°C). Place the breadsticks on a baking sheet and heat for about 10 minutes. This keeps them crispy. If you use a microwave, heat in short bursts. However, the texture may not be as nice.
Freezing Options
You can freeze cheesy cauliflower breadsticks for later. First, let them cool completely. Then, wrap them tightly in plastic wrap or foil. Place them in a freezer-safe bag. They can last up to three months. When you’re ready to eat, thaw them in the fridge overnight. Reheat in the oven to restore their texture. For the best results, avoid thawing in the microwave.
FAQs
Can I make cheesy cauliflower breadsticks ahead of time?
Yes, you can prepare cheesy cauliflower breadsticks ahead of time. After baking them, let them cool completely. Store them in an airtight container in the fridge. They stay fresh for up to three days. If you want to reheat them, use an oven for best results. This helps keep the breadsticks crispy.
What can I use instead of cauliflower?
If you want a change from cauliflower, try broccoli. Broccoli has a similar texture when cooked. You can also use zucchini, but be sure to drain it well. Another option is eggplant, which adds a unique flavor. Each of these vegetables works well in this recipe.
How do I get the breadsticks crispy?
To achieve crispy cheesy cauliflower breadsticks, drain the cauliflower well. The less moisture, the better. Spread the mixture evenly on the baking sheet. Bake until the edges turn golden brown. For extra crispiness, you can broil them for a minute at the end. Just watch closely to avoid burning.
This blog post shared a tasty way to make cheesy cauliflower breadsticks. We covered the ingredients, preparation, and baking steps to help you succeed. I also shared tips on perfecting the recipe and serving suggestions. Remember to avoid common mistakes, like overcooking the cauliflower. You can try different flavors and cheese options too. Enjoy these breadsticks as a snack or a meal side. Making them is fun and rewarding, and you’ll love how they turn out!