If you’re looking to impress your friends or enjoy a sweet treat, candied strawberries are a win! This simple recipe showcases fresh strawberries drenched in a shiny sugar coat. With just a few ingredients, you can create an eye-catching dessert that delights the taste buds. Join me as I guide you step-by-step to make these delicious candies that are sure to become a favorite for kids and adults alike!
Ingredients
Essential Ingredients for Candied Strawberries
– Fresh Strawberries
– Granulated Sugar
– Water
– Lemon Juice
– Optional Flavor Enhancements
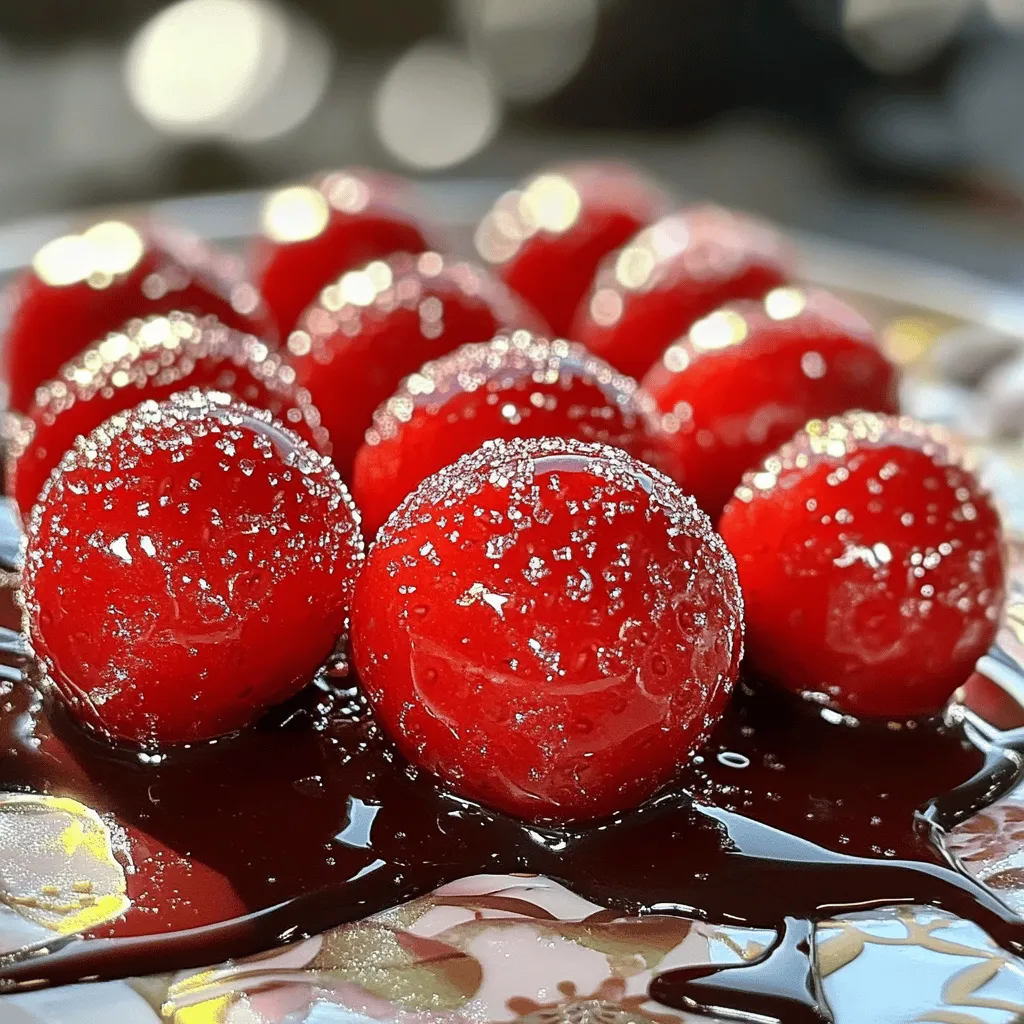
Candied strawberries need a few simple ingredients. First, fresh strawberries are key. Choose ripe, bright red strawberries for the best taste. They should be firm and free from blemishes. The sweet and juicy flavor of these fruits shines through in the final treat.
Next, we need granulated sugar. This sugar gives the strawberries their sweet coating. The sugar crystalizes when cooked, making the strawberries shiny and delicious.
Water is also important. It helps dissolve the sugar when you make the syrup. Lemon juice adds a little zing and balances the sweetness. It also helps the sugar harden properly.
You can add optional flavor enhancements like vanilla extract. This small touch adds a nice depth to the flavor. If you want to try something new, experiment with other extracts like almond or coconut.
For cooling, parchment paper is a must. It keeps the strawberries from sticking and helps them set properly.
These ingredients work together to create a simple yet delightful treat.
Step-by-Step Instructions
Preparing the Strawberries
First, wash the strawberries under cool water. Make sure to remove all dirt. After washing, dry them completely with a clean towel. Any water left on the strawberries will stop the sugar from sticking well. Lay them out in a single layer to air dry. This step is very important for a good candy coating.
Making the Sugar Syrup
In a medium saucepan, mix together one cup of sugar, half a cup of water, and one tablespoon of lemon juice. Heat this mixture over medium heat. Stir it until the sugar dissolves completely. Once it boils gently, stop stirring. Let it simmer for about 8 to 10 minutes. Use a candy thermometer to check when it reaches 300°F. This is called the hard crack stage. If you do not have a thermometer, drop a tiny bit into cold water. It should form a hard candy.
Dipping and Cooling Strawberries
Now, it’s time to dip the strawberries. Hold each strawberry by the stem. Quickly dip it into the hot syrup, swirling to coat it evenly. Let the extra syrup drip back into the pan. Place the dipped strawberries on parchment paper to cool. This will help them harden nicely. Repeat the dipping with all the strawberries. In about 15 to 20 minutes, they will be ready to enjoy. For extra flair, you might want to drizzle them with melted dark chocolate or sprinkle edible glitter on top.
Tips & Tricks
Achieving the Perfect Candy Coating
To get a great candy coating, temperature matters. Sugar syrup must reach 300°F. Use a candy thermometer for the best results. If you don’t have one, drop some syrup in cold water. It should form hard candy. This is called the hard crack stage.
Controlling the heat ensures the sugar doesn’t crystallize. This can happen if the syrup cooks too fast. Stir the mixture only until the sugar dissolves.
Common Mistakes to Avoid
One common mistake is overcooking the syrup. If you let it boil too long, it may burn. Keep an eye on it, and do not walk away.
Moisture is another issue. If strawberries are wet, sugar won’t stick. Dry them well after washing. Even a little water can ruin your candy coating.
Presentation Tips
For a stunning display, arrange the candied strawberries on a pretty plate. You can drizzle melted dark chocolate over them. Edible glitter adds a fun sparkle too!
Garnishes can elevate your treat. Try fresh mint leaves or a sprinkle of nuts. These details make your candied strawberries not just tasty, but beautiful as well.

Variations
Flavor Variations
You can easily change the flavor of your candied strawberries. One fun way is by adding flavors to the syrup. Here are some ideas:
– Citrus Zest: Add orange or lime zest for a bright taste.
– Spices: A pinch of cinnamon or nutmeg gives a warm flavor.
– Extracts: Swap vanilla for almond or peppermint extract to mix things up.
You can also try using different berries. Instead of strawberries, use:
– Raspberries: They have a tart flavor that pairs well with sugar.
– Blueberries: These will add a sweet burst in each bite.
– Blackberries: Their rich flavor adds depth to the treat.
Dietary Alternatives
For those looking for healthier options, using natural sweeteners in your syrup can be great. Consider using:
– Honey: It adds a unique taste and is less processed.
– Maple Syrup: This gives your strawberries a warm, rich flavor.
– Agave Nectar: It’s sweet and has a low glycemic index.
If you want vegan candied strawberries, swap out regular sugar. Use organic cane sugar or coconut sugar for a vegan-friendly twist. Both options will still give you that sweet crunch, making them perfect for everyone!Enjoy experimenting with these variations!
Storage Info
How to Store Candied Strawberries
To keep your candied strawberries fresh, store them in a cool, dry place. Avoid direct sunlight to prevent melting. Use an airtight container to keep moisture out. You can also line the container with parchment paper to prevent sticking.
Shelf Life of Candied Strawberries
Candied strawberries last about 3 to 5 days when stored properly. After that, they may lose their crispness. If they become too soft, it’s best to eat them soon.
Reheating and Refreshing Tips
If your candied strawberries lose their crunch, you can refresh them. Place them in a preheated oven at 200°F for about 10 minutes. Keep an eye on them to avoid melting. Afterward, let them cool completely. This will help restore their crisp texture. Enjoy your shiny treats again!
FAQs
How do I make sure the sugar sticks to the strawberries?
To ensure the sugar sticks well, start by drying your strawberries. After washing them, use a clean towel to pat them dry. Any moisture can stop the sugar from sticking. You want the surface to be completely dry. This is key to a good candy coating.
Can I use frozen strawberries for this recipe?
You can use frozen strawberries, but the texture changes. Frozen berries become soft and mushy when thawed. This can make the candy coating less firm. Fresh strawberries work best for a crunchy bite.
What desserts pair well with candied strawberries?
Candied strawberries shine as a topping. They go well with many desserts. Try them on cakes, ice cream, or pancakes. They also look great on a fruit platter.
What is the history of candied strawberries?
Candied strawberries have roots in old candy-making traditions. They became popular in Europe. People love their sweet taste and shiny look. Over time, they became a classic treat worldwide. You can find them at fairs and special events.
In this post, we explored how to make the best candied strawberries. We covered essential ingredients, like fresh strawberries and sugar, and detailed step-by-step instructions. I shared tips to avoid common mistakes and suggested fun variations, including flavors and dietary options.
Candied strawberries can be a delightful treat for all. With a bit of practice, you’ll create a sweet treat that impresses anyone. Enjoy your candied strawberries, and don’t be afraid to get creative!