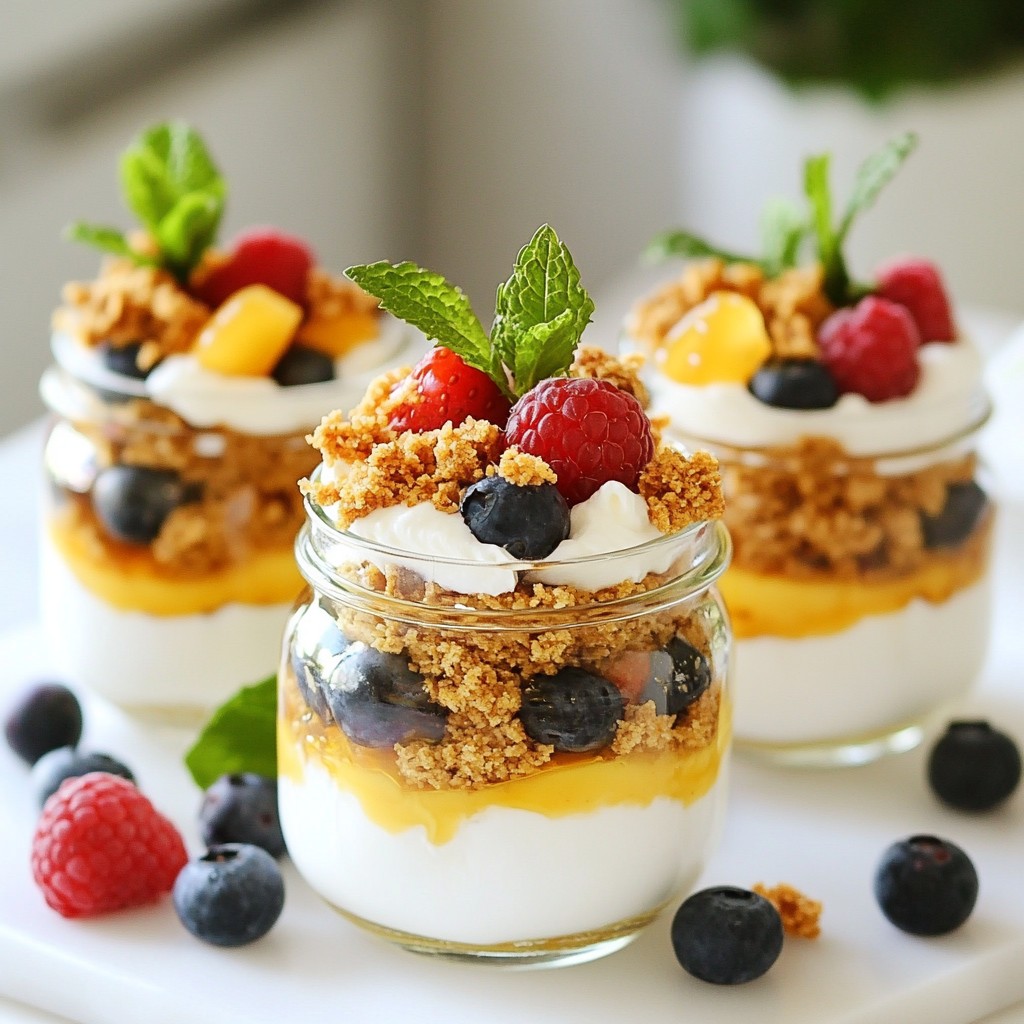
Are you ready to whip up a dessert that’s both tasty and fun? Berry Cheesecake Mason Jar Parfaits are the perfect quick and easy treat for any occasion. With layers of creamy cheesecake, crunchy graham crackers, and fresh berries, these parfaits are a feast for the eyes and the taste buds. Grab your jars, and let's make a dessert that everyone will love!
Why I Love This Recipe
- Easy to Assemble: These parfaits come together quickly and require no baking, making them perfect for a last-minute dessert.
- Customizable: You can easily swap out the berries for your favorites or add other toppings like chocolate chips or nuts.
- Portable: Serving them in mason jars makes them easy to transport, ideal for picnics or gatherings.
- Visually Stunning: The colorful layers of berries and creamy cheesecake create a beautiful presentation that impresses guests.
Ingredients
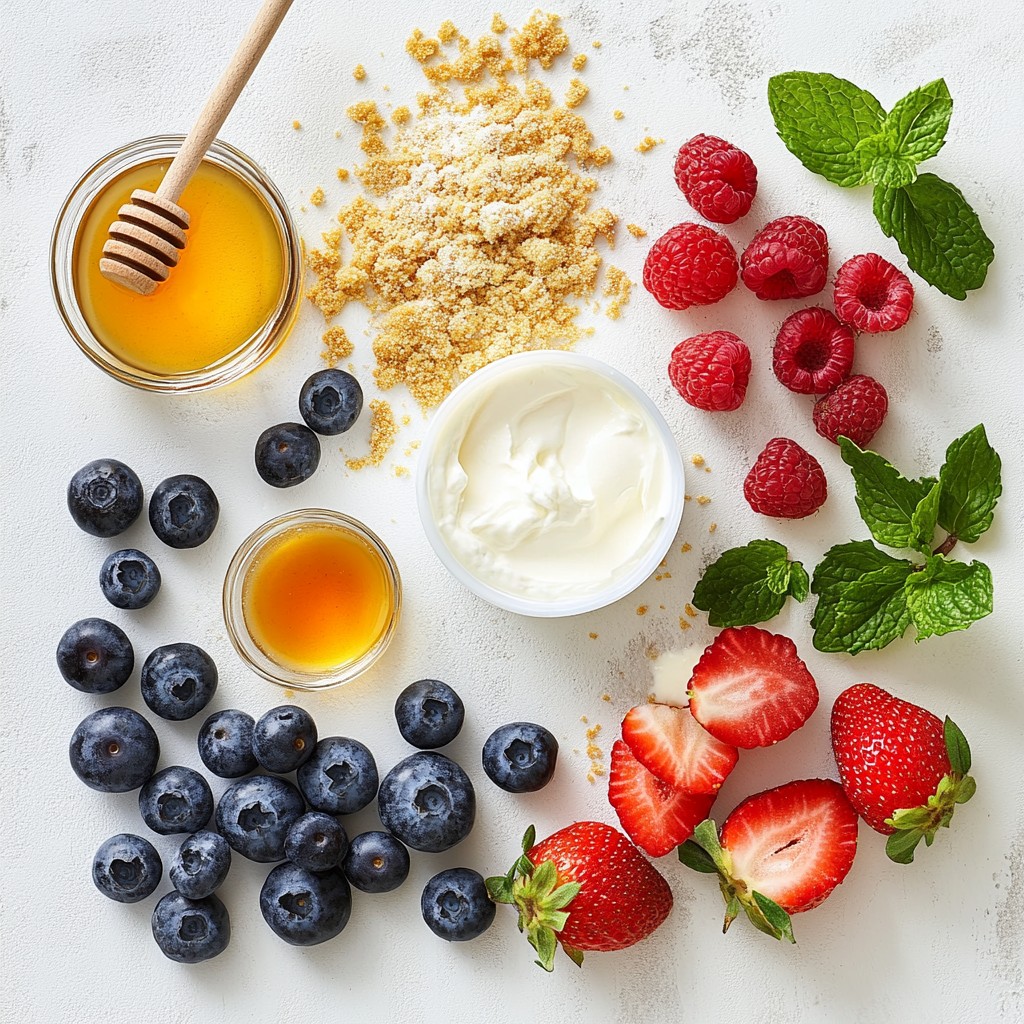
To make Berry Cheesecake Mason Jar Parfaits, you need simple and fresh ingredients. Here’s what to gather:
- 1 cup cream cheese, softened
- 1/2 cup Greek yogurt
- 1/4 cup powdered sugar
- 1 teaspoon vanilla extract
- 1 cup graham cracker crumbs
- 2 cups mixed berries (strawberries, blueberries, raspberries)
- 2 tablespoons honey (optional)
- Fresh mint leaves for garnish
These ingredients blend well and create a creamy, sweet treat. The cream cheese gives richness, while Greek yogurt adds tang. The berries bring freshness and color, making this dessert fun to eat. You can adjust the sweetness with honey if you like. The graham crackers add crunch and texture. I love using fresh mint leaves for a nice touch. It looks great and tastes even better!
Step-by-Step Instructions
Preparation of Cheesecake Mixture
To make the cheesecake mix, start with a medium bowl. Add 1 cup of softened cream cheese. Next, mix in 1/2 cup of Greek yogurt. Then, add 1/4 cup of powdered sugar and 1 teaspoon of vanilla extract. Use a hand mixer to blend until smooth and creamy. This step is key for a rich flavor.
Layering the Parfaits
Now, let’s build our parfaits. Grab your mason jars. First, add a layer of graham cracker crumbs to the bottom. Use about 1/4 cup per jar. Next, spoon in a generous tablespoon of the cheesecake mixture. Then, add a layer of mixed berries. You can use 2 cups of berries like strawberries, blueberries, and raspberries. If you like, drizzle a little honey on top for added sweetness. Repeat the layers: graham cracker crumbs, cheesecake mix, and berries. Finish with a layer of berries on top.
Final Touches
Once your jars are filled, secure the lids tightly. Place them in the fridge for at least 2 hours. This time helps the flavors blend and the cheesecake layers firm up. Just before you serve, add fresh mint leaves on top. This adds color and a fresh taste. For a fun look, sprinkle some extra graham cracker crumbs on top too!
Tips & Tricks
Perfecting the Cheesecake Mixture
To make your cheesecake mixture smooth and creamy, follow these steps:
- Start with softened cream cheese. Cold cream cheese will clump.
- Mix cream cheese, Greek yogurt, powdered sugar, and vanilla in a bowl.
- Use a hand mixer or whisk to blend until there are no lumps.
- If needed, scrape the bowl’s sides to include all ingredients.
This will give you a rich and creamy base for your parfaits.
Layering Technique
For even layers and a nice look, follow these tips:
- Begin with a layer of graham cracker crumbs. Press down lightly.
- Add a generous tablespoon of cheesecake mixture next. Spread it evenly.
- Place a layer of mixed berries on top, making sure they cover the cheesecake.
- Repeat until your jar is full, ending with berries.
This technique creates a stunning visual and ensures each bite is balanced.
Make-Ahead Tips
Preparing your parfaits in advance allows flavors to meld. Here’s how:
- Assemble the parfaits and cover them with lids.
- Chill them in the fridge for at least two hours.
- For best results, make them a day ahead.
This extra time lets the flavors blend beautifully, making each bite even tastier.
Pro Tips
- Use Room Temperature Ingredients: Ensure your cream cheese is at room temperature for a smoother mixture, leading to a creamier cheesecake layer.
- Mix Berries Wisely: Choose a variety of berries for a balanced flavor profile; strawberries provide sweetness, while raspberries add a tart contrast.
- Layer with Care: When layering, press down gently on each layer to ensure they hold together well and create an appealing visual effect.
- Chill for Best Results: Allow the parfaits to chill for at least 2 hours; this helps the flavors meld and the cheesecake to set properly.
Variations
Types of Berries to Use
You can choose many tasty berries for this parfait. Strawberries, blueberries, and raspberries work well together. I love using fresh berries when they are in season. They taste sweeter and have better flavor. You can also mix in blackberries or even cherries for a fun twist. When you pick berries, look for bright colors and firm texture. This gives your parfait the best taste and look.
Customization Options
Feel free to switch up your ingredients! You can use different cheeses, like mascarpone, for a richer taste. If you want a zesty touch, add lemon zest or juice to the cheesecake mix. Want something special? Try adding melted dark chocolate or cocoa powder for a chocolate cheesecake. You can also use different sweeteners, like maple syrup or agave, instead of honey. The options are endless, so make it your own!
Serving Suggestions
Serve your parfaits in clear mason jars for an eye-catching look. You can layer the jars with extra graham cracker crumbs on top for added crunch. For a more elegant touch, pair the parfaits with a scoop of vanilla ice cream or whipped cream. If you want to impress guests, add a sprig of fresh mint on each jar. This adds color and a nice aroma. Enjoy your beautiful and tasty creation!
Storage Info
Refrigeration Guidelines
To keep your Berry Cheesecake Mason Jar Parfaits fresh, store them in the fridge. Use tight lids on the jars to seal in flavor. Avoid placing them near strong-smelling foods, as they can absorb odors. It's best to chill the parfaits for at least 2 hours before serving. This helps the layers firm up nicely.
Shelf Life
You can keep these parfaits in the refrigerator for up to 3 days. After that, the berries may start to lose their texture. While they may still taste fine, they might not look as fresh. Enjoy them within this time for the best flavor and texture.
Freezing Instructions
If you want to freeze the parfaits, first layer them in freezer-safe jars. Leave a little space at the top, as they will expand when frozen. Cover them tightly with lids or plastic wrap. To thaw, move them to the fridge for a few hours or overnight. Avoid microwaving, as this can ruin the texture. Enjoy your frozen treats within a month for the best quality.
FAQs
Can I use low-fat cream cheese?
Yes, you can use low-fat cream cheese. However, it may change the flavor and texture. Low-fat cream cheese can be less rich and creamy. This might make your parfaits taste a bit lighter. If you want a strong cheesecake flavor, I suggest using regular cream cheese.
What can I substitute for Greek yogurt?
If you need a substitute for Greek yogurt, try sour cream or regular yogurt. Both can work well. They keep the creamy texture and add some tanginess. You can also use cottage cheese if you blend it smooth first. This keeps your parfaits rich and tasty.
How do I prevent the parfaits from getting soggy?
To keep your parfaits from getting soggy, layer wisely. Start with a thick layer of graham cracker crumbs at the bottom. This helps absorb moisture. Avoid adding too many berries directly on the cream cheese layer. Instead, space the layers evenly. Refrigerate them for at least two hours before serving. This helps set the layers and keeps them fresh.
This blog post gives you a clear guide to make tasty berry parfaits. You learned the key ingredients, step-by-step prep, and layering tips. I shared storage advice and answered common questions, too.
Try using different berries or flavors to make it your own. Remember, these parfaits are great for any occasion. Enjoy making a dessert that’s easy and fun!