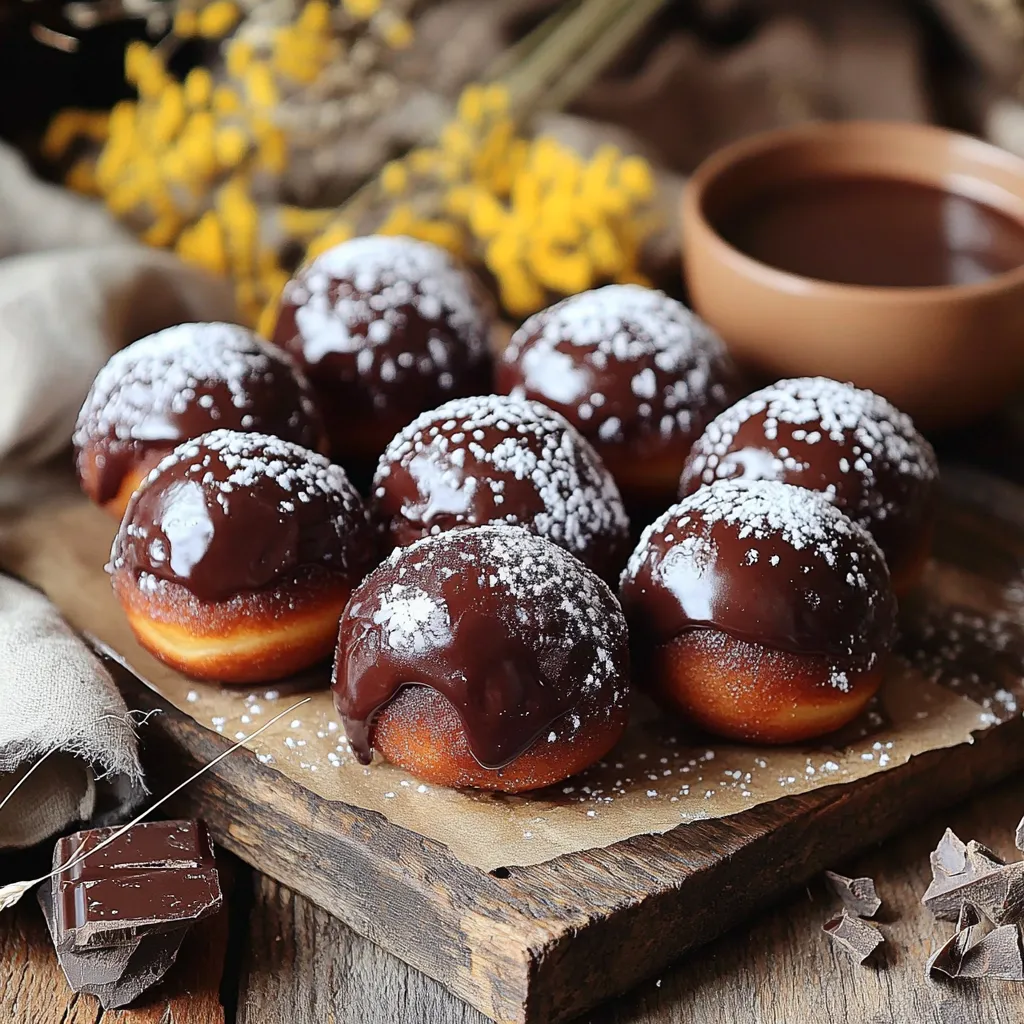
Indulging in a sweet treat should be easy, and that’s exactly what my Baked Chocolate Donut Holes offer! These bites of joy are soft, chocolatey, and perfect for any day. In this guide, I will walk you through simple steps to create these delightful snacks. Plus, I’ll share tips, variations, and even storage secrets to keep them fresh. Ready to bake something amazing? Let’s dive in!
Ingredients
List of Ingredients for Baked Chocolate Donut Holes
To make these tasty baked chocolate donut holes, gather these ingredients:
– 1 cup all-purpose flour
– 1/3 cup unsweetened cocoa powder
– 1/2 cup granulated sugar
– 1 tsp baking powder
– 1/2 tsp baking soda
– 1/4 tsp salt
– 1/2 cup buttermilk (or milk with 1/2 tsp vinegar to sour)
– 1/4 cup unsweetened applesauce
– 1 large egg
– 1 tsp vanilla extract
– Optional: powdered sugar or chocolate glaze for coating
These ingredients mix well to create moist and fluffy treats that everyone will enjoy.
Substitutions and Alternatives
You can swap some ingredients if needed:
– Use whole wheat flour for a healthier option.
– Replace granulated sugar with coconut sugar or a sugar substitute.
– For dairy-free, use almond milk or oat milk instead of buttermilk.
– Applesauce can be replaced with mashed banana for a different flavor.
– If you want to skip the egg, try using 1/4 cup of flaxseed meal mixed with water.
These swaps keep the flavor while catering to different diets.
Nutritional Information per Serving
Each serving, which is about one donut hole, provides:
– Calories: 70
– Total Fat: 1.5g
– Saturated Fat: 0g
– Cholesterol: 20mg
– Sodium: 45mg
– Total Carbohydrates: 12g
– Dietary Fiber: 0.5g
– Sugars: 6g
– Protein: 1g
These donut holes are a delightful treat without too many calories! Enjoy them as a snack or dessert.
Step-by-Step Instructions
Preparing the Oven and Muffin Tin
First, set your oven to 350°F (175°C). This is the perfect temperature for baking. Next, grab a mini muffin tin or silicone donut hole molds. Grease the tin with cooking spray. This helps the donut holes pop out easily.
Mixing the Dry Ingredients
In a large bowl, sift together these dry ingredients:
– 1 cup all-purpose flour
– 1/3 cup unsweetened cocoa powder
– 1/2 cup granulated sugar
– 1 tsp baking powder
– 1/2 tsp baking soda
– 1/4 tsp salt
Mix them well. This step makes sure the flavors blend nicely.
Combining the Wet Ingredients
In another bowl, whisk these wet ingredients together until smooth:
– 1/2 cup buttermilk (or milk with 1/2 tsp vinegar to sour)
– 1/4 cup unsweetened applesauce
– 1 large egg
– 1 tsp vanilla extract
Make sure there are no lumps. The buttermilk adds moisture and taste.
Filling the Muffin Tin
Now, pour the wet mix into the dry mix. Stir gently until just combined. A few lumps are okay; don’t worry! Use a small cookie scoop or spoon to fill each muffin cavity about 2/3 full. This allows space for the donut holes to rise.
Baking Time and Cooling Process
Place the filled muffin tin in the oven. Bake for 10 to 12 minutes. Check if they are done by inserting a toothpick in the center. If it comes out clean, they are ready! Let the donut holes cool in the pan for about 5 minutes. Then, move them to a wire rack to cool completely. If you like, roll them in powdered sugar or dip in chocolate glaze for extra sweetness!
Tips & Tricks
How to Achieve the Perfect Texture
To get the best texture in your donut holes, use fresh ingredients. Make sure your baking powder and baking soda are not expired. Sift the flour and cocoa powder together. This step adds air and lightness. Mix the dry ingredients well; this helps with even baking. When you add the wet mix, don’t overdo it. Stir just until you see no dry flour. A few lumps are okay. This keeps them soft and fluffy.
Preventing Overmixing
Overmixing can make your donut holes tough. Once you add the wet ingredients, mix gently. Use a spatula and fold the batter. This technique keeps air in the mix. The air helps the donut holes rise well. Remember, lumps are fine! They will bake away, giving you a tender bite.
Suggestions for Topping Variations
Topping your donut holes can be fun! Here are some ideas:
– Roll in powdered sugar for sweetness.
– Dip in chocolate glaze for a rich taste.
– Drizzle with caramel for a twist.
– Sprinkle with nuts for crunch.
– Add sprinkles for color and fun.
Choose a topping that suits your mood or occasion. Each option adds its own flair to your baked chocolate donut holes. Enjoy your tasty creations!

Variations
Gluten-Free Options
If you want to make gluten-free baked chocolate donut holes, it is easy! You can swap the all-purpose flour for a gluten-free flour blend. Make sure the blend has xanthan gum for the best texture. You can often find these blends at your local grocery store. This simple change keeps your donut holes soft and tasty.
Vegan Adaptations
To make these donut holes vegan, replace the egg with a flax egg. Mix 1 tablespoon of ground flaxseed with 2.5 tablespoons of water. Let it sit for about 5 minutes until it thickens. For buttermilk, use almond milk or soy milk with a bit of vinegar. These swaps keep the flavor rich while making it plant-based.
Flavor Enhancements
Want to make your donut holes extra special? You can add chocolate chips or nuts to the batter. Mini chocolate chips work well and add bursts of chocolate. Nuts like walnuts or pecans add a nice crunch. Just fold them in gently before baking. You can also sprinkle cinnamon for a warm flavor twist. Each variation makes your baked chocolate donut holes unique and delightful!
Storage Info
How to Store Baked Chocolate Donut Holes
To keep your baked chocolate donut holes fresh, place them in an airtight container. They stay good for about three days at room temperature. If you want to keep them longer, refrigerate them. Just make sure to let them cool completely before storing.
Freezing Instructions
You can freeze these donut holes for up to three months. To freeze, place them in a single layer on a baking sheet. Freeze them for about one hour. Then, transfer them to a freezer-safe bag or container. This way, they won’t stick together. When you’re ready to eat them, let them thaw in the fridge overnight.
Best Practices for Reheating
To reheat your donut holes, preheat your oven to 350°F (175°C). Place the donut holes on a baking sheet for about 5-7 minutes. This warms them up without making them dry. If you prefer the microwave, heat them for about 15-20 seconds. Just be careful not to overheat, or they will get tough. Enjoy your tasty treat warm!
FAQs
Can I use regular milk instead of buttermilk?
Yes, you can use regular milk. To mimic buttermilk, add 1/2 teaspoon vinegar to the milk. This will give it a tangy taste similar to buttermilk. It helps make the donut holes fluffy and moist.
How can I make these donut holes healthier?
You can make them healthier by using whole wheat flour instead of all-purpose flour. You can also reduce the sugar by a quarter. Another option is to replace the applesauce with mashed banana. This adds natural sweetness and fiber.
What can I use for a glaze alternative?
If you don’t want to use chocolate glaze, try a simple vanilla glaze. Mix powdered sugar with a bit of milk and vanilla extract. You can also roll the donut holes in cinnamon sugar for a fun twist.
How long do baked chocolate donut holes last?
Baked chocolate donut holes last about 3 days at room temperature in an airtight container. If you refrigerate them, they can last up to a week. For longer storage, freeze them for up to three months.
You learned how to make baked chocolate donut holes from scratch. We covered ingredients, substitutions, and nutrition. I shared step-by-step instructions for perfect baking. Tips helped you get the right texture and avoid mistakes. Variations showed ways to cater to dietary needs and tastes. Finally, storage info ensures your treats stay fresh.
Remember, baking is fun, so try new flavors and toppings. Enjoy your baking journey!