
Refreshing Blueberry Kiwi Lemonade Simple and Sweet Drink
Are you ready to quench your thirst with something fresh and fruity? This Blueberry Kiwi Lemonade will become your new
Are you ready to quench your thirst with something fresh and fruity? This Blueberry Kiwi Lemonade will become your new
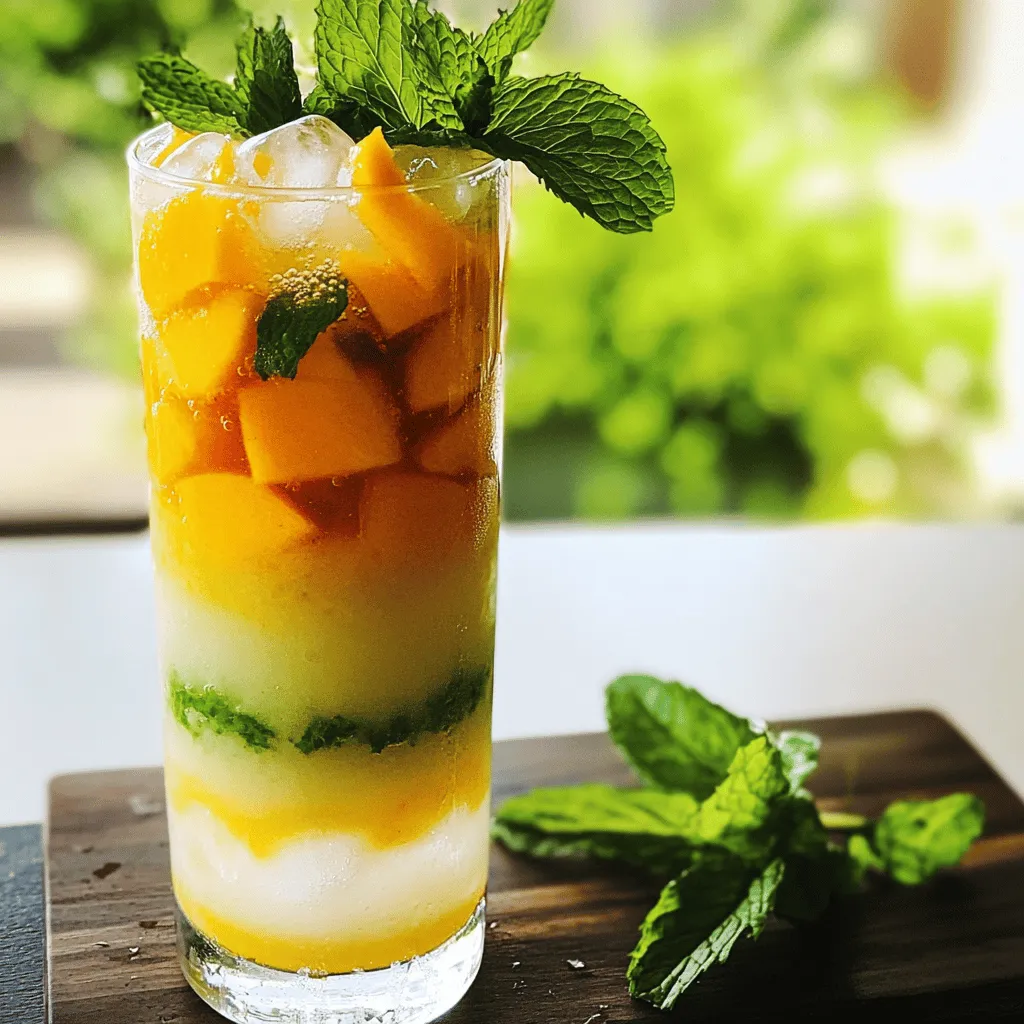
Looking for a tasty way to beat the heat? The Peach Green Tea Refresher is your answer! This simple drink
![- 2 cups vanilla ice cream - 1 cup whole milk - 1 teaspoon peppermint extract - 1/2 cup chocolate chips (dark or semi-sweet) - 2 tablespoons chocolate syrup (plus extra for drizzling) - Fresh mint leaves for garnish - Whipped cream for topping The key to a great mint chocolate chip shake lies in its ingredients. I love using rich vanilla ice cream and whole milk. They give the shake its creamy texture. Peppermint extract adds a fresh, minty flavor that makes this shake special. For the crunch and sweetness, I always add chocolate chips. You can choose dark or semi-sweet, depending on your taste. The chocolate syrup brings a lovely sweetness and a touch of chocolate flavor. Don't forget to top it off with whipped cream and fresh mint leaves. They make the shake look stunning and add extra flavor too. For the full recipe, check out the details above. Start by adding the vanilla ice cream, whole milk, and peppermint extract to a blender. Blend these ingredients until they become smooth and creamy. This mix forms the heart of your shake and gives it that classic mint flavor. Next, add the chocolate chips and chocolate syrup into the blender. Pulse the blender a few times. This action breaks the chocolate chips into smaller bits without fully blending them. You want those tasty chunks to remain in your shake for extra texture. Now, taste your shake. If you want a stronger mint flavor, add more peppermint extract. Then, take some chocolate syrup and drizzle it inside your serving glasses for a nice touch. Pour the shake evenly into the glasses, and top each with a good amount of whipped cream. Finish with a few fresh mint leaves for a bright look. Serve it right away with a straw or a spoon for a delightful treat. Enjoy this Mint Chocolate Chip Shake Delightful and Creamy Treat! Check out the [Full Recipe] for all the details. To get the best mint chocolate chip shake, pay close attention to your ice cream and milk. The ideal mix is two cups of vanilla ice cream and one cup of whole milk. This ratio creates a thick yet smooth shake. If it feels too thick, add a splash more milk. Blend until creamy, but don’t overdo it. You want the shake to keep some texture. Want to change the mint flavor? It’s easy! Start with one teaspoon of peppermint extract. After blending, taste the shake. If you want more mint, add a little extra extract. But be careful! A little goes a long way. You don’t want the mint to overpower the chocolate. Garnishing makes your shake look amazing. Drizzle chocolate syrup inside the glasses before pouring in the shake. This adds a fun design. Once you pour the shake, top it with whipped cream. Then, add fresh mint leaves for a pop of color. You can even sprinkle some chocolate chips on the whipped cream. It’s all about making it look as good as it tastes! For the full recipe, check [Full Recipe]. {{image_2}} You can make a low-calorie mint chocolate chip shake using yogurt or almond milk. Swap vanilla ice cream for Greek yogurt. This gives a creamy texture. Use unsweetened almond milk instead of whole milk. You cut calories but keep great flavor. Add a bit more peppermint extract for a minty kick. This way, you enjoy a treat that feels lighter. Feel free to explore different flavors. Try dark chocolate or white chocolate chips for a twist. You can also mix in other mint flavors. How about adding mint chocolate cookies? Or use Andes mints for a classic taste. Mixing flavors can make your shake unique and exciting. Get creative and find your favorite combo! Holiday themes add fun to your shake. For Halloween, use orange food coloring for a spooky look. You can add pumpkin spice for fall flavors. At Christmas, sprinkle crushed candy canes on top. You can make your shake festive with these simple changes. Use red and green straws for added cheer! These twists make every occasion special. For the full recipe, check out the Mint Chocolate Chip Shake section above. Store your mint chocolate chip shake in the fridge. Use an airtight container to keep it fresh. Drinking it within one day is best. If the shake separates, just give it a good stir before enjoying. If your shake gets too thick, you can re-blend it. Pour the shake back into the blender. Add a splash of milk to help smooth it out. Blend until creamy again, and enjoy its rich taste. You can freeze this shake for later. Pour the shake into ice cube trays for easy portions. Once frozen, store the cubes in a zip-top bag. When ready to use, blend a few cubes with a splash of milk for a quick treat. You can use many options if you need a substitute for whole milk. Here are some great dairy-free choices: - Almond milk - Coconut milk - Soy milk - Oat milk These options offer a similar texture. Each has a unique flavor, so pick one you like best. Yes, you can make a shake without ice cream! Here’s how: - Use 1 cup of whole milk. - Add 2 teaspoons of sugar for sweetness. - Mix 1 teaspoon of peppermint extract for minty flavor. This will give you a tasty shake base. You can still add chocolate chips and syrup for a rich taste. You should enjoy your mint chocolate chip shake right after making it. If you store it, keep it in the fridge for up to 24 hours. After that, the shake may lose its creamy texture. Yes, you can easily make a vegan version of this shake! Here are some ingredient swaps: - Use coconut or almond milk instead of whole milk. - Replace vanilla ice cream with a vegan ice cream made from coconut or almond milk. - Ensure the chocolate chips are dairy-free. These swaps will keep your shake delicious and plant-based! This blog post shared how to make a delicious mint chocolate chip shake. We covered the main and additional ingredients, along with step-by-step instructions. You learned tips for perfecting the shake's flavor and consistency. We also explored fun variations and storage info. In the end, this shake is easy to customize and enjoy. Experiment with flavors and make it your own. Enjoy every sip!](https://homecookingstyle.com/wp-content/uploads/2025/06/6e5e49f8-c97f-4e74-bc8e-bb107c669027.webp)
Craving a cool, creamy treat? Look no further than the Mint Chocolate Chip Shake! This delightful drink combines sweet vanilla

Craving a tasty snack? Garlic Parmesan Chicken Wings are your answer! This simple recipe delivers crispy, flavorful wings that everyone
 for detailed steps to create this delightful dish! To keep your grilled peach burrata salad fresh, store leftovers in an airtight container. Use a container that is just the right size. This helps prevent air from getting in. Place the salad in the fridge right after serving. Consume it within two days for the best taste. When storing the ingredients, keep them separate. Store the arugula and peaches apart from the burrata cheese. This will help maintain their textures. If you have extra walnuts, keep them in a cool, dry place. They can last longer that way. Reheating the salad is not ideal. The greens can wilt, and the burrata may lose its creamy texture. If you must, gently warm the salad in the microwave for 15 to 20 seconds. Avoid overheating, or you’ll lose the fresh flavors. For a delicious experience, serve this salad fresh or cold. For the full recipe, check out the Grilled Peach Burrata Salad . Yes, you can prepare some parts of this salad ahead. Grill the peaches and store them in the fridge. They will last for up to two days. You can also wash and dry the greens in advance. Just keep the burrata, walnuts, honey, and balsamic glaze separate until you serve. This way, the salad stays fresh and tasty. I love to serve this salad on a large platter. It looks great for gatherings. Place the arugula as the base layer. Then, add the grilled peaches and burrata on top. This makes a colorful display. You can drizzle honey and balsamic glaze right before serving. Garnish with fresh basil leaves for a nice touch. You can change the flavors to fit your taste. Try different nuts like pecans or almonds for crunch. You can also use mixed greens instead of arugula if you prefer. For a zesty kick, add crumbled feta or goat cheese. To spice it up, add some red pepper flakes. These small changes can make your salad unique. For the complete recipe, check out the Full Recipe. Grilled Peach Burrata Salad is a delightful mix of flavors. Here’s how to make it. - 2 ripe peaches, halved and pitted - 1 tablespoon olive oil - Salt and pepper to taste - 4 cups arugula or mixed greens - 8 ounces burrata cheese - 1/4 cup walnuts, toasted - 2 tablespoons honey - 1 tablespoon balsamic glaze - Fresh basil leaves for garnish 1. Preheat your grill or grill pan over medium heat. Brush the peach halves with olive oil. Sprinkle with salt and pepper. 2. Place the peaches cut side down on the grill. Grill for about 3-4 minutes. Look for char marks and soft peaches. Remove from heat and let cool slightly. 3. In a large serving bowl, add arugula or mixed greens as the base layer. 4. Tear the grilled peaches into bite-sized pieces. Scatter them over the greens. 5. Add generous portions of burrata cheese over the salad. Break it apart for a creamy texture. 6. Sprinkle toasted walnuts over the top for crunch. 7. Drizzle honey and balsamic glaze over the salad for sweetness and acidity. 8. Finish with fresh basil leaves for aroma and flavor. Prep Time: 10 minutes | Total Time: 20 minutes | Servings: 4 Serve the salad on a large platter or individual plates. Make sure the burrata stands out for a striking look. Garnish with extra basil leaves and drizzle more honey if you like. This Grilled Peach Burrata Salad brings fresh flavors to your table. It's perfect for a summer meal or a lovely side dish. Enjoy this vibrant recipe and impress your guests! You learned how to make Grilled Peach Burrata Salad step by step. We covered the key ingredients, tips for grilling peaches, and ways to keep leftovers fresh. Remember, you can customize this dish to match your tastes. Experiment with different dressings and toppings. Enjoy the fresh flavors and creamy burrata! With the right technique, every bite can be perfect. Try it out and make it your own. Happy cooking!](https://homecookingstyle.com/wp-content/uploads/2025/06/47d96752-3dcb-4fc8-b2e2-7806c7f2879c.webp)
Summer calls for fresh salads that burst with flavor. Nothing says summer like a Grilled Peach Burrata Salad! This dish

Craving a tasty snack that won’t weigh you down? Air fryer veggie chips are a game changer! Crunchy and full

If you’re craving a sweet yet healthy snack, these Strawberry Oatmeal Bars are perfect for you. They’re easy to make,

Craving a bowl of warm, aromatic comfort? This Easy Thai Chicken Curry hits the spot! With vibrant flavors and simple
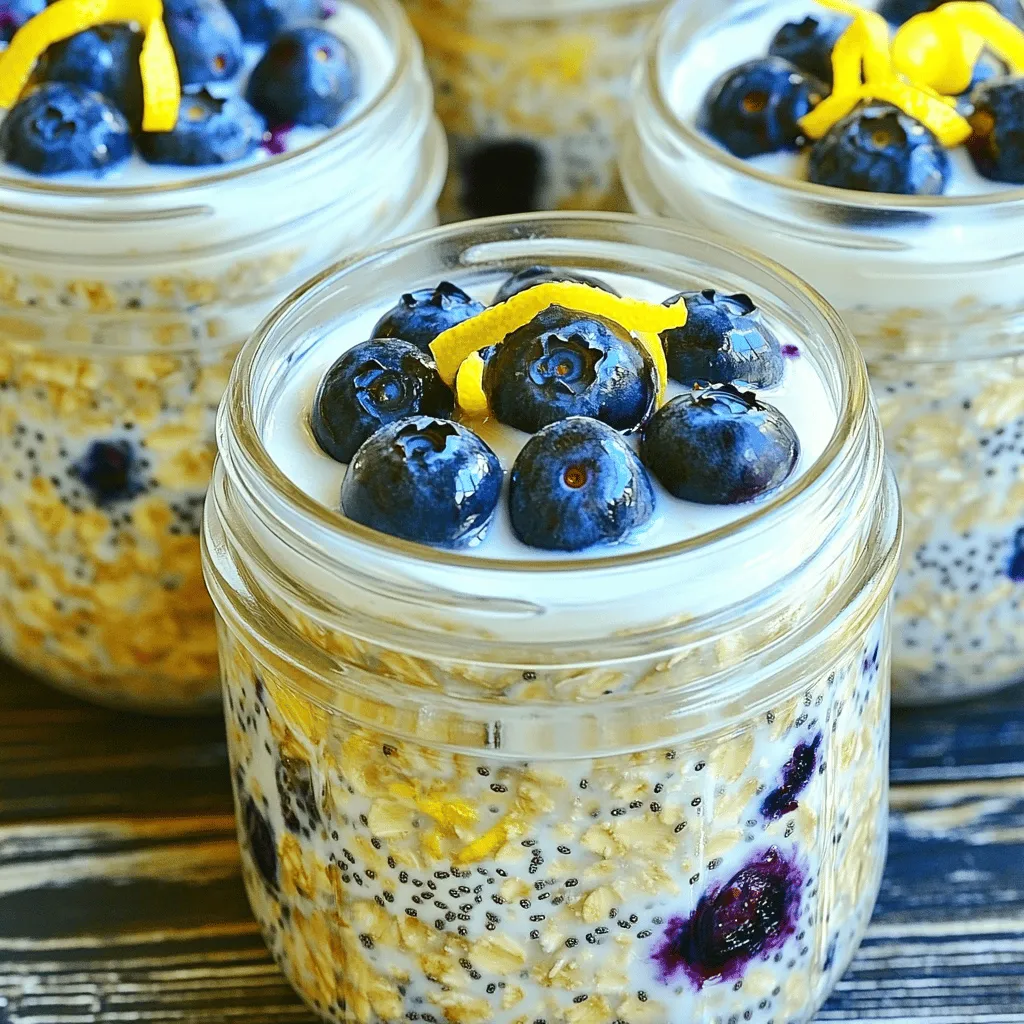
Looking for a quick and tasty breakfast? You’ll love these Lemon Blueberry Overnight Oats! Packed with bright flavors and healthy
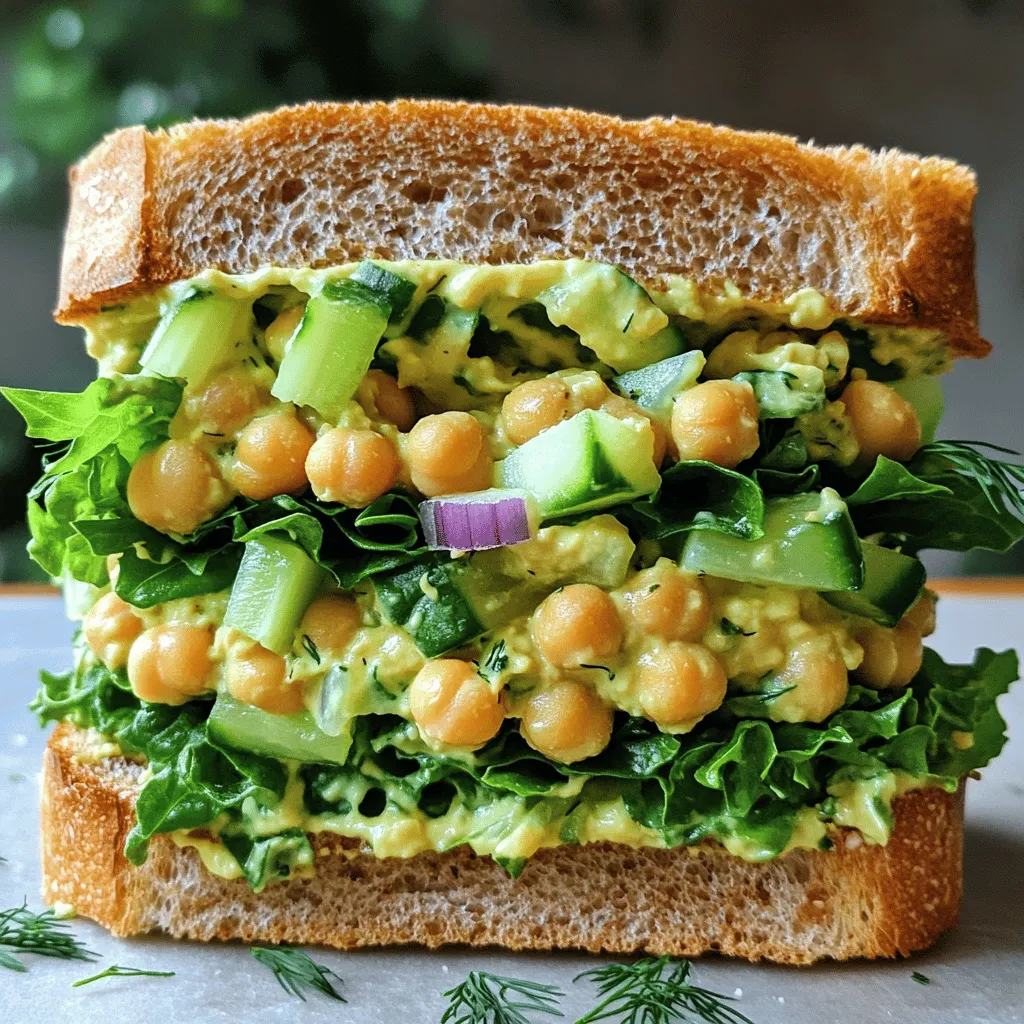
Looking for a tasty and healthy lunch option? Try my Smashed Chickpea Salad Sandwich! This quick recipe is packed with
