WANT TO SAVE THIS RECIPE?
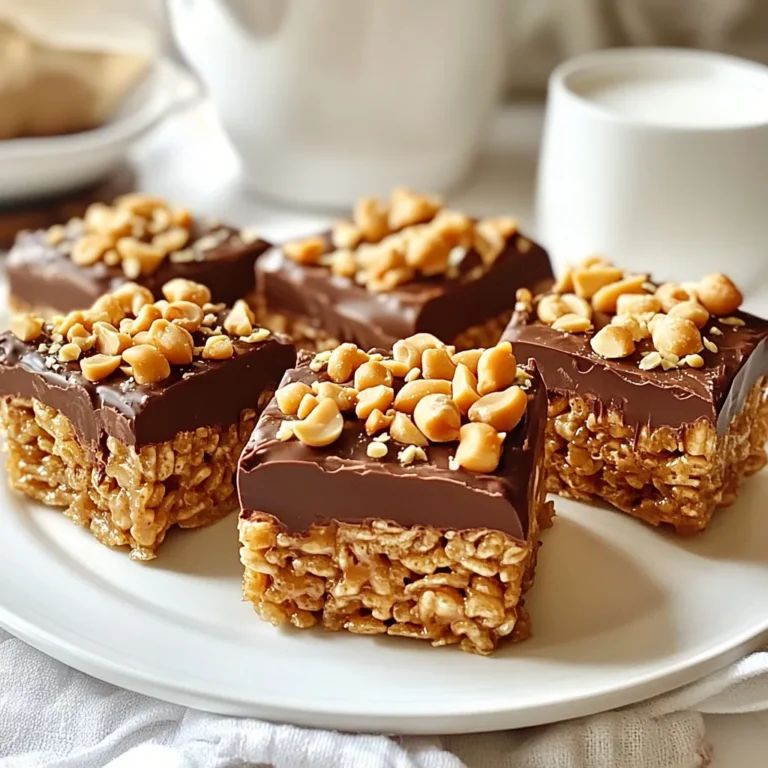
Get ready for a tasty treat that combines your favorite flavors! In this post, I’ll show you how to make Peanut Butter Chocolate Rice Krispie Treats that are easy and fun to make. With just a few simple ingredients, you can impress friends and family with a delicious snack. Whether you want to enjoy them yourself or share, this recipe is sure to delight. Let’s dive into the sweet details!
Why I Love This Recipe
- Irresistible Flavor Combination: The combination of creamy peanut butter and rich chocolate creates a decadent treat that satisfies any sweet tooth.
- Quick and Easy: This recipe takes only 20 minutes to prepare, making it a perfect last-minute dessert or snack option.
- Customizable Texture: With the option to add mini marshmallows, you can enhance the chewiness and create a delightful contrast in every bite.
- Family-Friendly Fun: Making these treats is a fun activity to do with kids, allowing them to help mix and press the ingredients together.
Ingredients
Detailed Ingredient List
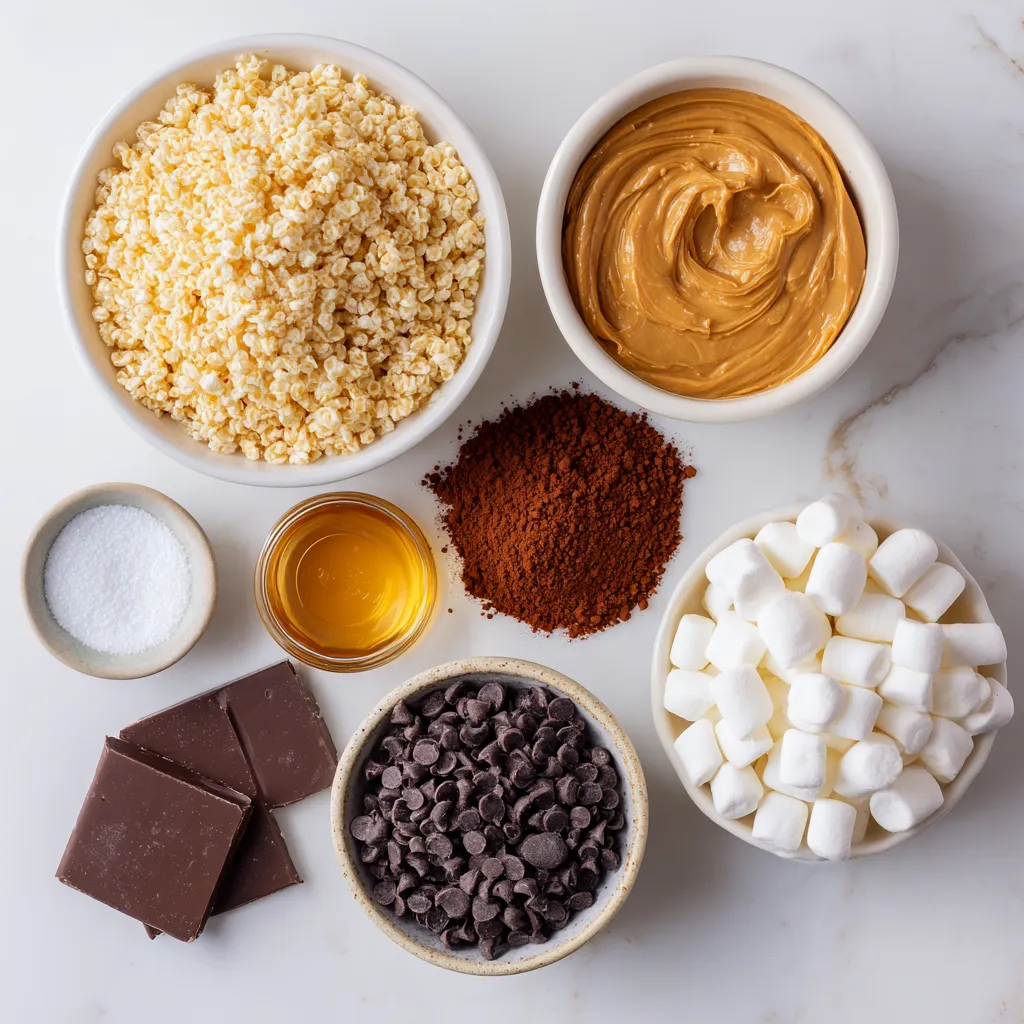
To make Peanut Butter Chocolate Rice Krispie Treats, gather these main ingredients:
– 3 cups Rice Krispies cereal
– 1 cup creamy peanut butter
– 1 cup semi-sweet chocolate chips
– 1/2 cup unsweetened cocoa powder
– 1/2 cup honey or maple syrup
– 1 teaspoon vanilla extract
– A pinch of salt
These items create a rich, chocolatey, and nutty treat that kids and adults love.
Optional Ingredients for Extra Texture
For a fun twist and added chewiness, consider these optional ingredients:
– 1/2 cup mini marshmallows
Adding mini marshmallows gives your treats a delightful texture. They melt and mix well with the other ingredients.
Ingredient Substitutions
If you need to swap out an ingredient, here are some suggestions:
– Use almond butter instead of peanut butter for a nut-free option.
– Replace honey or maple syrup with agave syrup for a vegan treat.
– Try dark chocolate chips if you prefer a less sweet flavor.
These substitutions can help you customize your treats while keeping them delicious.

Step-by-Step Instructions
Preparing the Pan
First, grab a 9×9-inch square baking dish. Line it with parchment paper. Leave some paper hanging over the edges. This makes it easy to lift out the treats later.
Heating the Mixture
Next, take a medium saucepan and add honey or maple syrup. Add the creamy peanut butter, cocoa powder, and a pinch of salt. Heat this mixture on medium. Stir it often until it gets smooth and starts to bubble. Once it bubbles, remove it from heat.
Combining Ingredients with Rice Krispies
Now, grab a large mixing bowl. Pour the warm chocolate-peanut butter mix over the Rice Krispies cereal. If you want chewy treats, add mini marshmallows here. Gently fold everything together until the Rice Krispies are coated evenly.
Adding the Chocolate Topping
For the topping, take a microwave-safe bowl. Add the rest of the semi-sweet chocolate chips. Microwave them in 30-second bursts, stirring each time. Keep going until the chocolate is smooth. Pour this melted chocolate over the Rice Krispies mixture. Use a spatula to spread it evenly.
Chilling and Serving
Finally, place the baking dish in the fridge. Chill it for at least 1 hour. This will help the treats set properly. Once they are firm, lift them out using the parchment overhang. Cut them into squares or bars. Enjoy your delicious Peanut Butter Chocolate Rice Krispie Treats!
Tips & Tricks
Best Practices for Melting Chocolate
To melt chocolate well, use a microwave-safe bowl. Heat the chocolate chips in short bursts. Start with 30 seconds and stir in between. This prevents the chocolate from burning. If it seems hard, heat for another 15 seconds. Keep stirring until smooth. You can also use a double boiler for melting. Just heat water in a pot and place the bowl on top.
How to Achieve the Perfect Texture
For the best texture, combine the Rice Krispies gently with the chocolate-peanut butter mix. Use a spatula to fold them together. Avoid crushing the cereal. If you want chewiness, add mini marshmallows. They help create a soft bite. Press the mixture firmly into the pan, but do not pack it too tight. This helps keep them light and crispy.
Troubleshooting Common Issues
If your treats crumble, you may not have added enough binding agents. Try adding more peanut butter or honey. If they are too sticky, use less peanut butter next time. For uneven chocolate, make sure to spread it out evenly. If your treats are too dry, check the mixing time. You want everything well combined but not overmixed.
Pro Tips
- Use Fresh Ingredients: Always check the expiration dates on your peanut butter and chocolate chips to ensure maximum flavor and quality in your treats.
- Press Firmly: When packing the mixture into the baking dish, press down firmly. This helps the treats hold their shape and makes them easier to cut into squares later.
- Cooling Time Matters: Allow the treats to chill completely in the refrigerator for at least an hour. This ensures they set properly and makes them easier to slice.
- Experiment with Toppings: Feel free to get creative with toppings! Drizzling caramel, adding sprinkles, or mixing in nuts can take your Rice Krispie treats to the next level.
Variations
Peanut Butter Chocolate Rice Krispie Treats with Marshmallows
You can add mini marshmallows to boost the texture. They give a soft, chewy bite. Just mix them in with the Rice Krispies after heating the peanut butter mixture. This little change makes the treats even more fun to eat. The marshmallows melt slightly, adding gooey goodness to each square.
Healthier Alternatives (e.g., using almond butter)
If you want a healthier twist, try almond butter instead of peanut butter. Almond butter has a nutty flavor and is rich in good fats. You can also use natural sweeteners like agave syrup. These swaps keep the taste great while cutting down on sugars and calories.
Customized Add-Ins (e.g., nuts, dried fruit)
Feel free to get creative! You can add chopped nuts for a crunch or dried fruit for a sweet kick. Walnuts, almonds, or cranberries work well. Just mix them in with the Rice Krispies. This way, you can make your treats unique and tasty.
Storage Info
Recommended Storage Methods
To keep your Peanut Butter Chocolate Rice Krispie Treats fresh, store them in an airtight container. Use parchment paper between layers to prevent sticking. If you have leftovers, they will stay best in a cool, dry place.
Shelf Life and Best Practices
These treats last about 3 to 5 days at room temperature. If you want them to last longer, consider refrigerating them. In the fridge, they can stay fresh for up to a week. Just remember to let them sit at room temperature for a few minutes before serving. This helps them regain their chewy texture.
Freezing Peanut Butter Chocolate Rice Krispie Treats
Yes, you can freeze these tasty treats! Wrap them tightly in plastic wrap, then place them in a freezer bag. They can stay frozen for up to 3 months. When you’re ready to enjoy, let them thaw in the fridge overnight. Then, take them out and let them come to room temperature before serving. This method keeps them fresh and delicious.
FAQs
Can I make Peanut Butter Chocolate Rice Krispie Treats ahead of time?
Yes, you can make these treats ahead of time. They stay fresh for several days. Just store them in an airtight container. This keeps them soft and chewy.
What can I substitute for honey or maple syrup?
You can use agave syrup or brown rice syrup. Both options provide sweetness and moisture. They work well in this recipe, keeping your treats delicious.
How do I fix a crumbly Rice Krispie treat?
If your treats are crumbly, they likely need more binding. Melt a bit more peanut butter and syrup together. Pour it over the crumbly treats and mix well. Press the mixture firmly into the pan again.
Are there vegan options for this recipe?
Yes, you can make a vegan version. Use maple syrup or agave syrup instead of honey. Also, choose dairy-free chocolate chips. This keeps the flavors rich and tasty while meeting vegan needs.
This post covered how to make Peanut Butter Chocolate Rice Krispie Treats. You learned about essential ingredients, step-by-step instructions, and helpful tips. Variations can suit different tastes and dietary needs. Remember, finding the right texture is key, and substitutions can enhance your treats. Store them properly to enjoy every bite. With these easy steps and fun options, you can create tasty treats. Enjoy making your own unique version toda
Peanut Butter Chocolate Rice Krispie Treats
Indulge in these delicious Peanut Butter Chocolate Rice Krispie Treats! This easy Rice Krispie Treats recipe is a no-bake chocolate peanut butter dessert that everyone will love. Quick Peanut Butter Treats perfect for any occasion, these Marshmallow Chocolate Rice Krispies Bars are a must-try. Make them in just 20 minutes for a sweet treat! Save this recipe today and enjoy a bite of heaven! #PeanutButterChocolate #NoBakeDessert #RiceKrispieTreats #QuickTreats
3 cups Rice Krispies cereal
1 cup creamy peanut butter
1 cup semi-sweet chocolate chips
1/2 cup unsweetened cocoa powder
1/2 cup honey or maple syrup
1 teaspoon vanilla extract
A pinch of salt
Optional: 1/2 cup mini marshmallows for added texture
Prepare the Pan: Line a 9x9-inch square baking dish with parchment paper, leaving some overhang for easy removal later.
Heat the Mixture: In a medium saucepan, combine the honey (or maple syrup), peanut butter, cocoa powder, and a pinch of salt. Stir over medium heat until the mixture is smooth and begins to bubble. Remove from heat.
Add Vanilla: Stir in the vanilla extract until well combined.
Combine with Cereal: In a large mixing bowl, pour the chocolate-peanut butter mixture over the Rice Krispies. If you’d like extra sweetness and chewiness, add in the mini marshmallows at this point. Fold gently until the cereal is evenly coated.
Transfer to the Pan: Pour the mixture into the lined baking dish. Use a spatula or your hands (dampened slightly to prevent sticking) to press the mixture evenly into the dish.
Melt Chocolate Topping: In a microwave-safe bowl, melt the remaining chocolate chips in 30-second intervals, stirring between each interval until smooth.
Spread the Chocolate: Pour the melted chocolate over the pressed Rice Krispies mixture and spread it evenly using a spatula.
Chill: Place the baking dish in the refrigerator for at least 1 hour to allow the treats to set completely.
Slice and Serve: Once set, remove the treats from the dish using the parchment overhang. Cut into squares or bars.
Prep Time: 20 minutes | Total Time: 1 hour 20 minutes | Servings: 12-16 pieces
- Presentation Tips: Arrange the treats on a decorative platter, and sprinkle some crushed peanuts or chocolate shavings on top for an appealing finish. Serve with a cup of milk or a glass of cold almond milk as a complementary drink!
WANT TO SAVE THIS RECIPE?