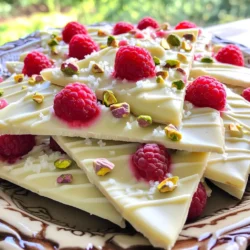

Get ready to wow your taste buds with my No-Bake White Chocolate Raspberry Bark Delight! This sweet treat combines creamy white chocolate and juicy raspberries, offering a quick and easy way to indulge without turning on the oven. You’ll love how simple it is to whip up this delicious dessert. Let’s dive in and discover the magic of making your own chocolate bark at home. It’s fun, rewarding, and absolutely delightful!
Ingredients
Main Ingredients
– 12 ounces white chocolate chips
– 1 cup fresh raspberries, washed and dried
– 1/2 cup crushed pistachios (or your favorite nuts)
– 1 teaspoon vanilla extract
– Pinch of sea salt
The main ingredients for this no-bake white chocolate raspberry bark are simple yet delightful. The white chocolate chips serve as the base. They melt beautifully and give a creamy texture. Fresh raspberries add a burst of flavor and color. Pistachios provide crunch and a nice contrast. Vanilla extract enhances the overall taste, while a pinch of sea salt balances the sweetness.
Equipment Needed
– Microwave-safe bowl
– Baking dish (8×8 inch)
– Parchment paper
– Spoon or spatula
– Knife for cutting
You need a few easy-to-find tools for this recipe. A microwave-safe bowl helps melt the chocolate smoothly. An 8×8 inch baking dish allows for the perfect shape. Parchment paper makes it easy to remove the bark later. A spoon or spatula helps mix the ingredients. Finally, use a knife to cut or break the bark into pieces.
Optional Add-Ins
– Dried fruit (like cranberries or apricots)
– Different nuts (such as almonds or walnuts)
– Drizzle of dark chocolate on top
For extra fun, you can add some optional ingredients. Dried fruit can add more flavor and chewiness. Different nuts can change the texture and taste. A drizzle of dark chocolate on top can make it even more special. Feel free to get creative and make this bark your own!
Step-by-Step Instructions
Melting the White Chocolate
To start, grab a microwave-safe bowl. Add 12 ounces of white chocolate chips to the bowl. Microwave them in 30-second bursts. Stir after each interval. Keep going until the chocolate is smooth and fully melted. This step is key. Mixing in 1 teaspoon of vanilla extract will add a nice flavor. A pinch of sea salt enhances the sweetness. Make sure you stir well after adding both ingredients.
Assembling the Bark
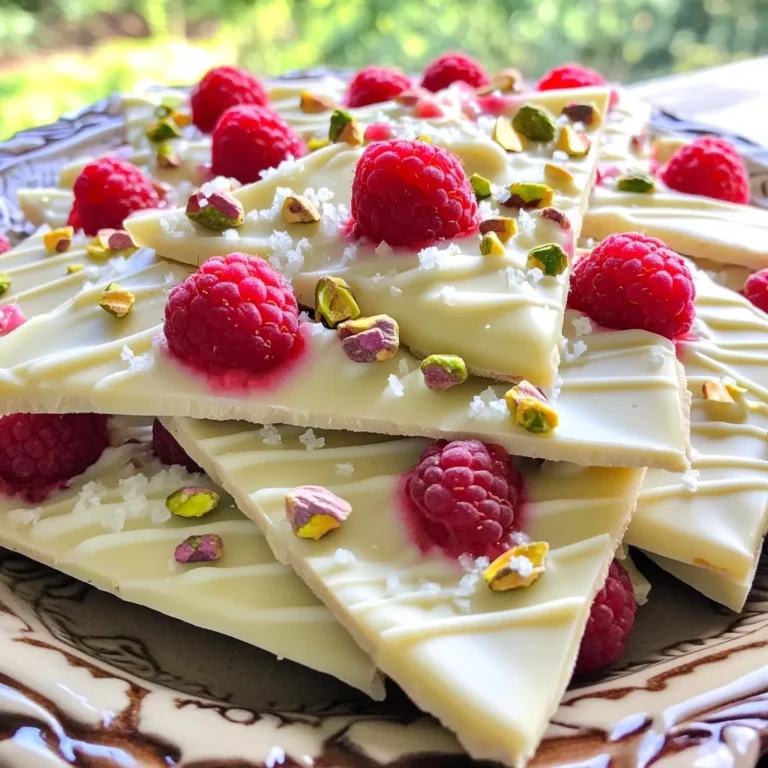
Next, line an 8×8 inch baking dish with parchment paper. This makes it easy to lift the bark out later. Pour half of the melted white chocolate into the dish. Spread it out evenly across the bottom. Now, carefully place 1 cup of fresh raspberries on top. Gently press them into the chocolate. This forms a beautiful pattern. Drizzle the rest of the melted chocolate over the raspberries. Create swirls for a lovely look. Finally, sprinkle 1/2 cup of crushed pistachios on top. Press them in a bit so they stick.
Setting and Cutting
Now it’s time to set the bark. Place the baking dish in the fridge. Let it chill for 1 to 2 hours. You’ll know it’s ready when the chocolate is firm. Once set, lift the bark out using the parchment paper. Use a sharp knife to cut it into pieces. You can also break it into shards if you want a rustic look. Enjoy your tasty creation!
Tips & Tricks
Achieving the Perfect Melt
To melt the white chocolate, use a microwave-safe bowl. I recommend starting with 30-second bursts. Stir after each burst. This method helps prevent burning. If the chocolate remains lumpy, keep stirring. The heat will smooth it out. Once melted, add a pinch of sea salt and vanilla extract. This step boosts the flavor.
Enhancing Flavor Combinations
Want to mix things up? Try adding different nuts or fruits. Almonds, walnuts, or macadamia nuts work well. For fruits, consider strawberries or blueberries. Each addition gives a unique taste. You can also add a hint of lemon zest. This brings a fresh twist to the bark.
Presentation Suggestions
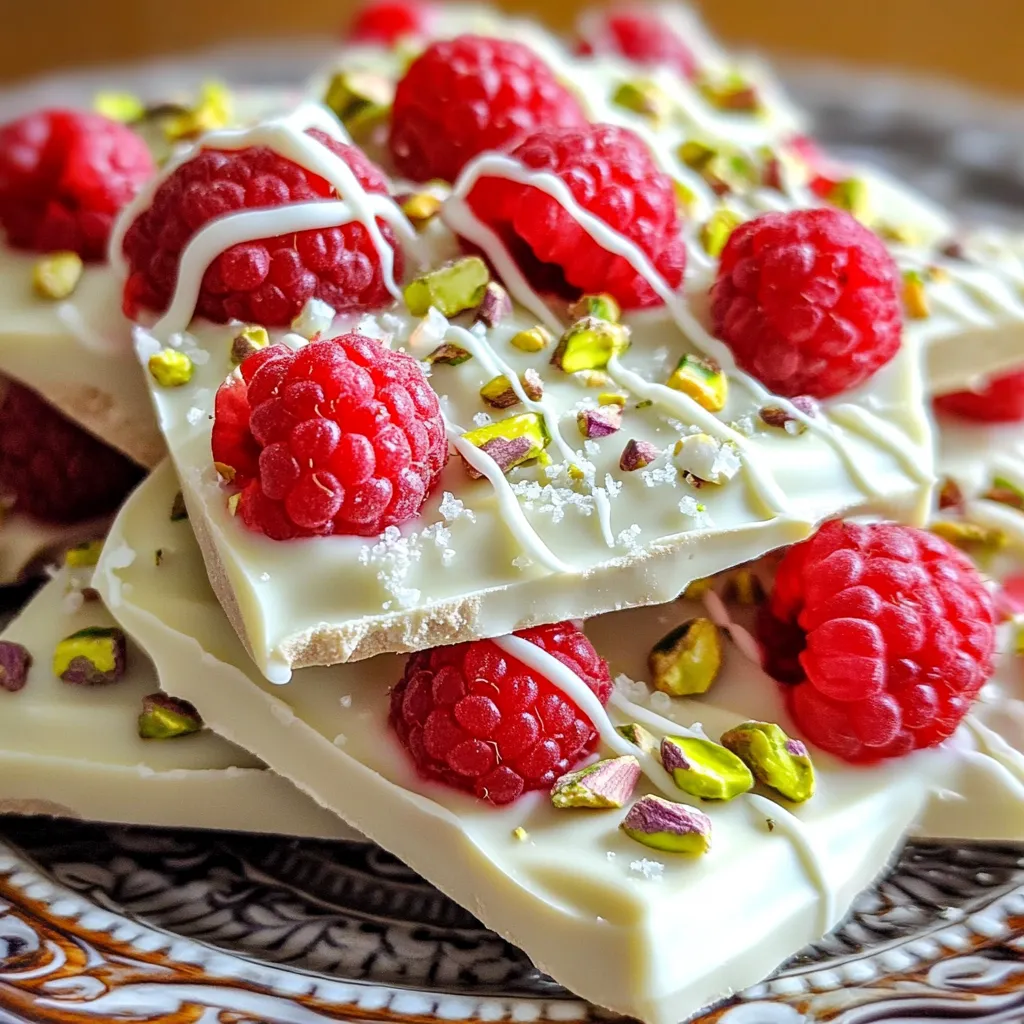
Presentation matters! Pour the mixture into a lined baking dish. Use a spatula to smooth it out. After adding raspberries and nuts, consider drizzling more white chocolate on top. This not only adds beauty but extra flavor too. Serve your bark on a decorative plate. You can also wrap it in a gift box for a lovely treat.
Variations
Different Nut Options
You can swap in different nuts to change the texture and flavor. Instead of pistachios, try almonds or walnuts. Both add a nice crunch. Chopped pecans also work great. Each nut brings a unique taste to the bark. If you want a nut-free option, you can use seeds like sunflower or pumpkin seeds. These give you a similar crunch without the nuts.
Using Other Berries
Raspberries shine in this recipe, but other berries can work too. Fresh strawberries are sweet and add a pop of color. Blueberries are also a great choice. They mix well with white chocolate and add a burst of flavor. If you like tartness, consider using blackberries. They offer a nice contrast to the sweet chocolate. Just make sure to wash and dry them before use.
Flavor Swaps for White Chocolate
If you want to change the flavor, consider using milk or dark chocolate. Each type brings a different taste and pairs well with berries. For a fun twist, try adding mint extract instead of vanilla. It gives a fresh taste that blends well with the chocolate and berries. You might also add a sprinkle of cinnamon for warmth. Each swap lets you create a new experience with your bark.
Storage Info
Best Storage Practices
Store your no-bake white chocolate raspberry bark in an airtight container. This keeps it fresh and tasty. I like to place parchment paper between layers. It helps to prevent sticking. Keep the container in a cool, dry place away from sunlight. If your kitchen is warm, the fridge is a good choice.
Shelf Life
This delicious bark can last about two weeks if stored well. I often find it’s best enjoyed within the first week. The flavors stay bright and fresh. If you notice any changes in texture or smell, it’s time to toss it. Always trust your senses when checking for freshness.
Freezing Instructions
You can freeze white chocolate raspberry bark for longer storage. Cut it into pieces first for easy access later. Wrap each piece in plastic wrap or foil. Then, place them in a freezer-safe bag or container. When ready to enjoy, simply thaw in the fridge for a few hours. This way, you can savor the delightful taste any time!
FAQs
Can I use dark chocolate instead?
Yes, you can use dark chocolate. Dark chocolate gives a richer taste. The tartness of raspberries works well with dark chocolate. Just make sure to adjust the sweetness to your liking.
How do I prevent the chocolate from seizing?
To keep the chocolate smooth, avoid water. Water makes chocolate clump and hard. Use a dry bowl and utensils. Also, melt the chocolate slowly in the microwave. Stir it often to ensure even melting.
Can I make this recipe vegan?
Yes, you can make it vegan. Use dairy-free white chocolate chips. They melt well and taste great. Also, check the nuts and vanilla to ensure they are vegan. This way, you can enjoy a tasty treat without dairy.
This post covered how to make white chocolate bark. We discussed key ingredients, needed tools, and optional add-ins. I shared step-by-step instructions for melting chocolate and assembling the bark. You learned tips for the perfect melt and ways to enhance flavor. We also explored fun variations and proper storage methods.
Now, you can create this tasty treat with confidence. Enjoy mixing and matching to make your bark unique!