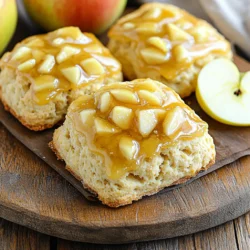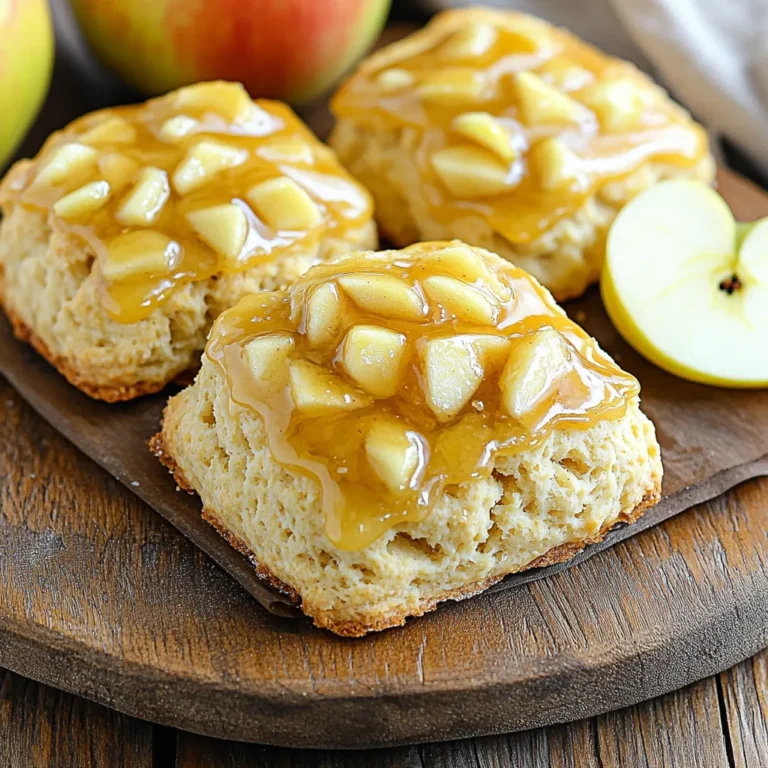
Are you ready to bake something warm and sweet? These Maple Glazed Apple Scones are simple and delicious. With just a few ingredients, you can whip up a treat that will impress everyone. Picture buttery scones with a sweet maple glaze and soft apple bites. Whether you want a cozy breakfast or a tasty snack, I’m here to guide you through each step. Let’s get baking!
Ingredients
List of Dry Ingredients
– 2 cups all-purpose flour
– 1/2 cup granulated sugar
– 1 tablespoon baking powder
– 1/2 teaspoon salt
– 1/2 teaspoon ground cinnamon
List of Wet Ingredients
– 1/2 cup cold unsalted butter, cubed
– 1/2 cup buttermilk
– 1 small apple, peeled, cored, and diced (about 1 cup)
– 1/2 teaspoon vanilla extract
– 1/4 cup maple syrup (for glaze)
– 1/2 cup powdered sugar
Gathering the right ingredients is key. I always start with the dry ones. Measure 2 cups of all-purpose flour. Add 1/2 cup of granulated sugar for sweetness. Next, mix in 1 tablespoon of baking powder. This helps the scones rise. Sprinkle in 1/2 teaspoon of salt and 1/2 teaspoon of ground cinnamon for flavor.
Now, for the wet ingredients. Cut 1/2 cup of cold unsalted butter into cubes. This cold butter makes the scones flaky. Pour in 1/2 cup of buttermilk. Dice 1 small apple to get about 1 cup. Add 1/2 teaspoon of vanilla extract for a lovely aroma. For the glaze, you need 1/4 cup of maple syrup and 1/2 cup of powdered sugar.
This mix of ingredients creates a wonderful blend of flavors. You will enjoy the sweet, warm notes of maple and apple in every bite.
Step-by-Step Instructions
Preparation Steps
Preheating the Oven and Preparing the Baking Sheet
Start by preheating your oven to 400°F (200°C). While it heats up, grab a baking sheet and line it with parchment paper. This helps the scones not stick.
Mixing the Dry Ingredients
In a large bowl, whisk together the dry ingredients. Combine 2 cups of all-purpose flour, 1/2 cup of granulated sugar, 1 tablespoon of baking powder, 1/2 teaspoon of salt, and 1/2 teaspoon of ground cinnamon. Make sure everything is well mixed.
Combining the Ingredients
Incorporating the Butter into the Dry Mixture
Next, take 1/2 cup of cold unsalted butter, cubed. Add it to the dry mix. Use a pastry cutter or your fingers to blend it in. You want the mixture to look like coarse crumbs. This is key for a flaky scone.
Adding Buttermilk and Apple Mixture
Now, in a separate bowl, combine 1/2 cup of buttermilk, 1 small apple that is peeled, cored, and diced, and 1/2 teaspoon of vanilla extract. Pour this into the flour mixture. Stir gently until it is just combined. Be careful not to overmix; this keeps your scones light.
Shaping and Baking
Kneading the Dough and Shaping Scones
Lightly flour your surface and turn out the dough. Knead it gently just a couple of times. Then, pat it into a circle about 1 inch thick. This is where you shape it into a scone format.
Baking Time and Checking for Doneness
Cut the dough into 8 wedges and place them on your lined baking sheet. Bake for 15-20 minutes. Keep an eye on them. They should turn a light golden brown. Once done, take them out and let them cool slightly before glazing.
Tips & Tricks
Key Tips for Perfect Scones
How to Achieve a Flaky Texture
To get that perfect flaky texture, keep your butter cold. Cold butter helps create steam, which gives the scones their lightness. I like to cut the butter into small cubes and chill it before mixing. When you combine it with the flour, use your fingers or a pastry cutter. You want to mix just until it looks like coarse crumbs. Don’t overmix! This keeps the scones fluffy.
Importance of Cold Ingredients
Using cold ingredients is key. Cold buttermilk, for example, helps keep the dough cool while you mix. It also helps the scones rise well in the oven. I suggest chilling your mixing bowl too. Every bit of cold helps you achieve that flaky texture.
Glazing Tips
Techniques for Drizzling the Maple Glaze
For the glaze, I whisk together maple syrup and powdered sugar until smooth. You can use a spoon to drizzle it over the warm scones. If you want a more precise look, use a piping bag. This makes the glaze more fun and adds a personal touch.
Adding Decorative Touches
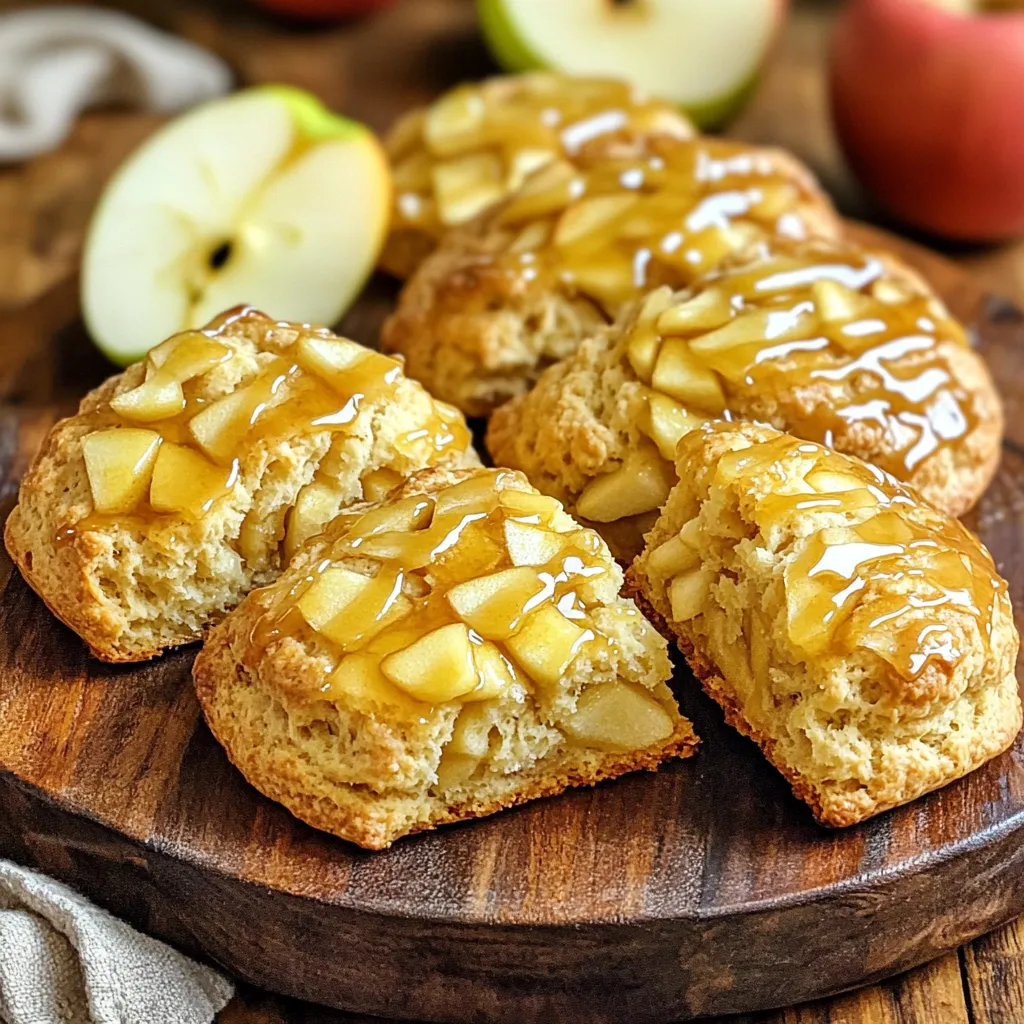
To make your scones look fancy, consider adding apple slices or a sprinkle of cinnamon on top after glazing. This adds some color and makes your scones more inviting. Presentation matters, so don’t skip this step! Using a rustic wooden platter can also enhance the overall look.
Variations
Flavor Variations
Adding Nuts or Dried Fruits
You can make your scones even better by adding nuts or dried fruits. Try chopped walnuts or pecans for a nice crunch. Dried cranberries or raisins add a sweet touch. Mix in about half a cup of either to the dough before shaping. This makes each bite a new surprise.
Using Different Types of Apples
Different apples change the taste of your scones. Sweet apples, like Fuji or Honeycrisp, add a nice flavor. Tart apples, like Granny Smith, give a fun contrast to the sweetness. Use your favorite or whatever you have on hand. Just remember to peel, core, and dice the apples first.
Dietary Modifications
Gluten-Free Options
If you want gluten-free scones, use a good gluten-free flour blend. Check the mix for xanthan gum, which helps with texture. You may need to adjust the liquid a bit. Start with the same amount and add more if needed. This way, your scones will still rise and taste great.
Vegan Alternatives to Butter and Buttermilk
You can make these scones vegan by swapping out the butter and buttermilk. Use coconut oil or vegan butter instead of regular butter. For buttermilk, mix one cup of plant milk with a tablespoon of vinegar. Let it sit for five minutes. This will give you a nice vegan scone that everyone can enjoy.
Storage Info
Storing Leftover Scones
To keep your leftover scones fresh, follow these simple steps:
– Best Practices for Storing in the Fridge: Place the scones in an airtight container. This will keep them moist and prevent them from drying out. You can also wrap them in plastic wrap for extra protection.
– Freezing Options for Extended Shelf Life: If you want to save scones for later, freeze them. Wrap each scone in plastic wrap and place them in a freezer-safe bag. They can last up to three months in the freezer.
Reheating Instructions
To enjoy your scones again, reheat them properly:
– How to Reheat for Optimal Freshness: Preheat your oven to 350°F (175°C). Place the scones on a baking sheet and heat for about 10 minutes. This will make them warm and soft again. You can also use a microwave for quick reheating. Just heat for 15-20 seconds. Enjoy them with a drizzle of maple syrup!
FAQs
Can I make these scones ahead of time?
Yes, you can make the scones ahead of time. You can prepare the dough and shape it into wedges. Then, wrap the dough tightly and store it in the fridge for up to 24 hours. When you are ready to bake, just take them out and bake as directed.
What can I substitute for buttermilk?
If you don’t have buttermilk, don’t worry. You can mix regular milk with vinegar or lemon juice. Use 1 cup of milk and add 1 tablespoon of vinegar or lemon juice. Let it sit for about 5 minutes before using it in your recipe.
How long do these scones last?
These scones stay fresh for about 2-3 days when stored in an airtight container. If you want them to last longer, you can freeze them. Just make sure they cool completely before sealing them in a freezer bag.
Can I use another type of glaze?
Absolutely! If you want a different flavor, you can try a cinnamon glaze. Just mix powdered sugar with a bit of milk and cinnamon. You could also use a simple lemon glaze by mixing powdered sugar with lemon juice for a bright taste.
You learned how to make delicious scones in this post. We covered the right ingredients, step-by-step instructions, and helpful tips. You can create tasty variations and find ways to store your scones. The key is using cold ingredients for a flaky texture. With practice, you can impress anyone with your baking skills. Enjoy sharing these treats with friends and family. They will love the flavors and textures you bring to life. Happy baking!