WANT TO SAVE THIS RECIPE?
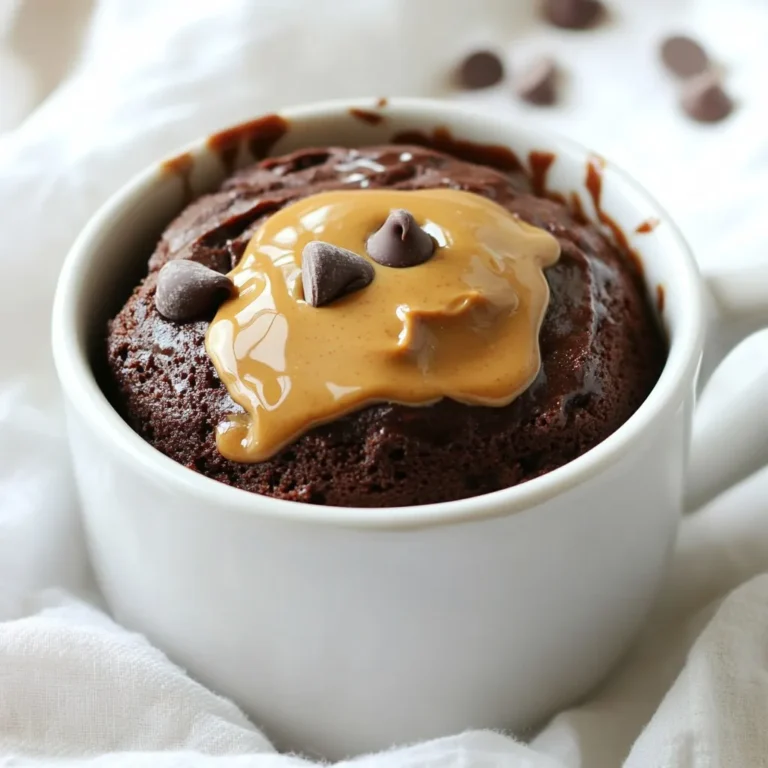
Are you craving a quick and tasty dessert that combines rich chocolate with creamy peanut butter? Look no further! This Chocolate Peanut Butter Mug Cake is your answer. It’s simple, fast, and oh-so-satisfying. In just a few minutes, you can whip up this treat, perfect for a cozy night in or a surprise guest. Ready to find out how to indulge your sweet tooth? Let’s dive in!
Why I Love This Recipe
- Quick and Easy: This mug cake takes only a few minutes to prepare and cook, making it a perfect last-minute dessert.
- Decadent Flavor: The combination of chocolate and peanut butter creates a rich and indulgent taste that satisfies any sweet craving.
- Single Serving: This recipe is designed for one, so you can enjoy a delicious treat without the temptation of leftovers.
- Customizable: You can easily modify this recipe by adding your favorite mix-ins like nuts or different types of chocolate.
Ingredients
List of Ingredients
– 4 tablespoons all-purpose flour
– 4 tablespoons sugar
– 2 tablespoons cocoa powder
– 1/4 teaspoon baking powder
– 1/4 teaspoon salt
– 3 tablespoons milk
– 2 tablespoons vegetable oil
– 1 tablespoon peanut butter (plus extra for topping)
– 1 tablespoon chocolate chips (optional)
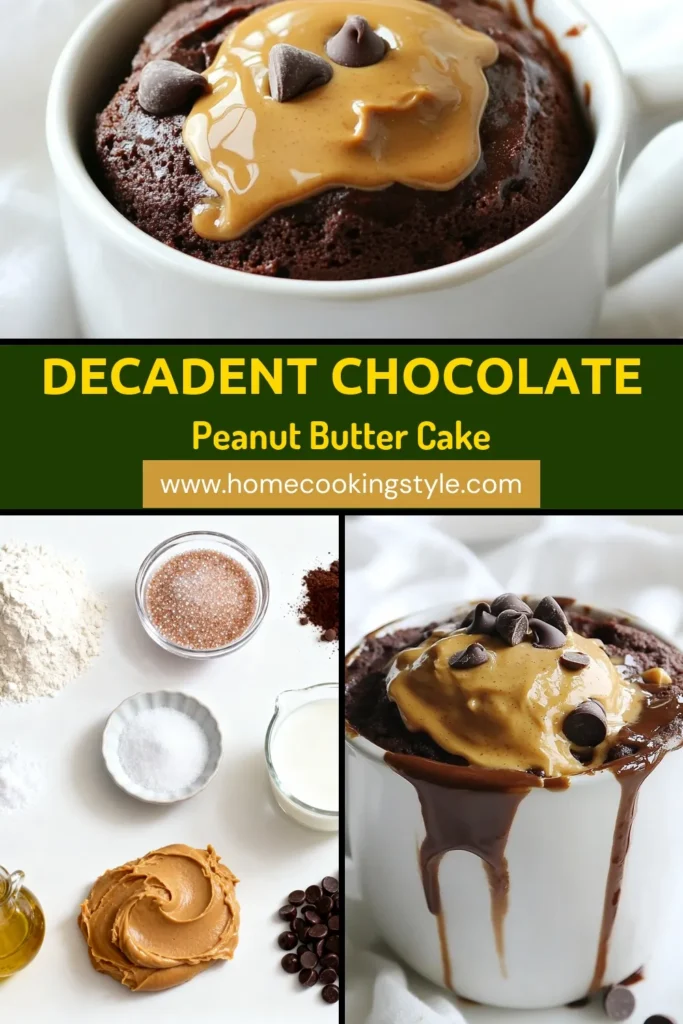
For this Chocolate Peanut Butter Mug Cake, you need simple ingredients. Each one plays a key role.
All-purpose flour gives the cake its structure. Using 4 tablespoons works great.
Sugar adds sweetness. The 4 tablespoons help balance the cocoa’s richness.
Cocoa powder brings that deep chocolate flavor. Just 2 tablespoons make it perfect.
Baking powder helps the cake rise. Only a small amount, 1/4 teaspoon, is needed.
Salt enhances all flavors. Just 1/4 teaspoon makes a big difference.
Milk keeps the cake moist. Use 3 tablespoons for the right texture.
Vegetable oil adds moisture and richness. The 2 tablespoons help keep it soft.
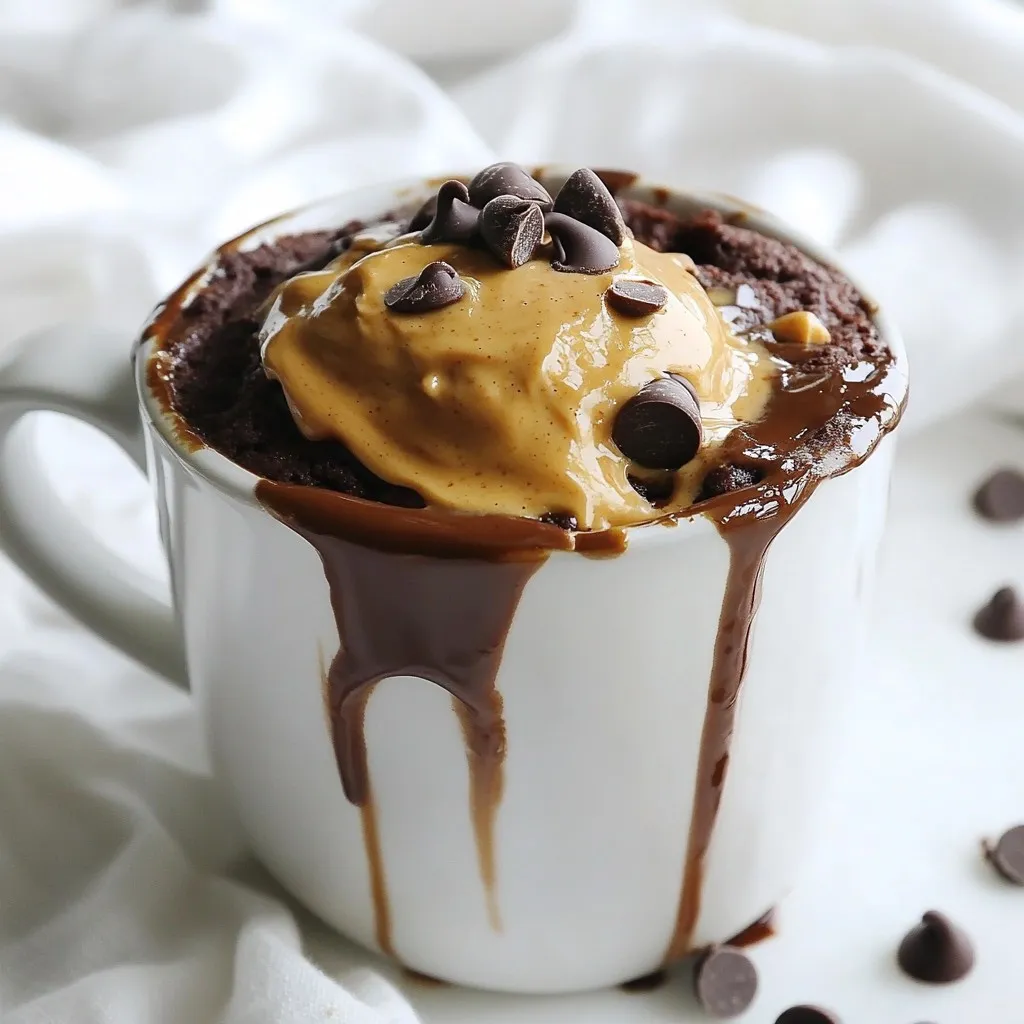
Peanut butter is the star of this cake. One tablespoon in the batter and extra for topping adds creaminess.
Chocolate chips are optional but fun. A tablespoon gives extra chocolate joy.
Now, you know what to gather for your mug cake. Each ingredient is easy to find and makes a big impact. Happy baking!

Step-by-Step Instructions
Preparation Method
1. Mixing dry ingredients
Grab a large, microwave-safe mug. It should hold about 12 oz. Add 4 tablespoons of all-purpose flour. Then, add 4 tablespoons of sugar, 2 tablespoons of cocoa powder, 1/4 teaspoon of baking powder, and 1/4 teaspoon of salt. Use a whisk to mix them well. Make sure there are no lumps.
2. Combining wet ingredients
Now, add 3 tablespoons of milk and 2 tablespoons of vegetable oil to the dry mix. Then, add 1 tablespoon of peanut butter. Stir everything together until the batter is smooth. You should not see any dry spots.
3. Incorporating chocolate chips
If you want more chocolate, fold in 1 tablespoon of chocolate chips. This step is optional but adds extra flavor. The chips will melt slightly while cooking, making the cake even tastier.
Cooking Process
1. Recommended microwave times
Place the mug in your microwave and cook on high. Start with 40 seconds. After that, check if the cake has risen and is firm in the center. If it needs more time, cook in 10-second bursts. Be careful not to overcook it.
2. Signs of doneness
The mug cake is done when it has risen and is set in the middle. If it jiggles too much, it needs more time.
3. Cooling tips
Once cooked, let the mug cake cool for about a minute. This step helps prevent burns. After it cools, you can top it with more peanut butter, extra chocolate chips, or a sprinkle of cocoa powder for added flair. Enjoy your treat right from the mug!
Tips & Tricks
Perfecting Your Mug Cake
– Avoiding overcooking: Keep a close eye on your cake while it cooks. Microwaves vary in power. Start with 40 seconds. Check if it’s done. If not, cook in 10-second bursts until it’s set. Overcooking makes it dry.
– Achieving the best texture: For a soft and fluffy cake, mix well. Stir until no lumps remain. Use a large mug that holds at least 12 oz. This helps the cake rise nicely.
– Suggested toppings for enhanced flavor: Once your cake is cool, add a dollop of peanut butter on top. You can also sprinkle more chocolate chips or cocoa powder. For a twist, try adding sliced bananas or a scoop of ice cream.
Cooking Equipment
– Best type of mug to use: Choose a microwave-safe mug. A larger mug helps keep the cake from overflowing. It should hold at least 12 oz. This gives the cake space to rise.
– Microwave power considerations: Microwaves can cook differently. If yours is powerful, your cake may cook faster. If it’s weak, it may take longer. Always check early and adjust cooking time as needed.
Pro Tips
- Use a Larger Mug: Using a larger mug helps prevent overflow as the cake rises during microwaving.
- Check for Doneness: Microwave times can vary, so start with 40 seconds and add more time in 10-second increments if needed.
- Experiment with Mix-Ins: Feel free to add nuts, dried fruit, or different flavored chips to customize your mug cake.
- Serve Warm: Enjoy your mug cake warm for the best texture; it can harden as it cools down.

Variations
Flavor Additions
You can make this mug cake even more fun with different flavors.
– Nut butter alternatives: Try almond, cashew, or sunflower butter instead of peanut butter. Each nut butter gives a new twist to the cake. Almond butter adds a light flavor. Sunflower butter is great for those with nut allergies.
– Different types of chocolate: Use dark, milk, or white chocolate. Dark chocolate adds a rich taste. Milk chocolate makes it sweeter. White chocolate gives a creamy touch. You can mix and match to find your favorite.
– Adding fruits or nuts: Toss in some banana slices or berries for a fruity kick. Chopped nuts like walnuts or pecans add crunch. Just a few pieces can change the whole cake.
Dietary Adjustments
This mug cake is easy to tweak for different diets.
– Gluten-free options: Swap all-purpose flour with almond flour or a gluten-free blend. Both options work well. You may need to adjust the liquid slightly.
– Vegan substitutes: Use plant-based milk and oil instead of regular ones. For egg-free, just skip it; this recipe does not need eggs. You can still enjoy this cake without dairy.
Feel free to experiment! Each change can make your mug cake a new delight.
Storage Information
Short-term Storage
To store leftovers, let the mug cake cool completely. Cover it with plastic wrap or place it in an airtight container. Keep it in the fridge for up to two days. Reheating is easy. Just pop it in the microwave for about 10-15 seconds. Check if it’s warm enough. If not, heat it for a few more seconds.
Long-term Options
You can freeze the mug cake for later enjoyment. Allow it to cool completely, then wrap it tightly in plastic wrap. Place it in a freezer-safe bag. It can last for up to three months in the freezer.
When you are ready to eat it, thaw the cake in the fridge overnight. For a quick thaw, you can microwave it on low for about 30 seconds. Just be careful not to overheat it. Enjoy your delicious treat anytime!
FAQs
Can I use a different mug size?
Yes, you can use a different mug size. Just make sure it can hold at least 12 ounces. A smaller mug may cause the cake to overflow. A larger mug may need more cooking time. Keep an eye on it while it cooks.
What if I don’t have cocoa powder?
If you don’t have cocoa powder, you can use carob powder. This will give a different taste but is a good substitute. You could also skip it altogether. Your cake will still be tasty with just peanut butter.
How to make a mug cake without a microwave?
You can use an oven if you don’t have a microwave. Preheat your oven to 350 degrees Fahrenheit. Pour the batter into a small oven-safe dish. Bake it for about 15-20 minutes. Check for doneness with a toothpick.
Can I double the recipe?
Yes, you can double the recipe. Just use a larger mug or dish. You will need to cook it longer. Start with 1-2 extra minutes in the microwave. Remember to check for doneness often!
To sum up, we covered the key ingredients for your mug cake and how to make it step by step. I shared tips to get the best texture and avoid overcooking. We explored fun variations and dietary options to fit your needs. Finally, I explained how to store and reheat your cake. Use this guide to create your perfect mug cake. Enjoy each bite, and don’t hesitate to experiment with your flavor
Chocolate Peanut Butter Mug Cake
A quick and easy chocolate mug cake with a delicious peanut butter twist.
Prep Time 5 minutes mins
Cook Time 1 minute min
Total Time 6 minutes mins
- 4 tablespoons all-purpose flour
- 4 tablespoons sugar
- 2 tablespoons cocoa powder
- 0.25 teaspoon baking powder
- 0.25 teaspoon salt
- 3 tablespoons milk
- 2 tablespoons vegetable oil
- 1 tablespoon peanut butter (plus extra for topping)
- 1 tablespoon chocolate chips (optional)
In a large microwave-safe mug (about 12 oz), whisk together the flour, sugar, cocoa powder, baking powder, and salt until well combined.
Add the milk, vegetable oil, and peanut butter to the dry ingredients in the mug. Stir until the mixture is smooth and no lumps remain.
If desired, fold in chocolate chips for an extra chocolatey twist.
Microwave the mug on high for 40-60 seconds, or until the cake has risen and is set in the center. Be careful not to overcook.
Let the mug cake cool for a minute. Top with a dollop of peanut butter, additional chocolate chips, or a sprinkle of cocoa powder if desired.
Enjoy directly from the mug!
Be careful not to overcook the cake in the microwave.
Keyword chocolate, mug cake, peanut butter, quick dessert
WANT TO SAVE THIS RECIPE?