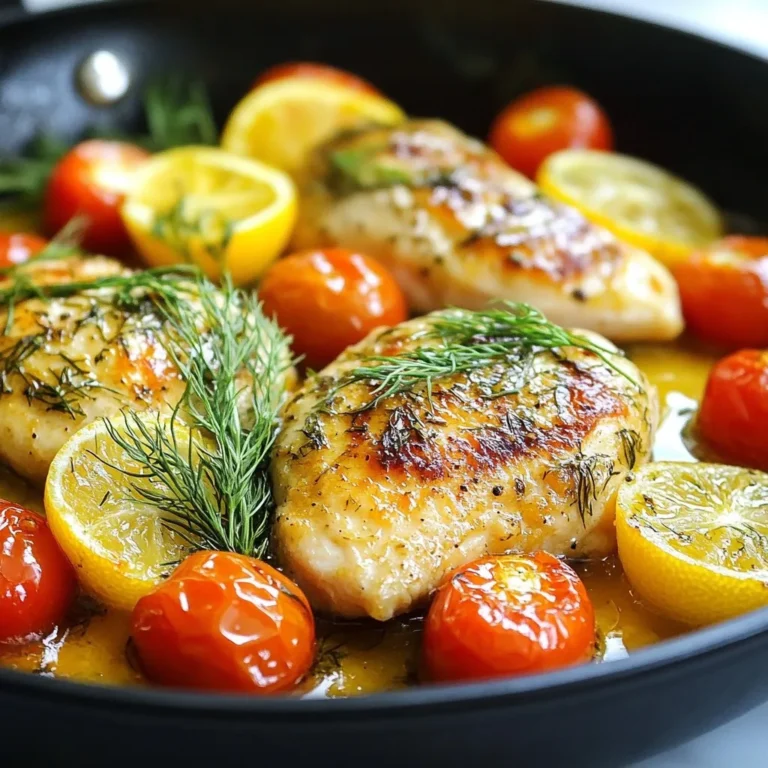

Looking for a simple yet delicious meal? This Lemon Dill Chicken Skillet is perfect for you. It comes together quickly and bursts with flavor. With fresh lemon and dill, this dish brightens up your dinner routine. Plus, I’ll share tips on ingredient choices and cooking techniques to make it even better. Get ready to impress your family with a meal that’s easy to make and hard to forget!
Error: Connection error.
Ingredients
List of Ingredients
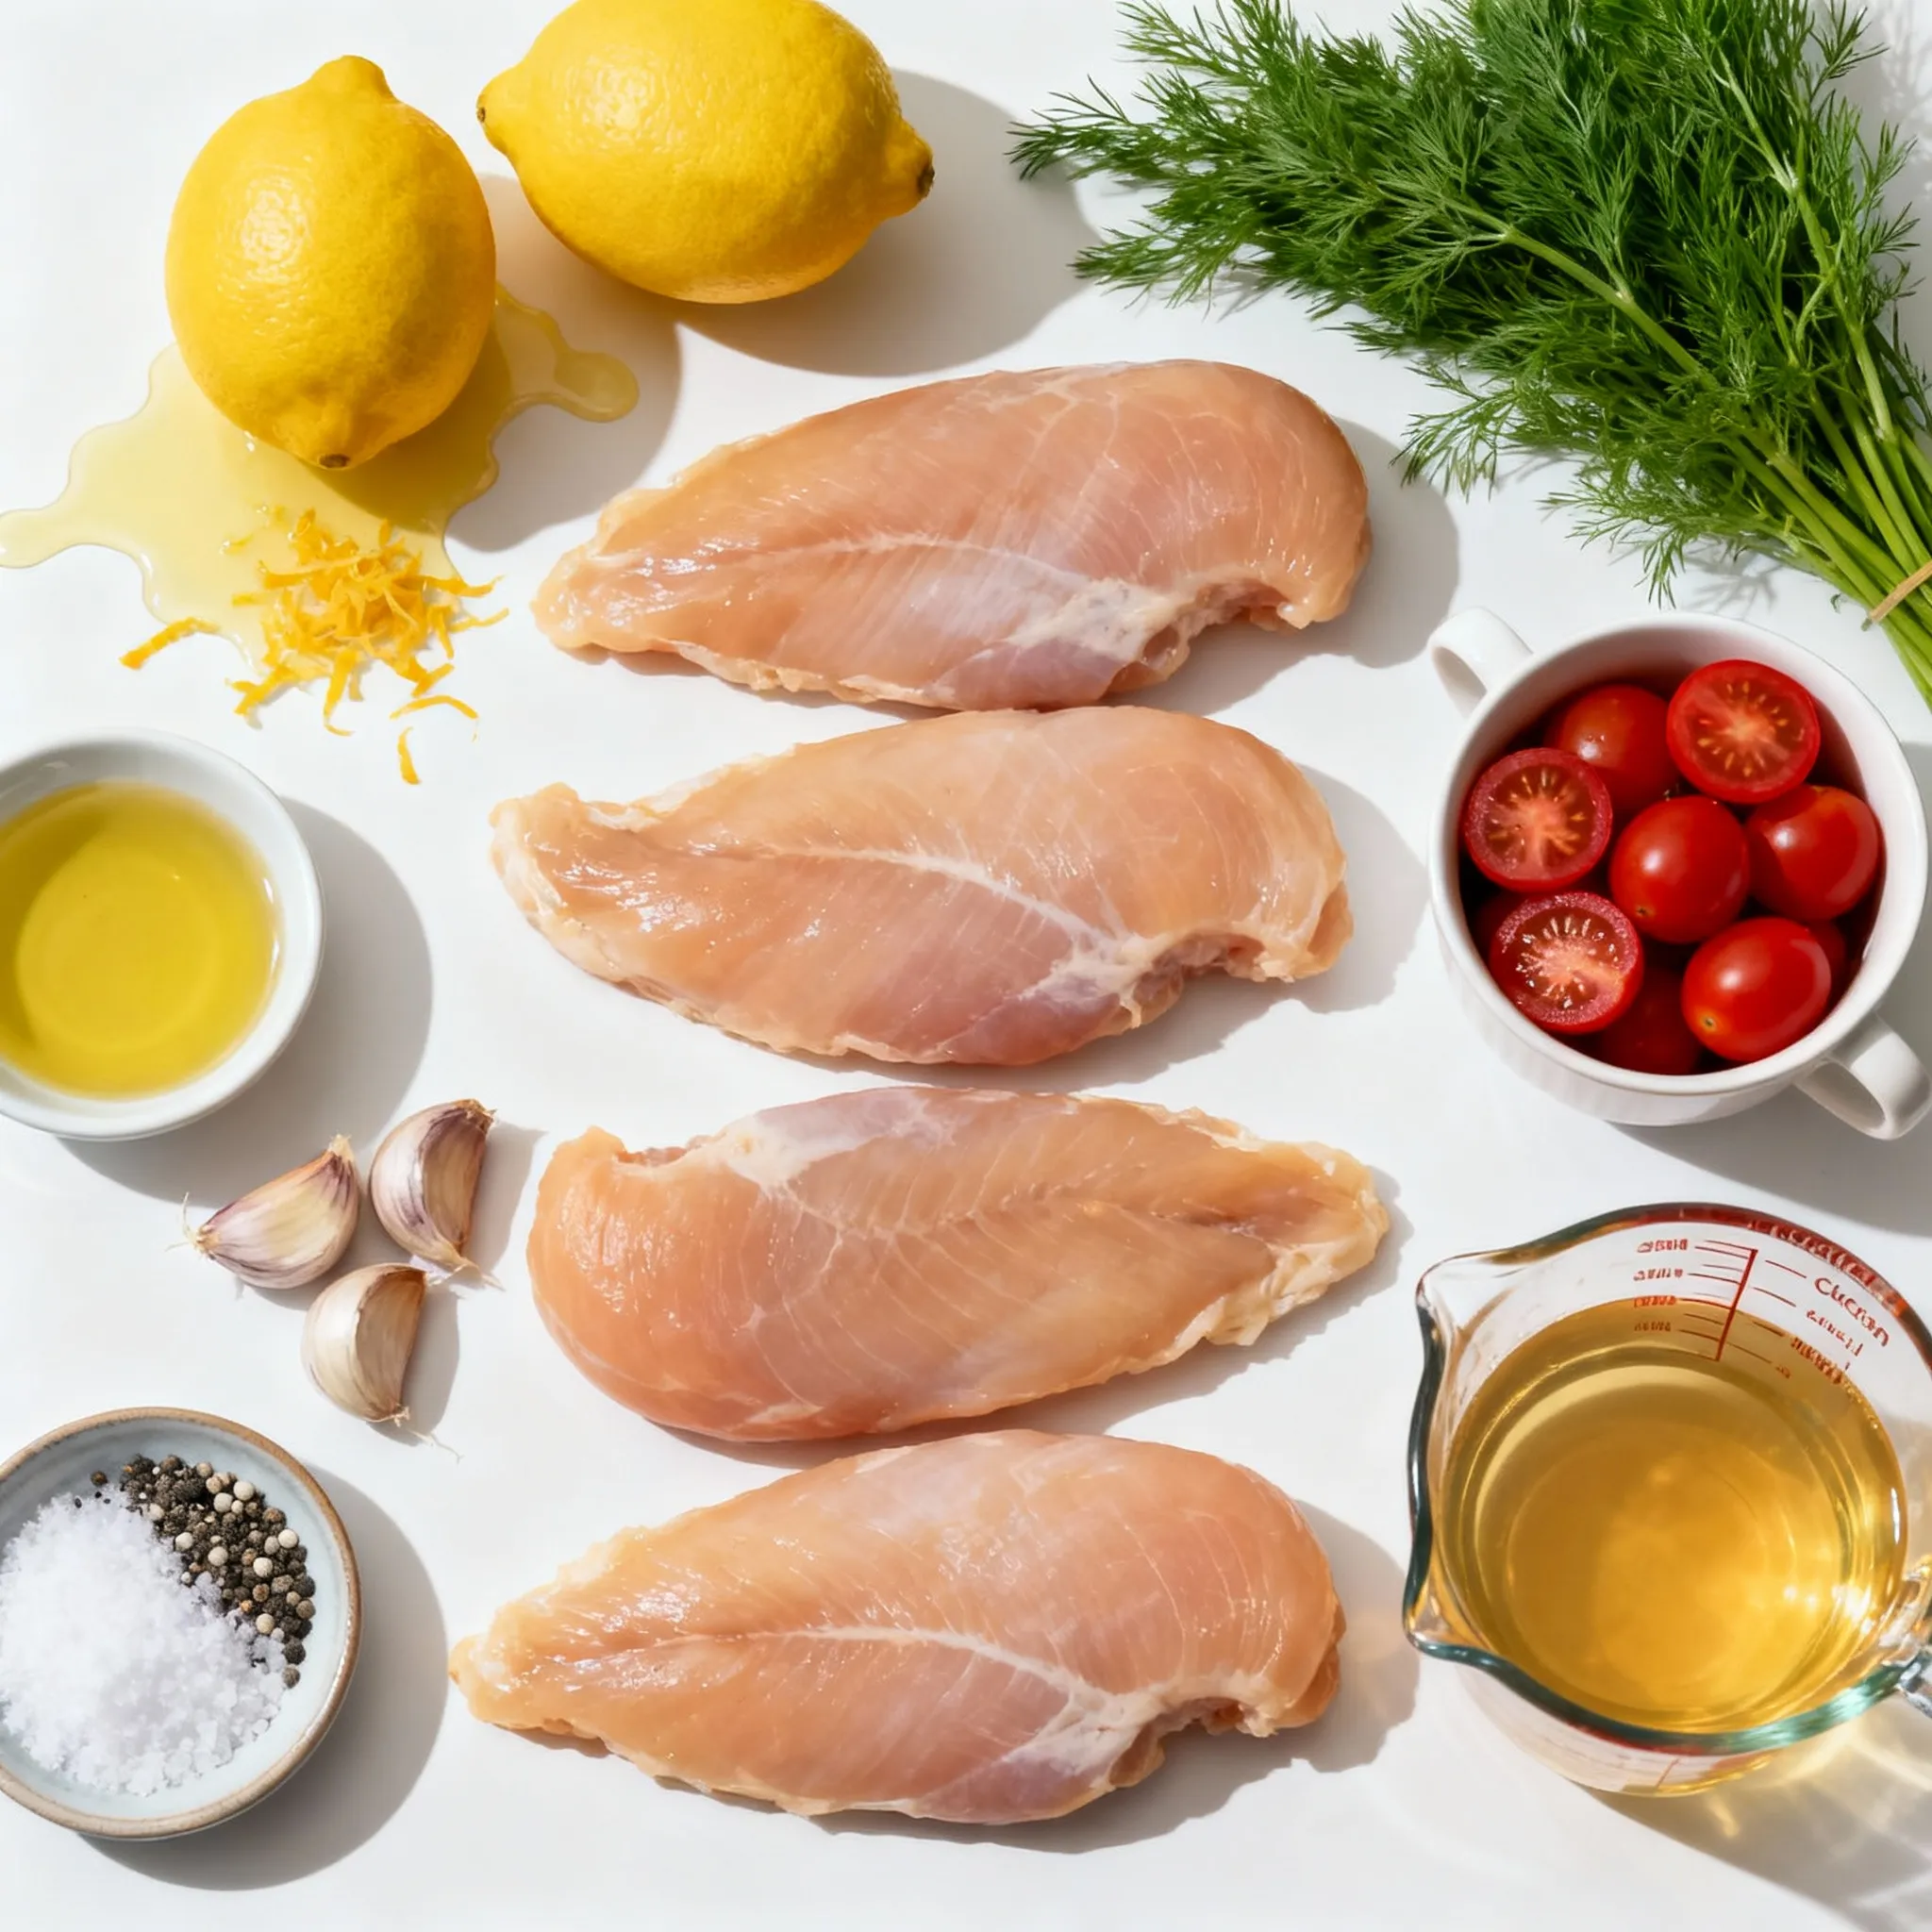
To make Lemon Dill Chicken Skillet, you need these simple ingredients:
– 4 boneless, skinless chicken breasts
– 2 tablespoons olive oil
– 3 cloves garlic, minced
– Zest and juice of 2 lemons
– 1 tablespoon fresh dill, chopped (or 1 teaspoon dried dill)
– 1 cup low-sodium chicken broth
– 1 cup cherry tomatoes, halved
– Salt and pepper to taste
– Fresh dill sprigs for garnish
Recommended Ingredient Substitutions
If you don’t have all the ingredients, don’t worry! Here are some easy swaps:
– Chicken: You can use thighs instead of breasts for more flavor.
– Olive oil: Avocado oil works great too.
– Garlic: Garlic powder can be used if fresh garlic isn’t available.
– Dill: Other herbs like parsley or thyme can replace dill.
– Chicken broth: Vegetable broth is a good substitute if you want a lighter taste.
– Tomatoes: Any small tomato works, or you can use bell peppers for a crunch.
Tips for Choosing Fresh Ingredients
Fresh ingredients make this dish shine. Here’s how to pick the best:
– Chicken: Look for bright pink color and no bad smell.
– Garlic: Choose firm cloves with no sprouting.
– Lemons: Pick lemons that feel heavy and have a bright yellow color.
– Dill: Fresh dill should smell strong and look vibrant green.
– Tomatoes: Select plump tomatoes that are slightly soft to the touch.
Using fresh ingredients not only boosts flavor but also makes your meal healthier. Enjoy cooking!
Step-by-Step Instructions
Preparation Steps
First, gather all your ingredients. You will need:
– 4 boneless, skinless chicken breasts
– 2 tablespoons olive oil
– 3 cloves garlic, minced
– Zest and juice of 2 lemons
– 1 tablespoon fresh dill, chopped (or 1 teaspoon dried dill)
– 1 cup low-sodium chicken broth
– 1 cup cherry tomatoes, halved
– Salt and pepper to taste
– Fresh dill sprigs for garnish
Next, wash the chicken breasts under cold water. Pat them dry with a paper towel. This helps the chicken sear nicely. Season both sides with salt and pepper.
Cooking Process Details
Now, heat the olive oil in a large skillet over medium heat. You want the oil to shimmer. Once hot, add the chicken breasts. Sear them for about 5-6 minutes on each side. Look for a golden brown color. This means they are cooking well.
After the chicken cooks, remove it from the skillet and set it on a plate. In the same skillet, add the minced garlic. Sauté it for about 30 seconds. You want to smell the garlic, but don’t burn it.
Next, add the lemon zest, lemon juice, and chicken broth. Stir it all together. Bring the mixture to a gentle simmer. Then, add the halved cherry tomatoes and chopped dill. Stir to mix everything well.
Return the chicken to the skillet. Spoon the sauce over the top. Cook it on low heat for an additional 5 minutes. This lets the flavors blend and warms the chicken again. Taste the sauce and adjust the seasoning if needed.
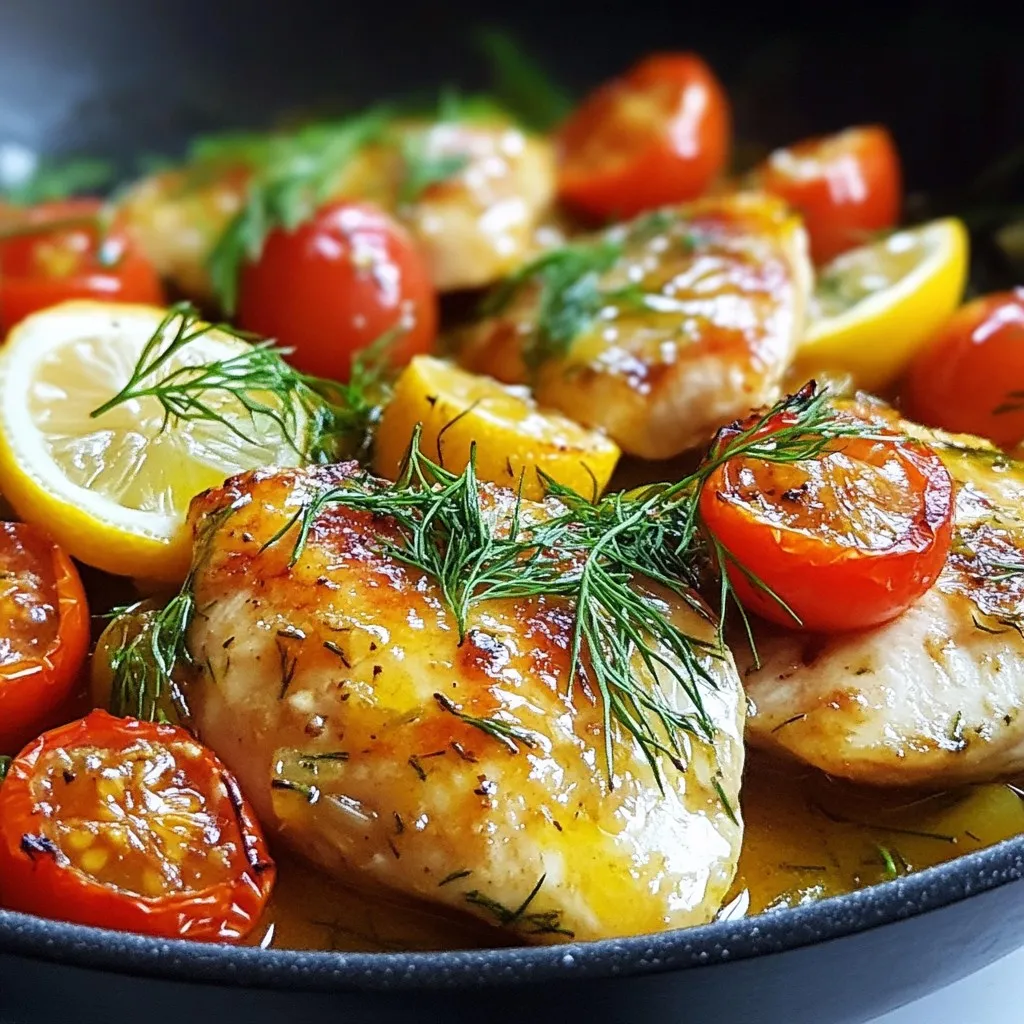
Serving Suggestions
To serve, place the chicken on plates. Drizzle the sauce from the skillet over each piece. Garnish with fresh dill sprigs for a pop of color. This dish pairs well with rice or a fresh salad. Enjoy your tasty and easy lemon dill chicken skillet!
Tips & Tricks
How to Perfectly Sear Chicken
To get that nice golden brown color, start with a hot skillet. I use medium heat and add olive oil. Season the chicken with salt and pepper. Once the oil shimmers, place the chicken breasts in the skillet. Avoid crowding the pan; this helps them sear better. Cook for 5-6 minutes on each side. Don’t flip them too soon. Let them form a crust.
Best Techniques for Enhancing Flavor
Lemon and dill are the stars of this dish. Use fresh lemon zest and juice for a bright taste. Add minced garlic right after searing the chicken. This lets the garlic bloom and adds depth. When you mix in the chicken broth, it should simmer gently. This helps the flavors blend. Finally, add cherry tomatoes and dill to boost the taste.
Common Mistakes to Avoid
One big mistake is overcooking the chicken. Dry chicken isn’t tasty. Use a meat thermometer if you have one. Chicken should reach 165°F. Another mistake is not tasting the sauce. Always check if it needs more salt or lemon juice. Lastly, don’t forget to let the chicken rest after cooking. This keeps it juicy and tender.
Error: Connection error.
Variations
Alternative Protein Options
If you want to switch it up, consider using fish or tofu. Salmon works really well. The lemon and dill flavor will still shine. For a plant-based option, try firm tofu. Press it first to remove extra moisture. Cut it into cubes and sauté until golden. This way, you’ll have a tasty meal that fits your diet.
Vegetable Add-Ins for Extra Nutrition
Adding vegetables boosts the nutrition of this dish. You can toss in spinach, kale, or zucchini. Just chop them small so they cook fast. Bell peppers or asparagus also add color and crunch. These veggies add vitamins and make your meal more filling. Plus, they soak up that lovely lemon-dill sauce.
Different Flavor Profiles with Herbs and Spices
You can change the taste by using different herbs and spices. Try basil or parsley for a fresh twist. If you like heat, add red pepper flakes for a kick. Cumin or paprika can give it a warm, earthy flavor. Experimenting with these options keeps the dish exciting and suits your taste.
Storage Info
Proper Storage Techniques
After cooking your Lemon Dill Chicken Skillet, let it cool down. Place the chicken and sauce in an airtight container. This keeps it fresh for up to three days in the fridge. Make sure to store the chicken and sauce together. If you want to keep the chicken crispy, store it separately.
Reheating Instructions
To reheat, use a skillet over medium heat. Add a splash of chicken broth to keep it moist. Heat for about five minutes or until warm. You can also use the microwave. Place the chicken on a microwave-safe plate. Cover it with a damp paper towel. Heat for about one to two minutes, checking often.
Freezing Options for Meal Prep
You can freeze Lemon Dill Chicken Skillet for later. Place the cooled chicken and sauce in a freezer-safe bag. Squeeze out the air and seal tightly. This meal can last up to three months in the freezer. To thaw, leave it in the fridge overnight. Reheat as described before, and enjoy your meal!
FAQs
What can I serve with Lemon Dill Chicken Skillet?
You can serve Lemon Dill Chicken Skillet with many tasty sides. Here are some ideas:
– Rice or quinoa for a filling base.
– Steamed vegetables like broccoli or green beans for a fresh touch.
– A simple salad with mixed greens and lemon vinaigrette.
– Mashed potatoes for a creamy contrast to the chicken.
These sides will balance the bright flavors of the dish.
Can I use frozen chicken for this recipe?
Yes, you can use frozen chicken! Just remember to thaw it first. Thaw the chicken in the fridge overnight or use the microwave for quick thawing. Cooking from frozen will make it hard to get the right texture. Always cook it until it reaches 165°F (75°C) for safety.
How do I know when the chicken is cooked through?
To check if the chicken is cooked, use a meat thermometer. Insert it into the thickest part of the chicken. It should read 165°F (75°C). If you don’t have a thermometer, cut into the chicken. It should be white and the juices should run clear, not pink. These tips will ensure you serve perfectly cooked chicken.
This blog post covered all the key aspects of making Lemon Dill Chicken Skillet. We discussed the essential ingredients, how to cook, and the best serving ideas. I shared tips to enhance flavor and avoid common mistakes. You learned about different protein options, veggie add-ins, and flavor changes. Finally, I provided storage techniques and answered common questions.
Using these steps will help you create a tasty meal every time. Enjoy cooking and experimenting!

