My Latest Dinners

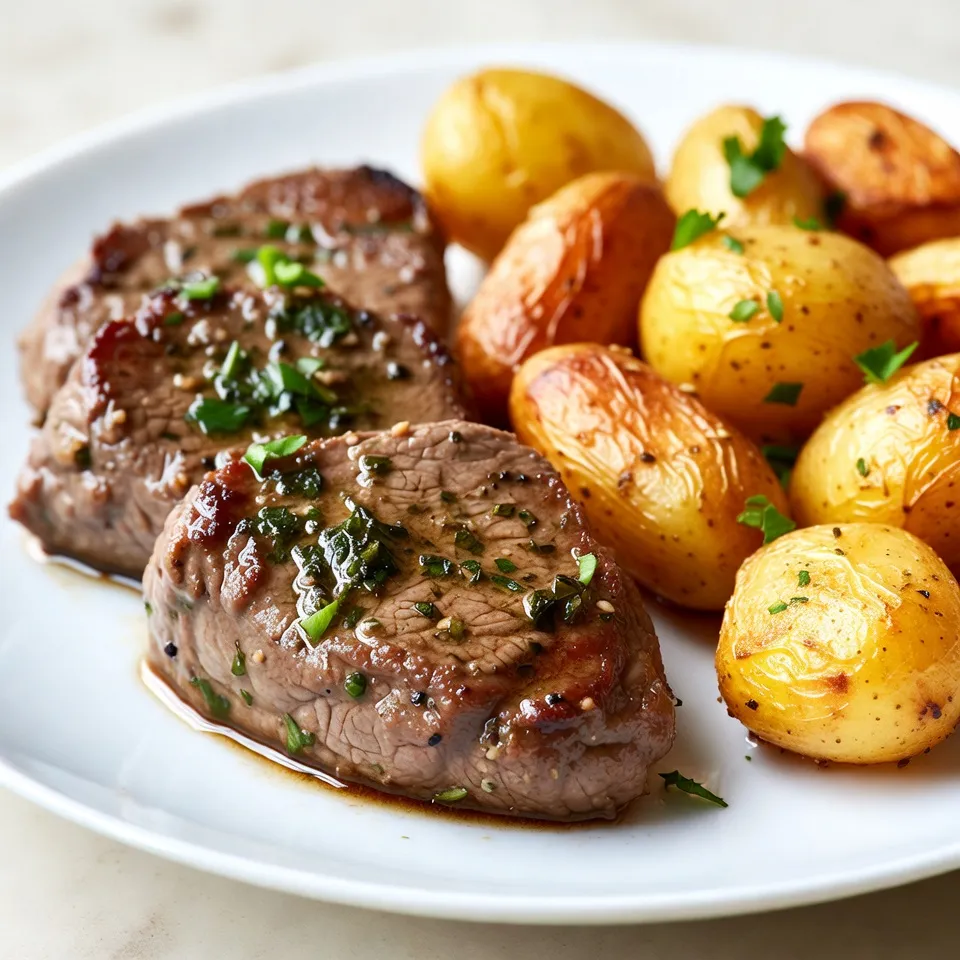
Garlic Herb Steak Bites with Potatoes Delight
Get ready to wow your taste buds with Garlic Herb Steak Bites with Potatoes! This dish is a game changer Read Full Recipe
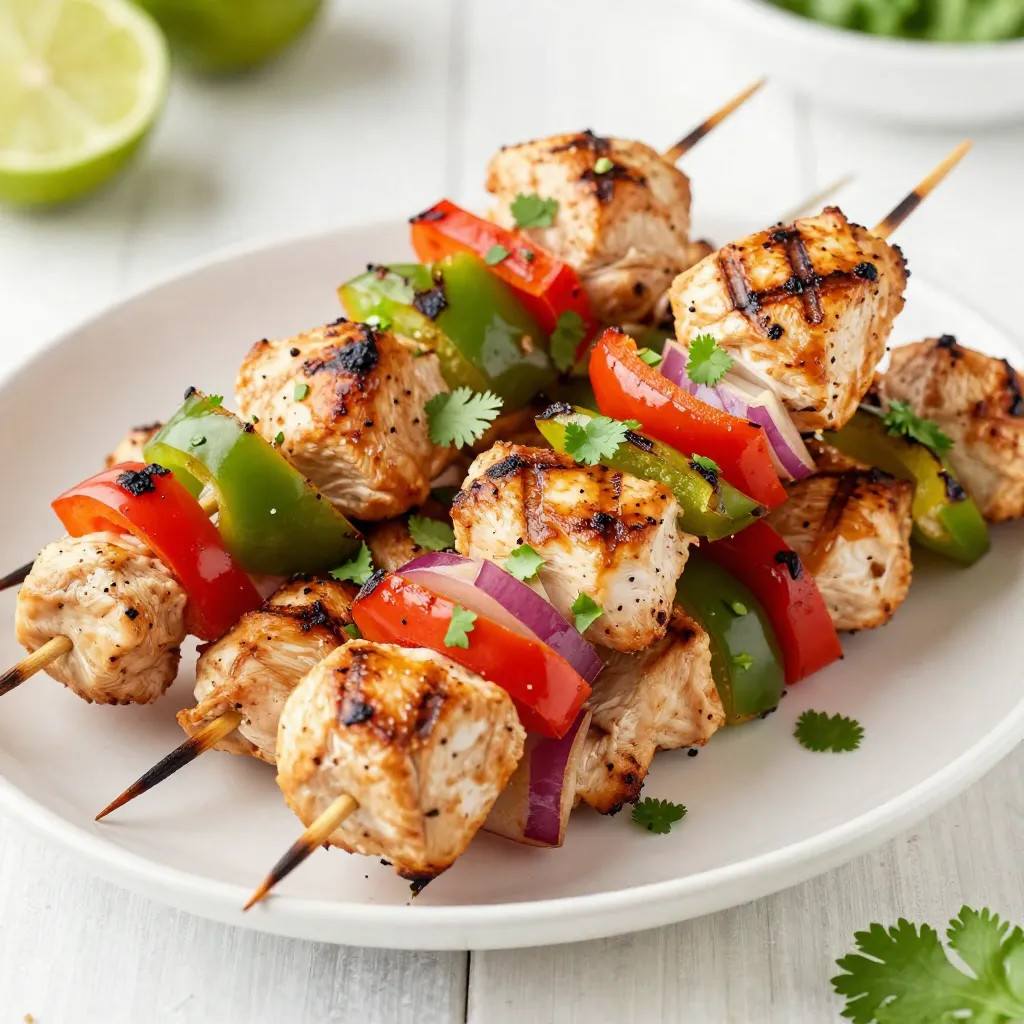
Honey Lime Chicken Skewers Flavorful and Easy Recipe
If you’re craving a fresh and tasty meal, honey lime chicken skewers are the way to go. This easy, flavorful Read Full Recipe-
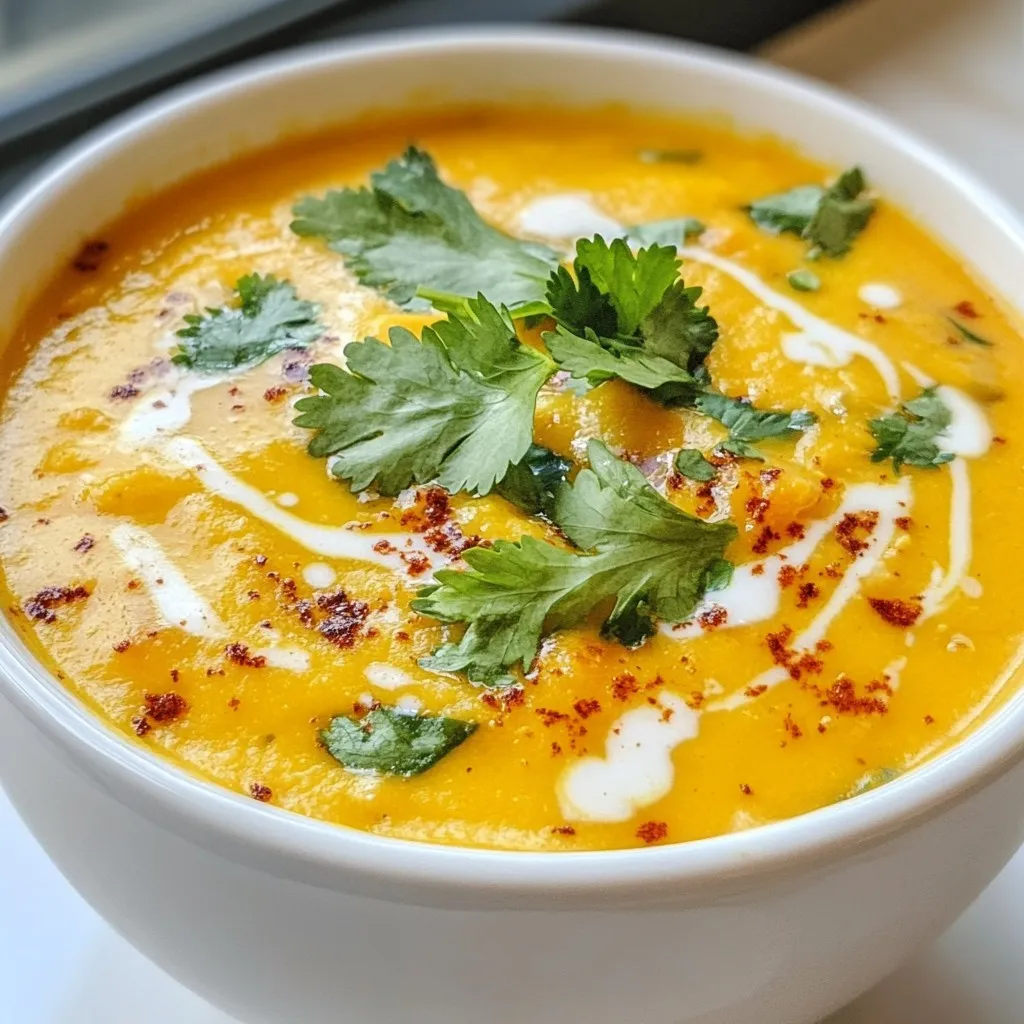
Spicy Thai Sweet Potato Soup Flavorful and Healthy Dish
If you’re looking for a warm, tasty dish, this Spicy Thai Sweet Potato Soup is perfect! Packed with sweet potatoes Read Full Recipe -
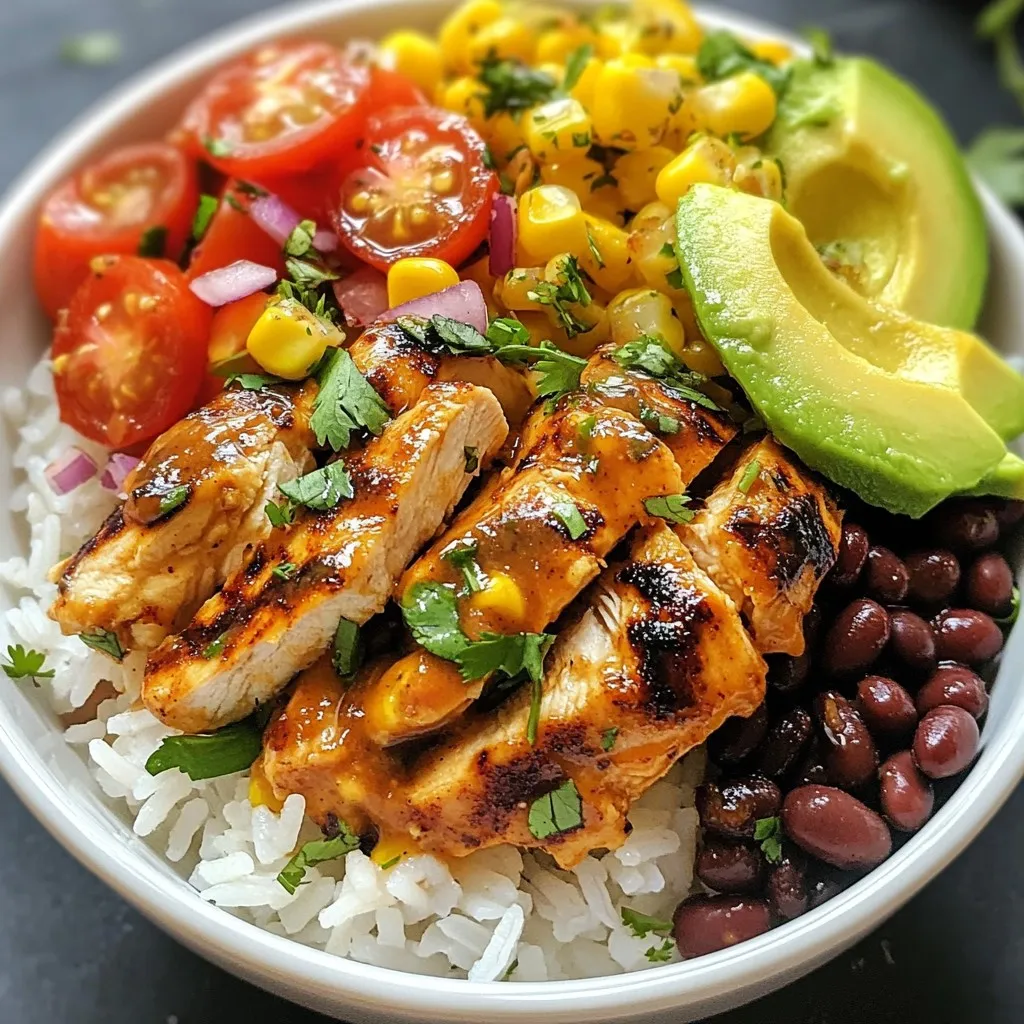
Chipotle Chicken Burrito Bowls Flavorful Meal Prep Guide
Are you ready to elevate your meal prep with delicious Chipotle Chicken Burrito Bowls? This guide gives you the perfect Read Full Recipe -
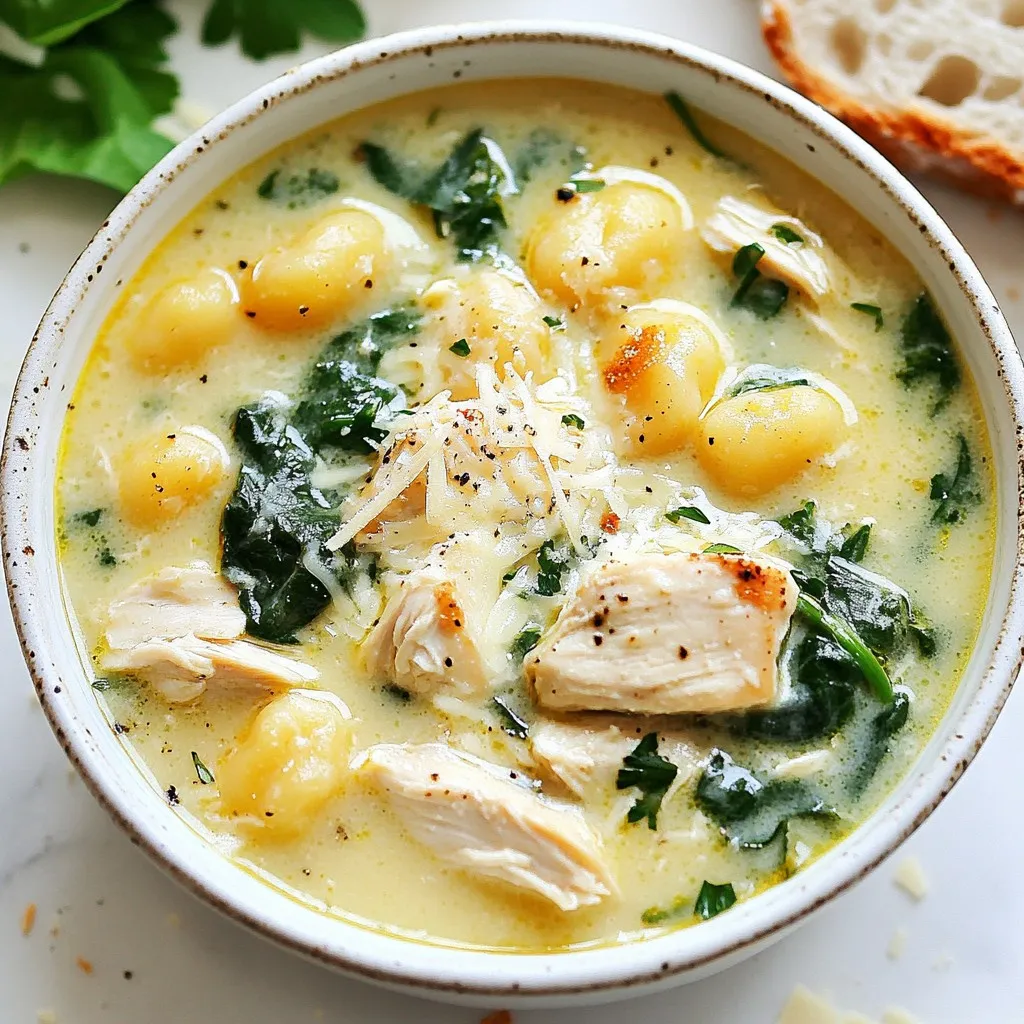
Creamy Chicken Gnocchi Soup Comforting and Rich Meal
If you’re craving a meal that warms your soul, try my Creamy Chicken Gnocchi Soup. This dish combines tender chicken, Read Full Recipe -
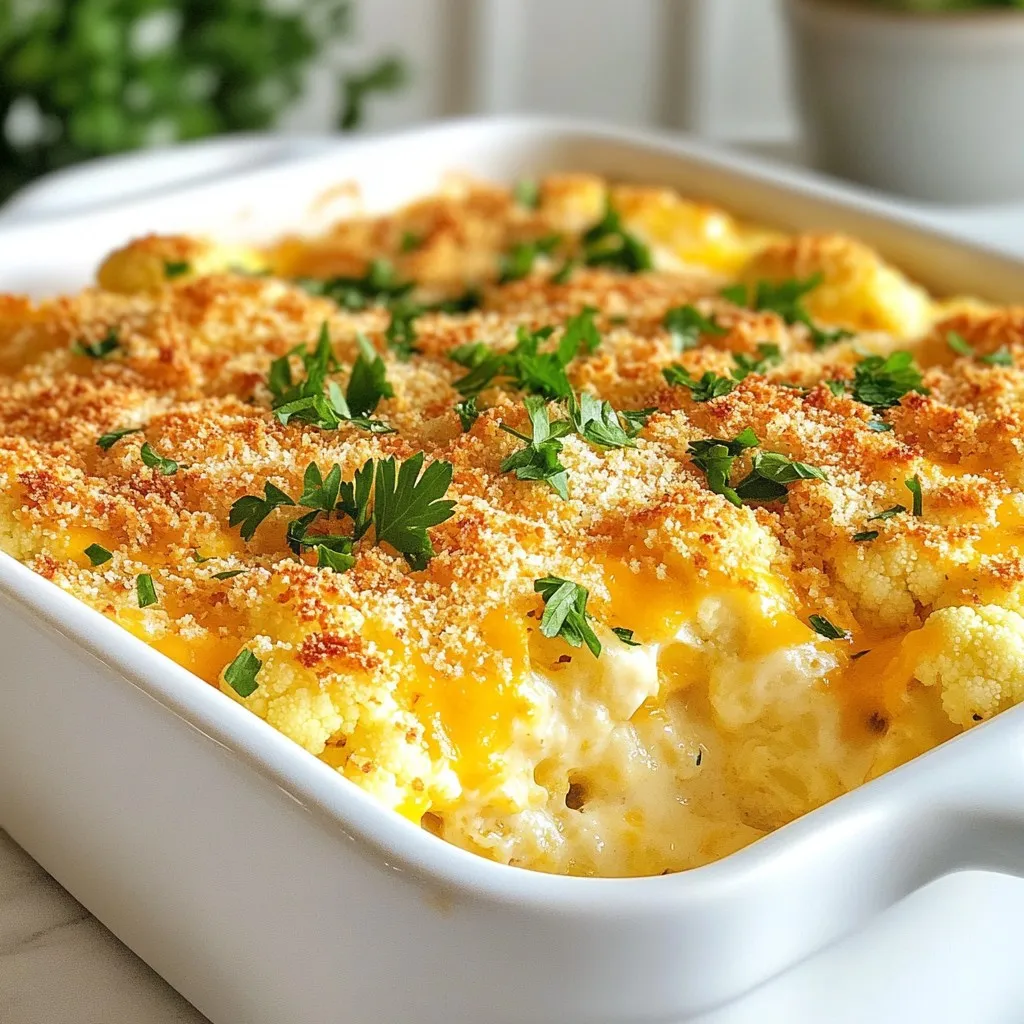
Cheesy Cauliflower Casserole Simple and Tasty Dish
Are you ready to make a delicious meal that feels cozy and comforting? My Cheesy Cauliflower Casserole is simple to Read Full Recipe
My Latest Drinks
-
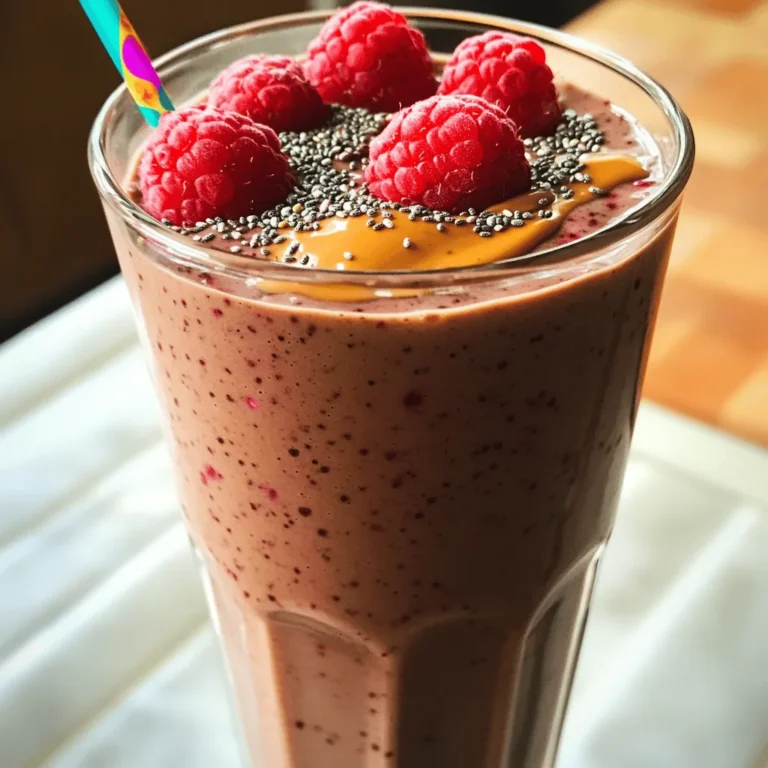
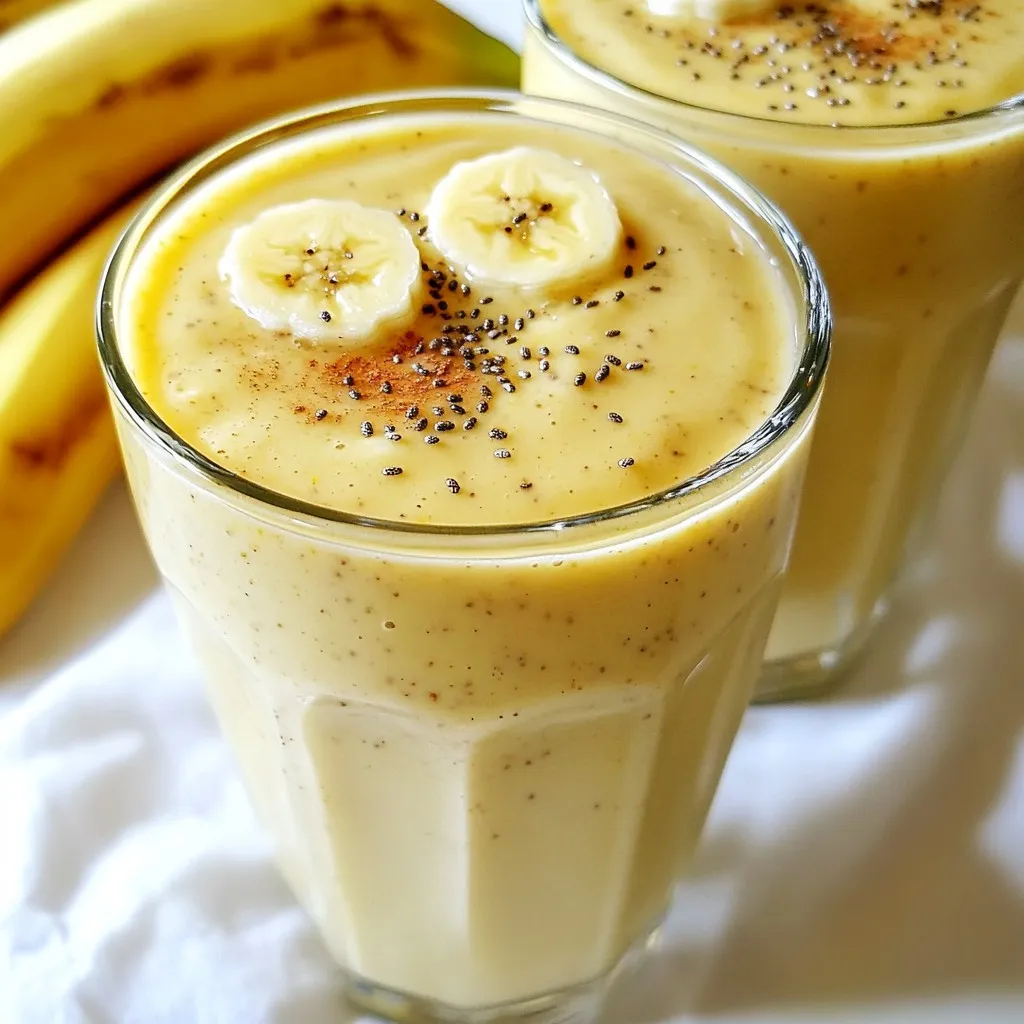
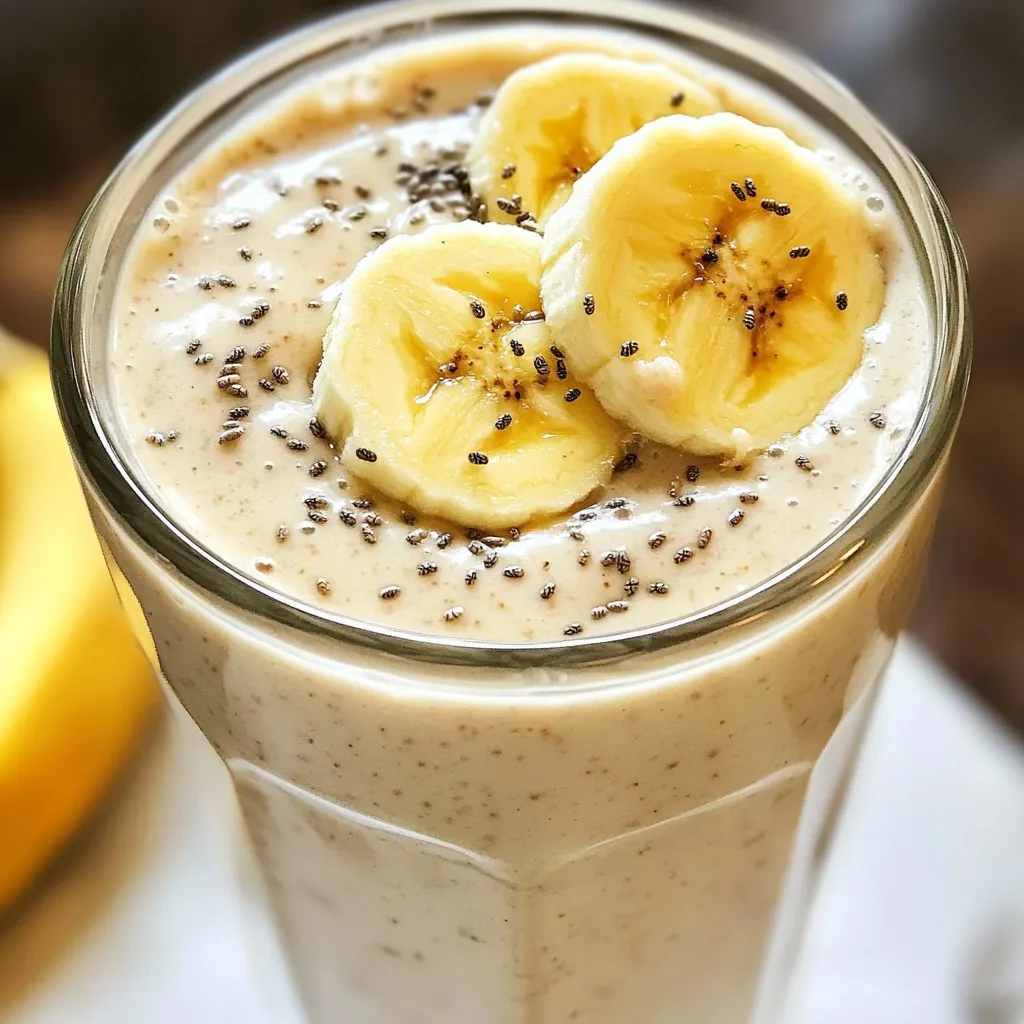
Almond Butter Banana Smoothie Energizing Morning Drink
Start your day with a burst of energy and flavor! The Almond Butter Banana Smoothie is the perfect morning drink Read Full Recipe -
Almond Butter Banana Smoothie Energizing and Nutritious
Looking for a delicious way to boost your energy? Try my Almond Butter Banana Smoothie! This tasty drink packs a Read Full Recipe -
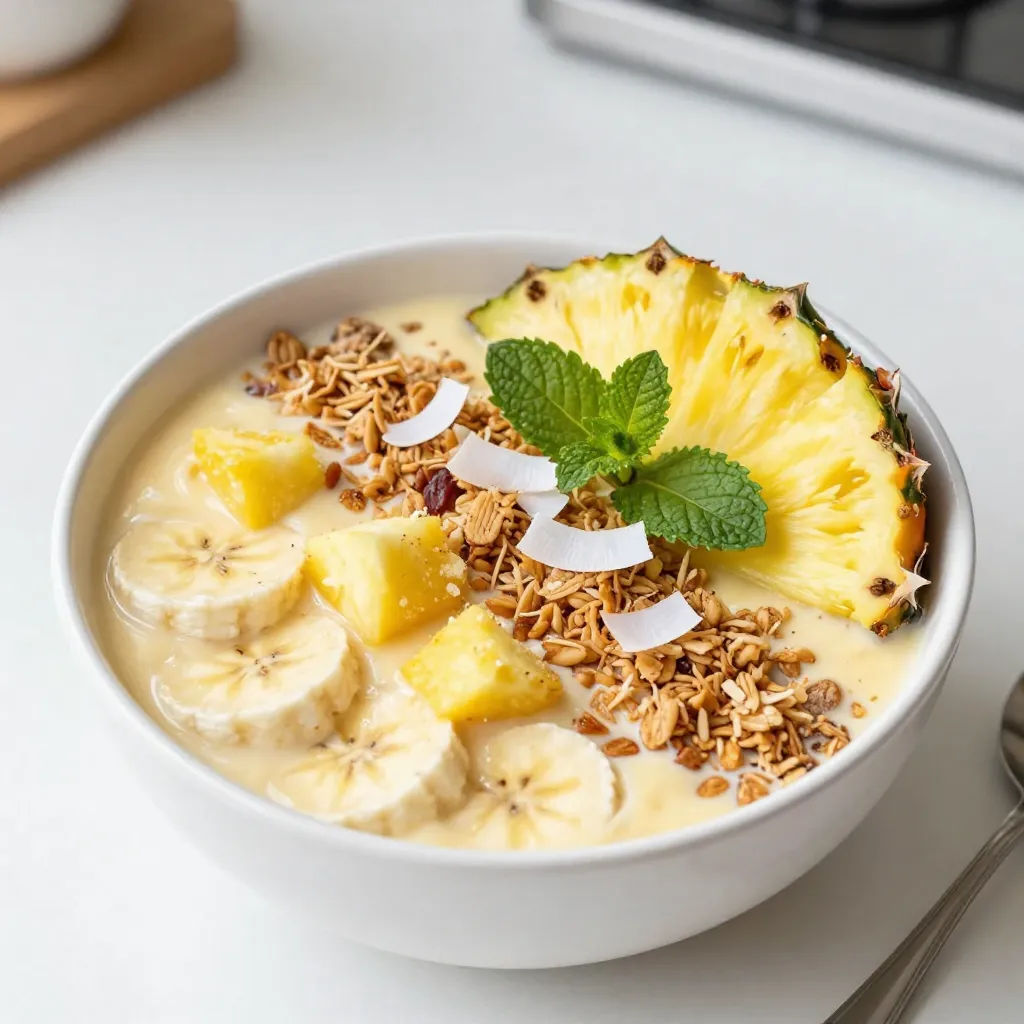
Coconut Pineapple Smoothie Bowl Fresh and Tasty Treat
Are you ready to cool down with a delicious Coconut Pineapple Smoothie Bowl? This fresh and tasty treat is packed Read Full Recipe -
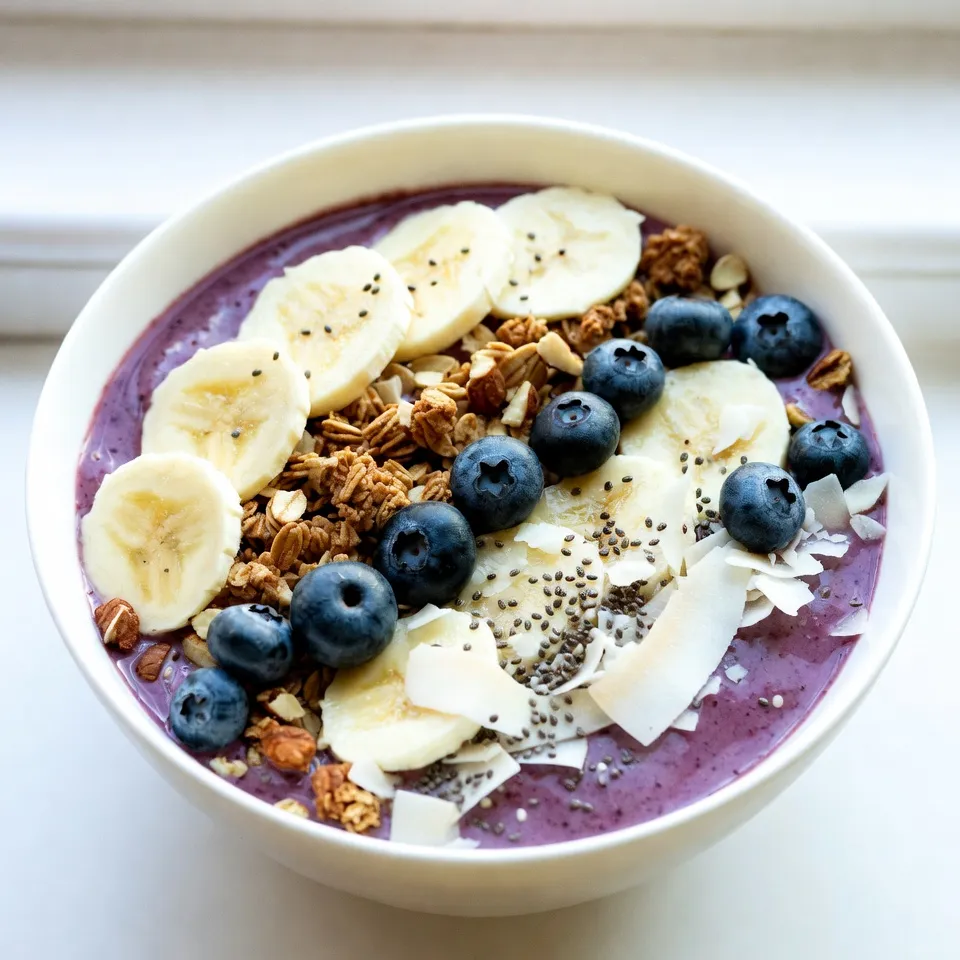
Blueberry Banana Smoothie Bowl Energizing Breakfast Choice
Looking for a breakfast that fuels your day? A Blueberry Banana Smoothie Bowl is both tasty and healthy! Packed with Read Full Recipe -
Strawberry Basil Water Refreshing Summer Drink Recipe
Looking for a refreshing drink to beat the summer heat? Look no further! My Strawberry Basil Water recipe combines sweet Read Full Recipe -
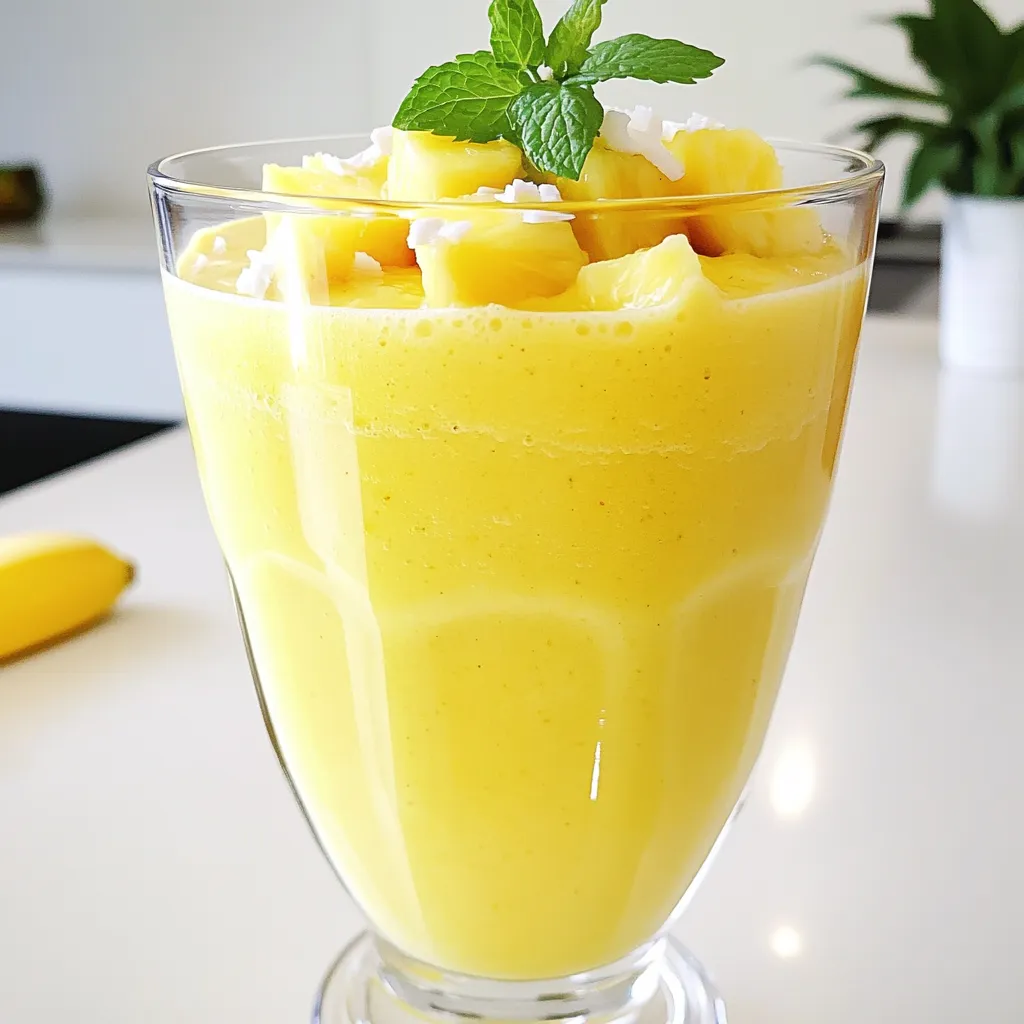
Pineapple Coconut Smoothie Refreshing and Creamy Blend
Craving a taste of the tropics? This Pineapple Coconut Smoothie is your ticket to a refreshing getaway! Creamy, fruity, and Read Full Recipe


hey,
i’m !
I’m so happy you’re here!
From my kitchen to your table, each dish is a labor of love. May they delight your palate and warm your heart. Let’s savor the beauty of cooking together.
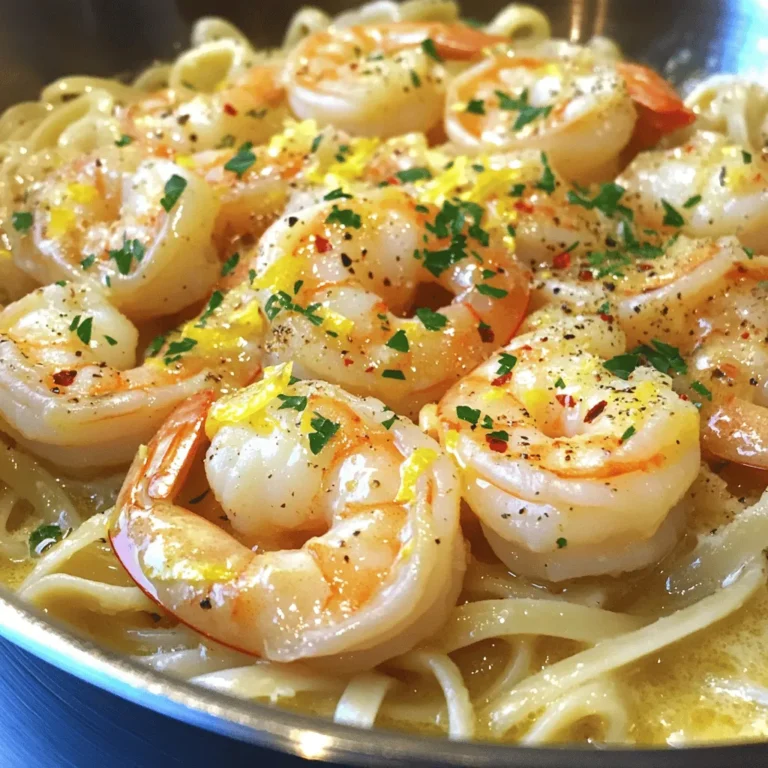
![- 1 cup grits (stone-ground preferred) - 4 cups water or low-sodium chicken broth - 1 pound shrimp, peeled and deveined - 4 slices of smoked gouda cheese - 2 tablespoons butter - 1 tablespoon olive oil - 1/2 cup bell peppers (red and green), diced - 1/2 cup onion, finely chopped - 2 cloves garlic, minced - 1 teaspoon smoked paprika - 1/2 teaspoon cayenne pepper (adjust to taste) - Salt and pepper to taste - 2 tablespoons chopped fresh parsley for garnish - Lemon wedges for serving (optional) If you want to swap out grits, try polenta. It has a similar texture and taste. You can also experiment with different cheeses. Cheddar or pepper jack can add a nice kick. If shrimp isn’t your thing, you can use scallops or firm fish instead. These options will still give you a tasty dish. Selecting fresh shrimp is key for the best taste. Look for shrimp that smell like the sea, not fishy. When choosing herbs, fresh parsley brightens the dish nicely. If you use dried herbs, cut the amount in half. Good broth can make a big difference. Low-sodium chicken broth adds depth without being too salty. If you only have water, that's fine, but broth really adds flavor. Start by boiling 4 cups of water or low-sodium chicken broth. Use a medium saucepan for this. Once it boils, gradually whisk in 1 cup of grits. This helps avoid clumps. Lower the heat and let it simmer for 20-25 minutes. Stir occasionally until the grits thicken. You want a creamy texture, so keep an eye on it. After cooking, remove the pan from the heat. Stir in 4 slices of smoked gouda cheese until it melts. Season with salt and pepper to taste. Keep the grits warm while you cook the shrimp. In a large skillet, heat 1 tablespoon of olive oil and 1 tablespoon of butter over medium heat. Add 1/2 cup of diced bell peppers and 1/2 cup of finely chopped onion. Sauté these for about 3 minutes until they soften. Next, add 2 cloves of minced garlic, 1 teaspoon of smoked paprika, and 1/2 teaspoon of cayenne pepper. Then, toss in 1 pound of peeled and deveined shrimp. Cook for 4-5 minutes. The shrimp should turn pink and curl slightly. This shows they are done. Adjust the seasoning with salt and pepper as needed. Add the remaining tablespoon of butter to the skillet. Stir well to combine the flavors. For a great presentation, spoon the cheesy grits onto a plate or shallow bowl. Top it with the shrimp mixture. A sprinkle of 2 tablespoons of chopped fresh parsley adds color. You can also serve lemon wedges on the side. The lemon gives an extra burst of flavor. For sides, consider a light salad or cornbread. Pair your meal with iced tea or a crisp white wine. This enhances the Southern charm of your dish. Check the [Full Recipe] for more details. - Recommended cooking oils: Use olive oil or butter for the best taste. These fats add creaminess and depth to your dish. - Enhancing flavors with spices: Smoked paprika and cayenne pepper bring warmth and smokiness. Adjust these spices to match your heat preference. - Using stock vs. plain water for cooking grits: Always use low-sodium chicken broth instead of plain water. Broth adds rich flavor to the grits, making them more delicious. - Avoiding clumpy grits: Stir the grits often as they cook. This keeps them smooth and prevents clumps from forming. - Ensuring shrimp are tender, not overcooked: Cook shrimp just until they turn pink. Overcooking makes them tough, so watch them closely. - Mixing techniques for creamy consistency: Once the grits are cooked, stir in smoked gouda cheese thoroughly. This creates a creamy and rich texture that pairs well with shrimp. - Best pots for cooking grits: A heavy-bottomed saucepan is ideal. It distributes heat evenly and helps prevent burning. - Recommended skillet types for shrimp: Use a non-stick or cast iron skillet. These surfaces allow for perfect searing without sticking. - Essential utensils for prep and serving: A whisk for the grits and a spatula for the shrimp are must-haves. These tools ensure you get the best results in both texture and flavor. {{image_2}} Shrimp and grits is a dish that changes from region to region. In the Southern states, cooks add rich flavors. They often use smoked sausage for a heartier taste. The dish can vary widely by state. For example, in South Carolina, chefs may add a kick of hot sauce and a touch of sweetness. Louisiana brings its own flair with Cajun and Creole spices. Here, you might find garlic, green onions, and a spicy kick. If you live near the coast, feel free to use local seafood. It adds a unique touch to this classic dish. You can easily adjust this dish for different diets. To make it gluten-free, simply check your grits. Most stone-ground grits are gluten-free. For a dairy-free version, swap the smoked gouda for a non-dairy cheese. Coconut or cashew cream can replace butter for a rich flavor. If you're interested in a vegan take, use mushrooms instead of shrimp. They add a nice texture and flavor. You can also use vegetable broth instead of chicken broth. This keeps it plant-based while still being delicious. Adding new ingredients can elevate shrimp and grits. For example, bacon or sausage brings a smoky flavor. This can create a rich, savory taste. You can also play with different cheeses. Cheddar, pepper jack, or even feta can change the dish's profile. Try adding a drizzle of spicy sauce for a kick. You might also consider a topping of sautéed greens or fresh herbs. This adds color and freshness to your plate. Let your creativity shine as you explore these enhancements. For a complete guide, check out the Full Recipe. To keep your shrimp and grits fresh, place leftovers in an airtight container. Store them in the fridge. They stay good for about 2 to 3 days. After this time, the shrimp may lose quality. Grits can harden and dry out, making them less tasty. When reheating, use low heat on the stove. Add a splash of broth or water to the grits. This helps them regain their creamy texture. For shrimp, warm them gently to avoid overcooking. If you cook them too long, they can become rubbery. Stir occasionally for even heating. You can freeze shrimp and grits to save them for later. First, let the dish cool completely. Then, pack it in a freezer-safe container. It can last up to 2 months in the freezer. When ready to eat, thaw it in the fridge overnight. Reheat on the stove, adding a bit of liquid to help the grits. Enjoy your flavorful meal again! For the Full Recipe, check the earlier section. Shrimp and grits has roots in the Lowcountry of South Carolina. This dish began as a simple meal for fishermen. It was common for them to eat shrimp with grits for breakfast. Over time, it grew in popularity and moved beyond breakfast. Today, it is a staple in Southern cuisine. Chefs across the U.S. now serve this dish in many styles. Yes, you can use frozen shrimp for shrimp and grits. Frozen shrimp is often just as good as fresh. When using frozen shrimp, thaw them first. You can thaw shrimp by placing them in the fridge overnight. If you need them quicker, place them in a bowl of cold water for about 15 minutes. Just make sure to dry them well before cooking. You can serve shrimp and grits with many tasty sides. Some popular options include: - Sautéed greens like collard or kale - Fried green tomatoes - A fresh garden salad For drinks, consider serving sweet tea or a light white wine. These pair well with the rich flavors of the dish. Shrimp is a good source of protein and low in calories. Grits provide carbs and fiber. However, you can make it healthier by: - Using less butter - Choosing low-sodium broth - Adding more vegetables like spinach or tomatoes This way, you keep the flavor while making it a bit lighter. To make shrimp and grits, you will need: - 1 cup grits (stone-ground preferred) - 4 cups water or low-sodium chicken broth - 1 pound shrimp, peeled and deveined - 4 slices of smoked gouda cheese - 2 tablespoons butter - 1 tablespoon olive oil - 1/2 cup bell peppers (red and green), diced - 1/2 cup onion, finely chopped - 2 cloves garlic, minced - 1 teaspoon smoked paprika - 1/2 teaspoon cayenne pepper (adjust to taste) - Salt and pepper to taste - 2 tablespoons chopped fresh parsley for garnish - Lemon wedges for serving (optional) The recipe takes about 10 minutes to prep and 40 minutes total. For more details, check the Full Recipe. Shrimp and grits is a classic dish full of flavor and history. We covered the necessary ingredients, highlighted substitutions, and shared tips for freshness and flavor. You learned how to prepare grits, cook shrimp, and serve it all beautifully. From regional variations to dietary adaptations, the possibilities are endless. Remember, quality ingredients lead to great taste. With a bit of practice, you can impress anyone with this dish. Enjoy cooking your shrimp and grits, and don't forget to get creative along the way!](https://homecookingstyle.com/wp-content/uploads/2025/06/ce62f1f4-d55e-4890-a752-f64c1f8ad8bb-300x300.webp)
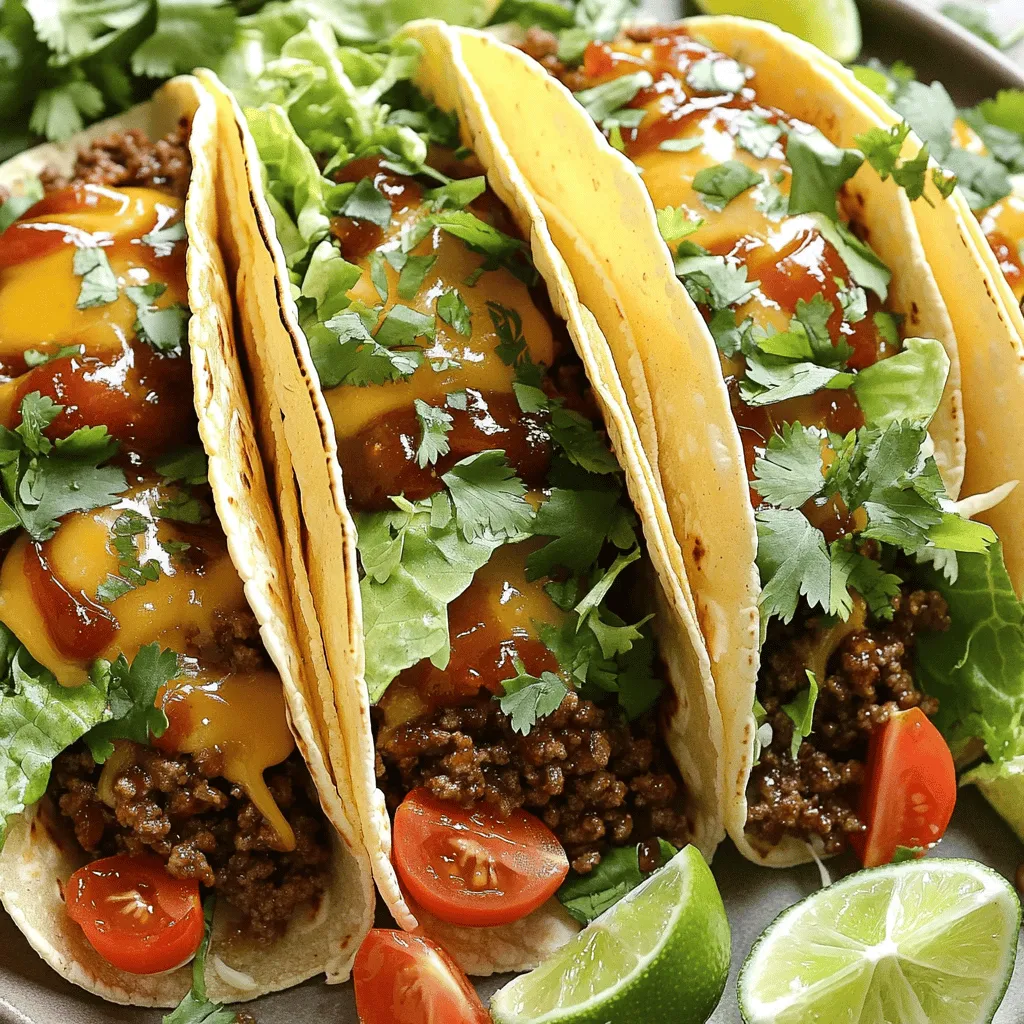
Garlic Butter Honey BBQ Tacos Flavorful and Fun Meal
Get ready to spice up your taco night with Garlic Butter Honey BBQ Tacos! This fun and flavorful meal brings a sweet and savory…